How to Make Rainbow Rice (Cheap, Eco-Friendly, and Oddly Entrancing)
This post contains affiliate links. If you purchase something through my links I may earn a small commission at no extra cost to you. I only share products I actually used and loved.
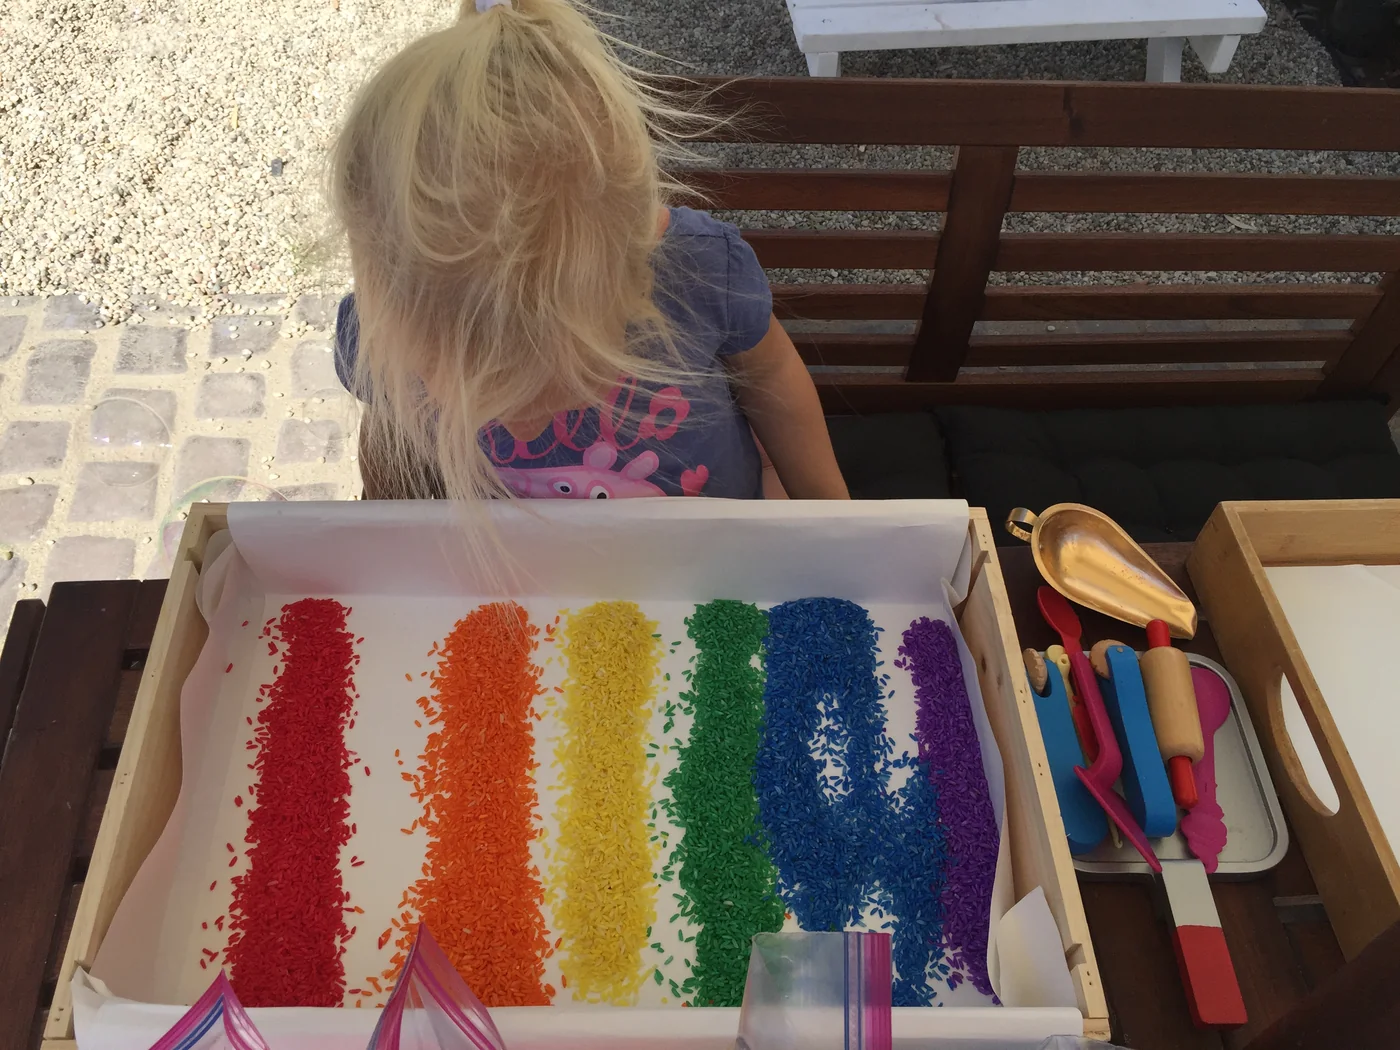
This is an awesome activity for kiddos. It's oddly entrancing. It's eco-friendly, cheap, and endlessly entertaining.
I think I clocked my daughter playing with this for about an hour each time we brought it out. The bonus with this activity is that when siblings see the littles playing with it, they jump in, no matter what the age. I have made it for 3-year-olds and 8-year-olds, but that doesn't stop the teens from getting their hands in there. I may or may not play with it for an hour after the kids go to bed.
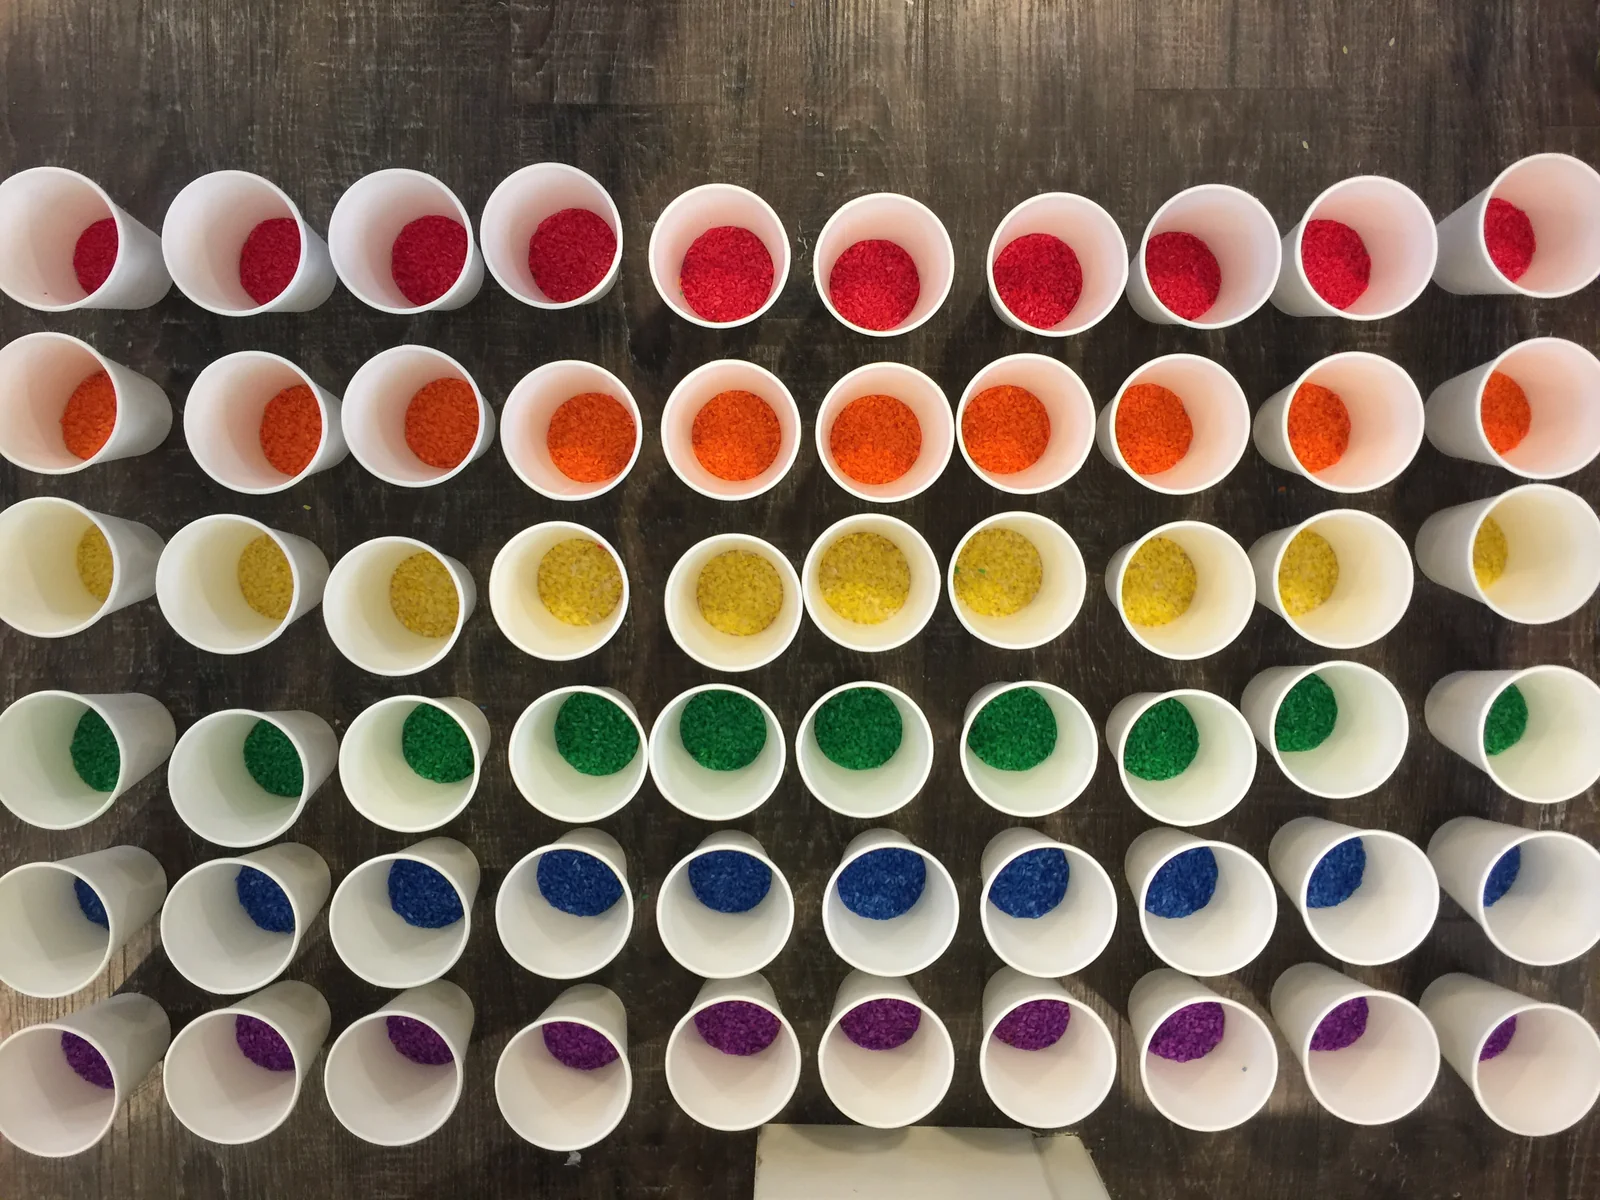
We brought this into our preschool classroom and the activity was a huge hit. It's perfect for kiddos starting at this phase - they love to play with it and understand not to eat it (although it's all edible, it will be handled and swept around so best not to eat). Each child played with their own cups of rice and made a mosaic with it, after that we dumped all of the rice into one big bin so that the kids could play with it for days after we left.
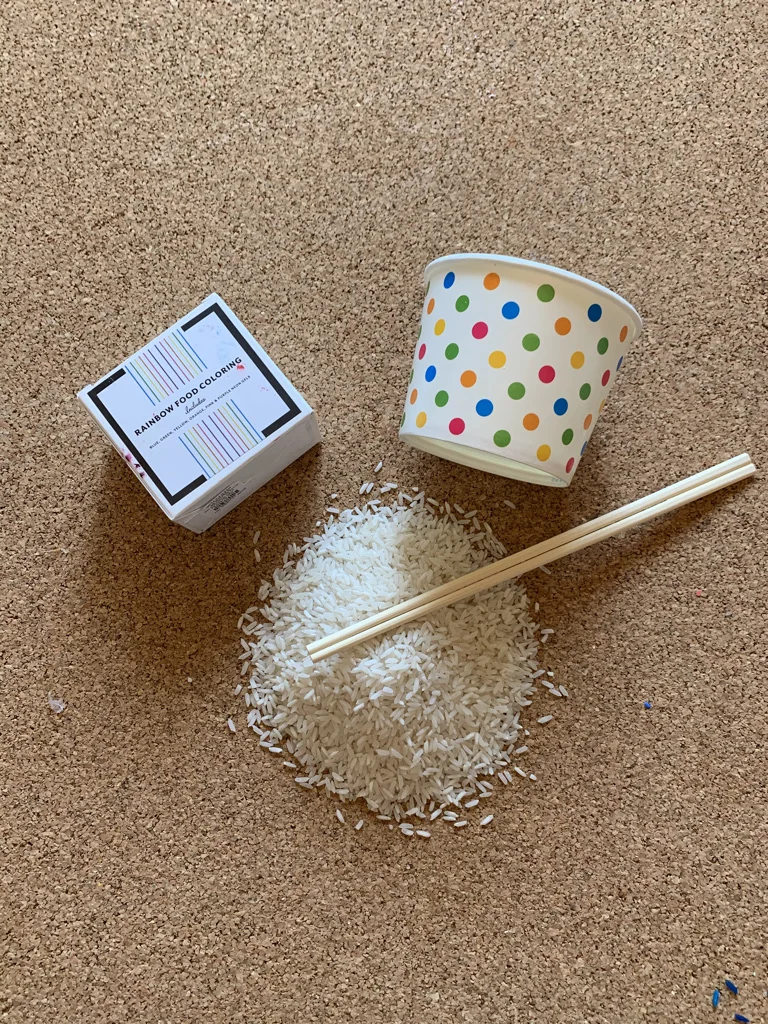
It's very easy to make and costs very little. You probably have everything you need already on hand! If not, if you purchase using our links here you will spend about $5 on rice and $14.95 on rainbow gel food coloring. But if you just use your basic food coloring from home the whole project is under $10.
Here is what you'll need
- One bag of rice (I used Mahatma)
- Food coloring (I like Williams-Sonoma's rainbow colors)
- Stir sticks (I like to use old takeout chopsticks)
- Disposable cups or bowls that won't stain
All you have to do is put a few drops of food coloring into dry bowls of uncooked rice and stir!
Tip: If you only have the primary colors of food coloring but want to make the rainbow, simply mix your food coloring before you add it to the rice, for optimal blending.
Start with just a little bit of food coloring so that you can see how dark or light the rice gets and add as you like. It's easier to add more color than it is to remove color.
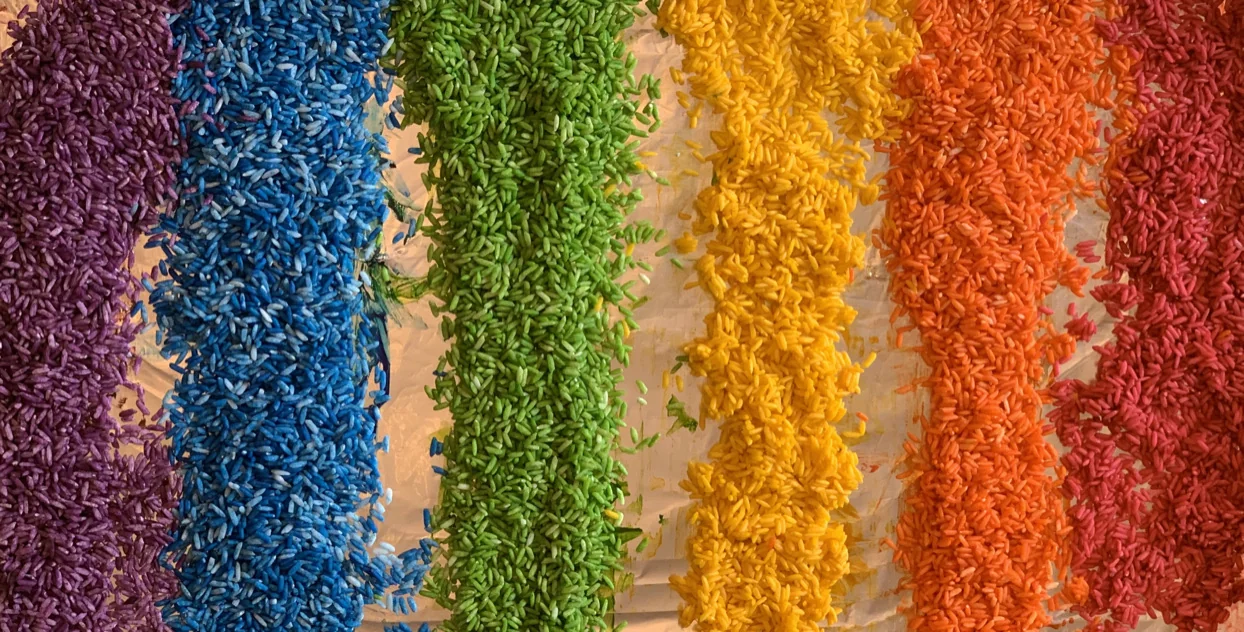
Tip: I like to involve my little ones in the mixing - it's fun to watch the rice being transformed from plain white rice to a colorful plaything. It also helps them learn about color and the process, as well as patience. Remember to wear an apron…and be ready for tie-dye hands just in case your littles like to use their hands to stir in the wet color!
Before you play with your rice you should let it dry. If you are impatient like me and don't have the ability to wait, you can bake the rice in the oven for about 15 to 20 minutes at 300 degrees - just long enough to dry it out. If you don't use much food coloring it will usually dry out within an hour. Be aware that depending on the type of food coloring you use when the rice is dry it may come off on little hands so give it a test before you play.
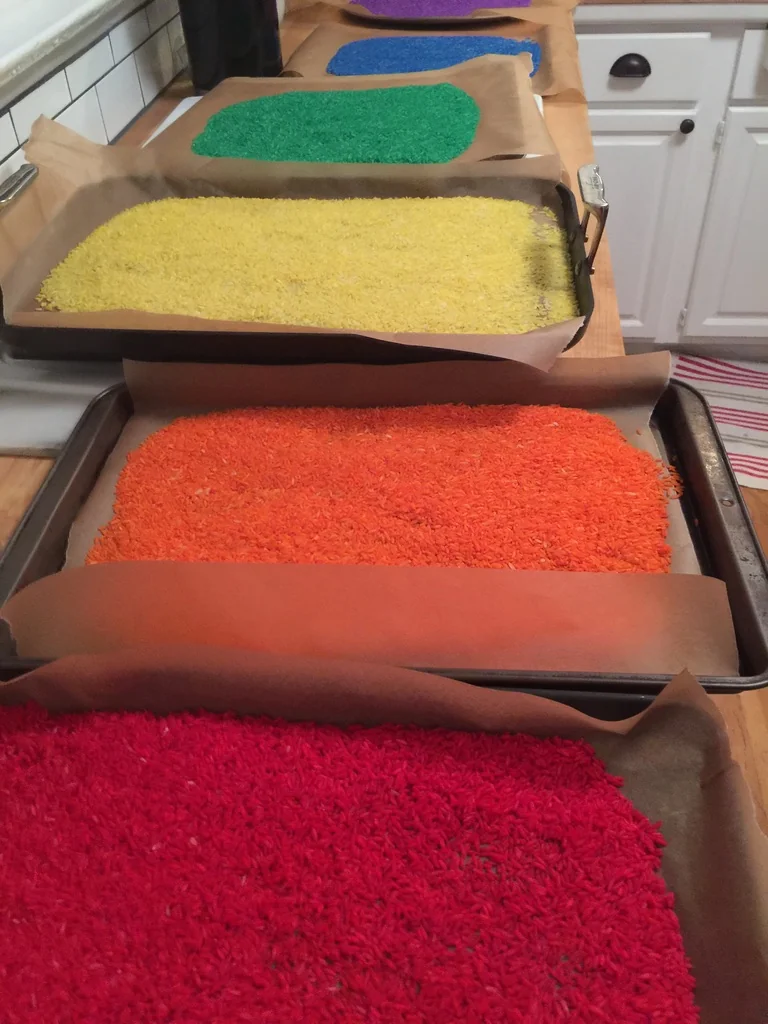
Tip: Make a big batch, give the kiddos a small portion and then store the rest of the completely dried colors in separate zip lock bags. If the rice is wet when you store it, it could clump, invite bacterial growth or just be a mess. Ew.
Tip: Keep it dry and it will be playable for ages!
If your crew is into hands-in-everything sensory projects, the glow in the dark slime is this one's night-shift sibling. And if back to school has you needing a quieter table project, the mini clay erasers are the place to start.
If this gave you an idea worth trying, there's more where it came from. Follow along on Pinterest (@CraftandBondCo) and Instagram (@craftandbondco) for new projects, recipes, and the occasional honest mess, and save this post so you can find your way back to it.