How to Make Mini Clay Erasers: Cute Food Set (Egg, Popsicle, Milk Carton)
This post contains affiliate links. If you purchase something through my links I may earn a small commission at no extra cost to you. I only share products I actually used and loved.
There is a category of school supplies that exists purely to be traded at lunch, and the tiny novelty eraser has ruled it for generations. Here is the secret that changes it from a thing you buy into a thing you make: eraser clay. It handles like regular polymer clay, you shape it, an adult bakes it, and what comes out is a real, working eraser. The kind that gets guarded in a pencil case like treasure.
This food set is the easiest entry point, three designs, each just a few steps. Little hands can do all the shaping. The baking step belongs to a grown-up, and that split is exactly what makes it a good kitchen-table project.
You will need: eraser clay in white, yellow, blue, black, and pink, a basic set of clay sculpting tools, and baking paper to work on. That is the whole list.
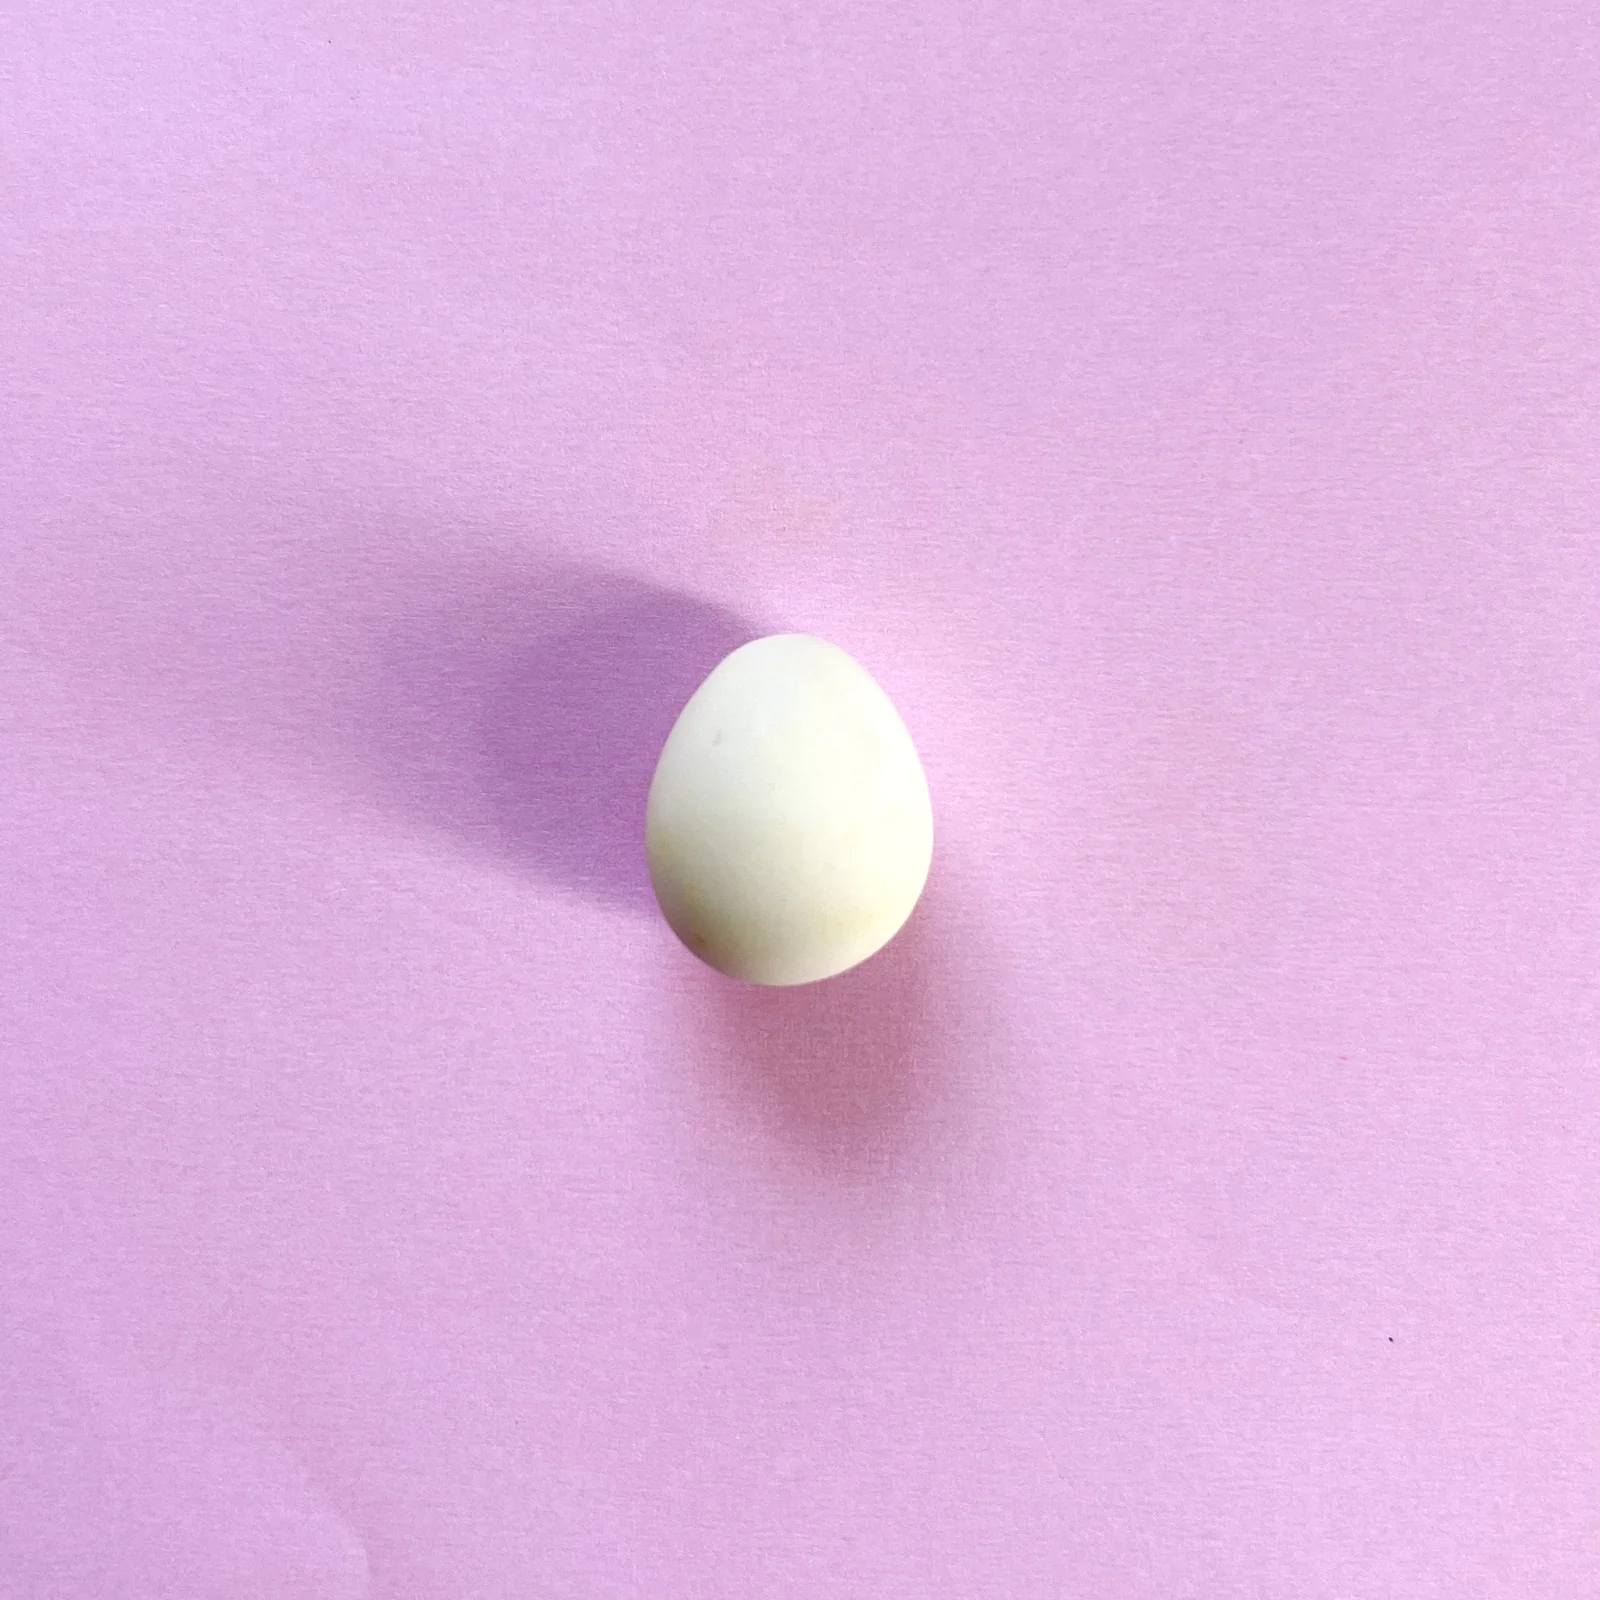
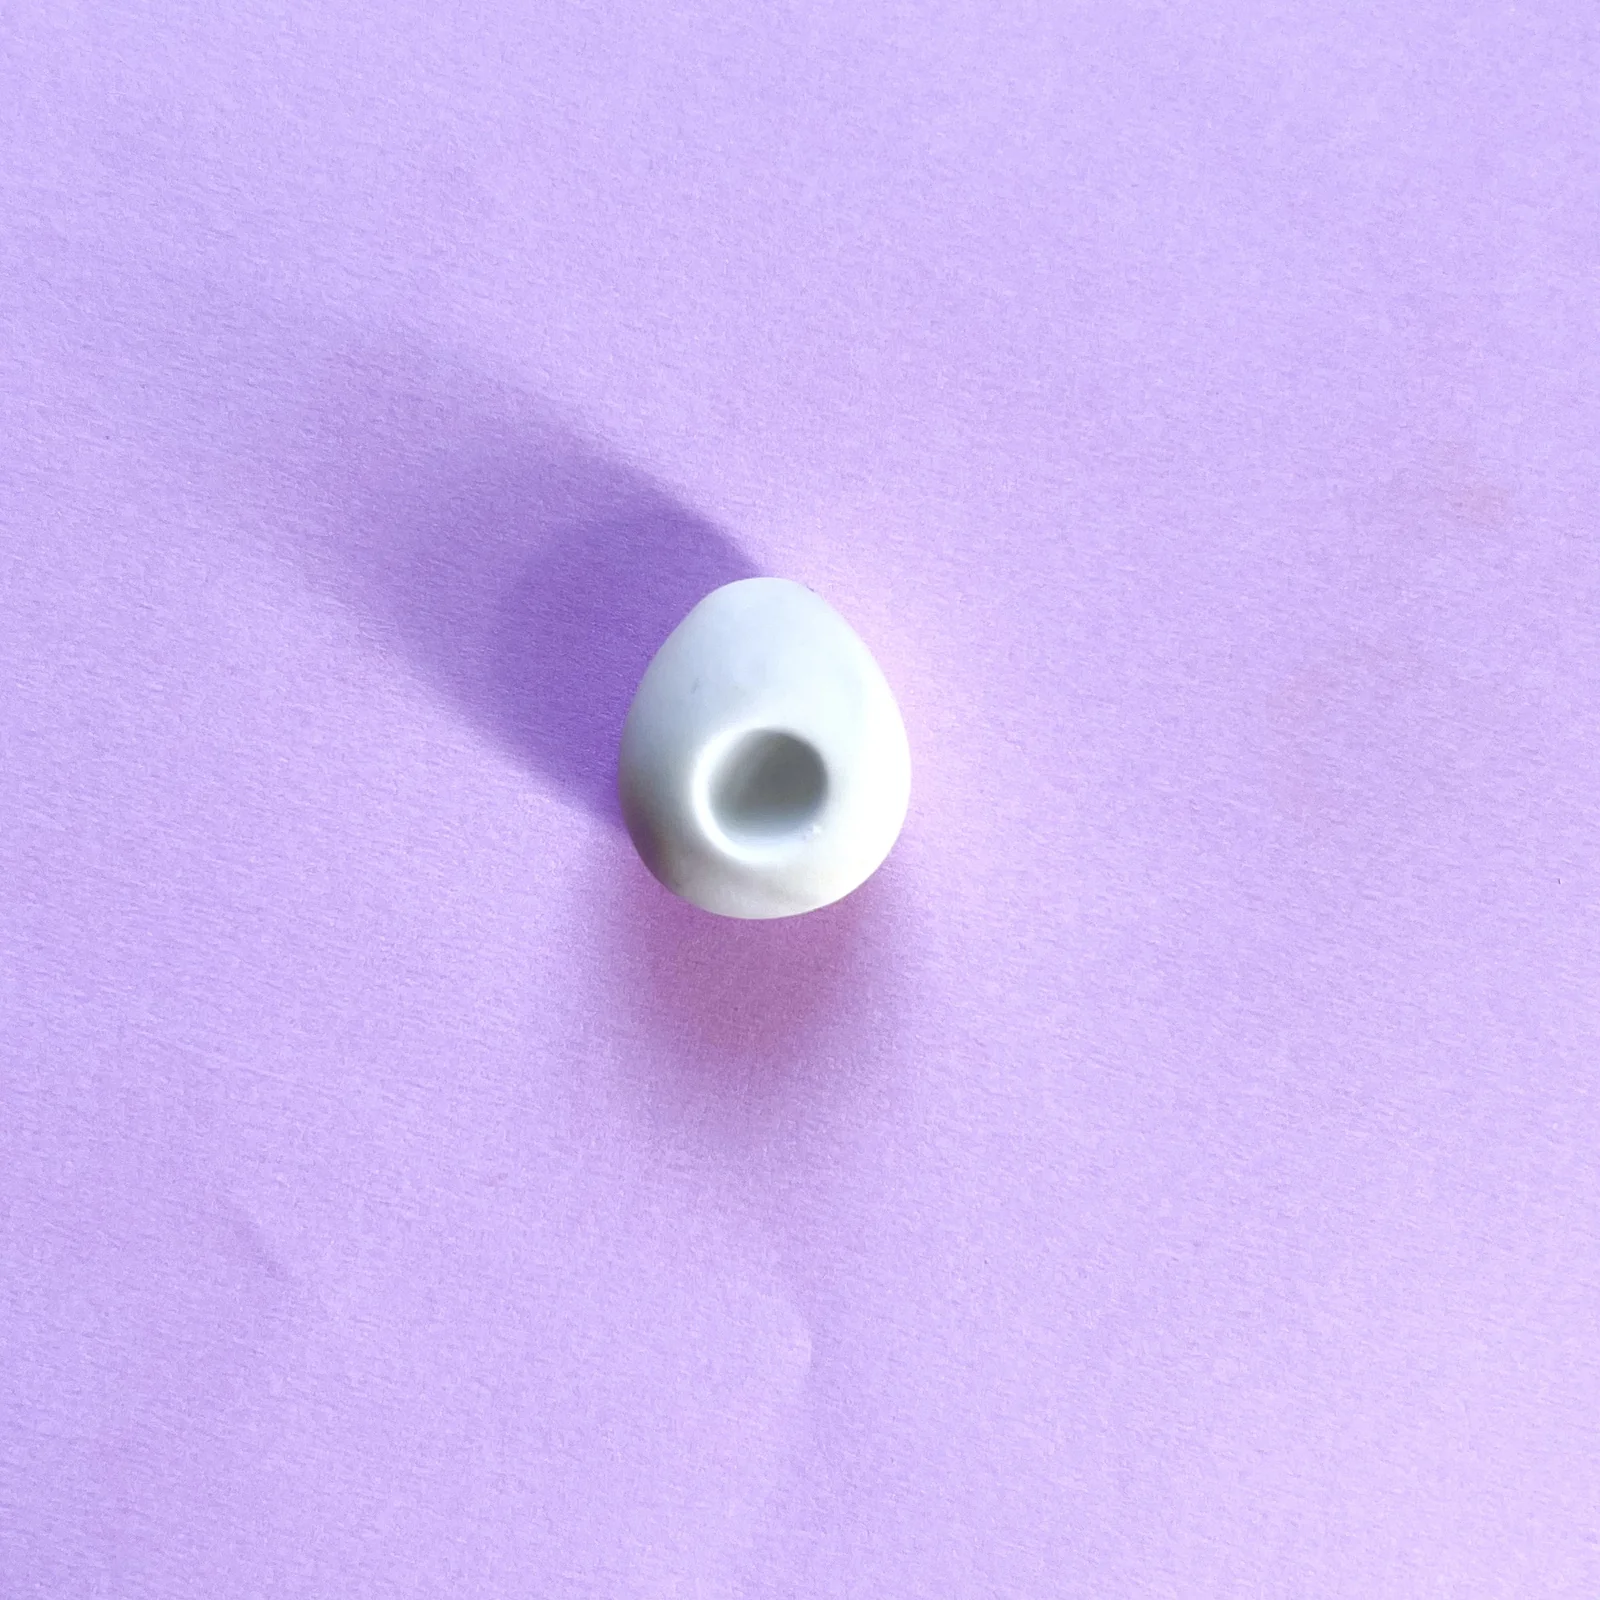
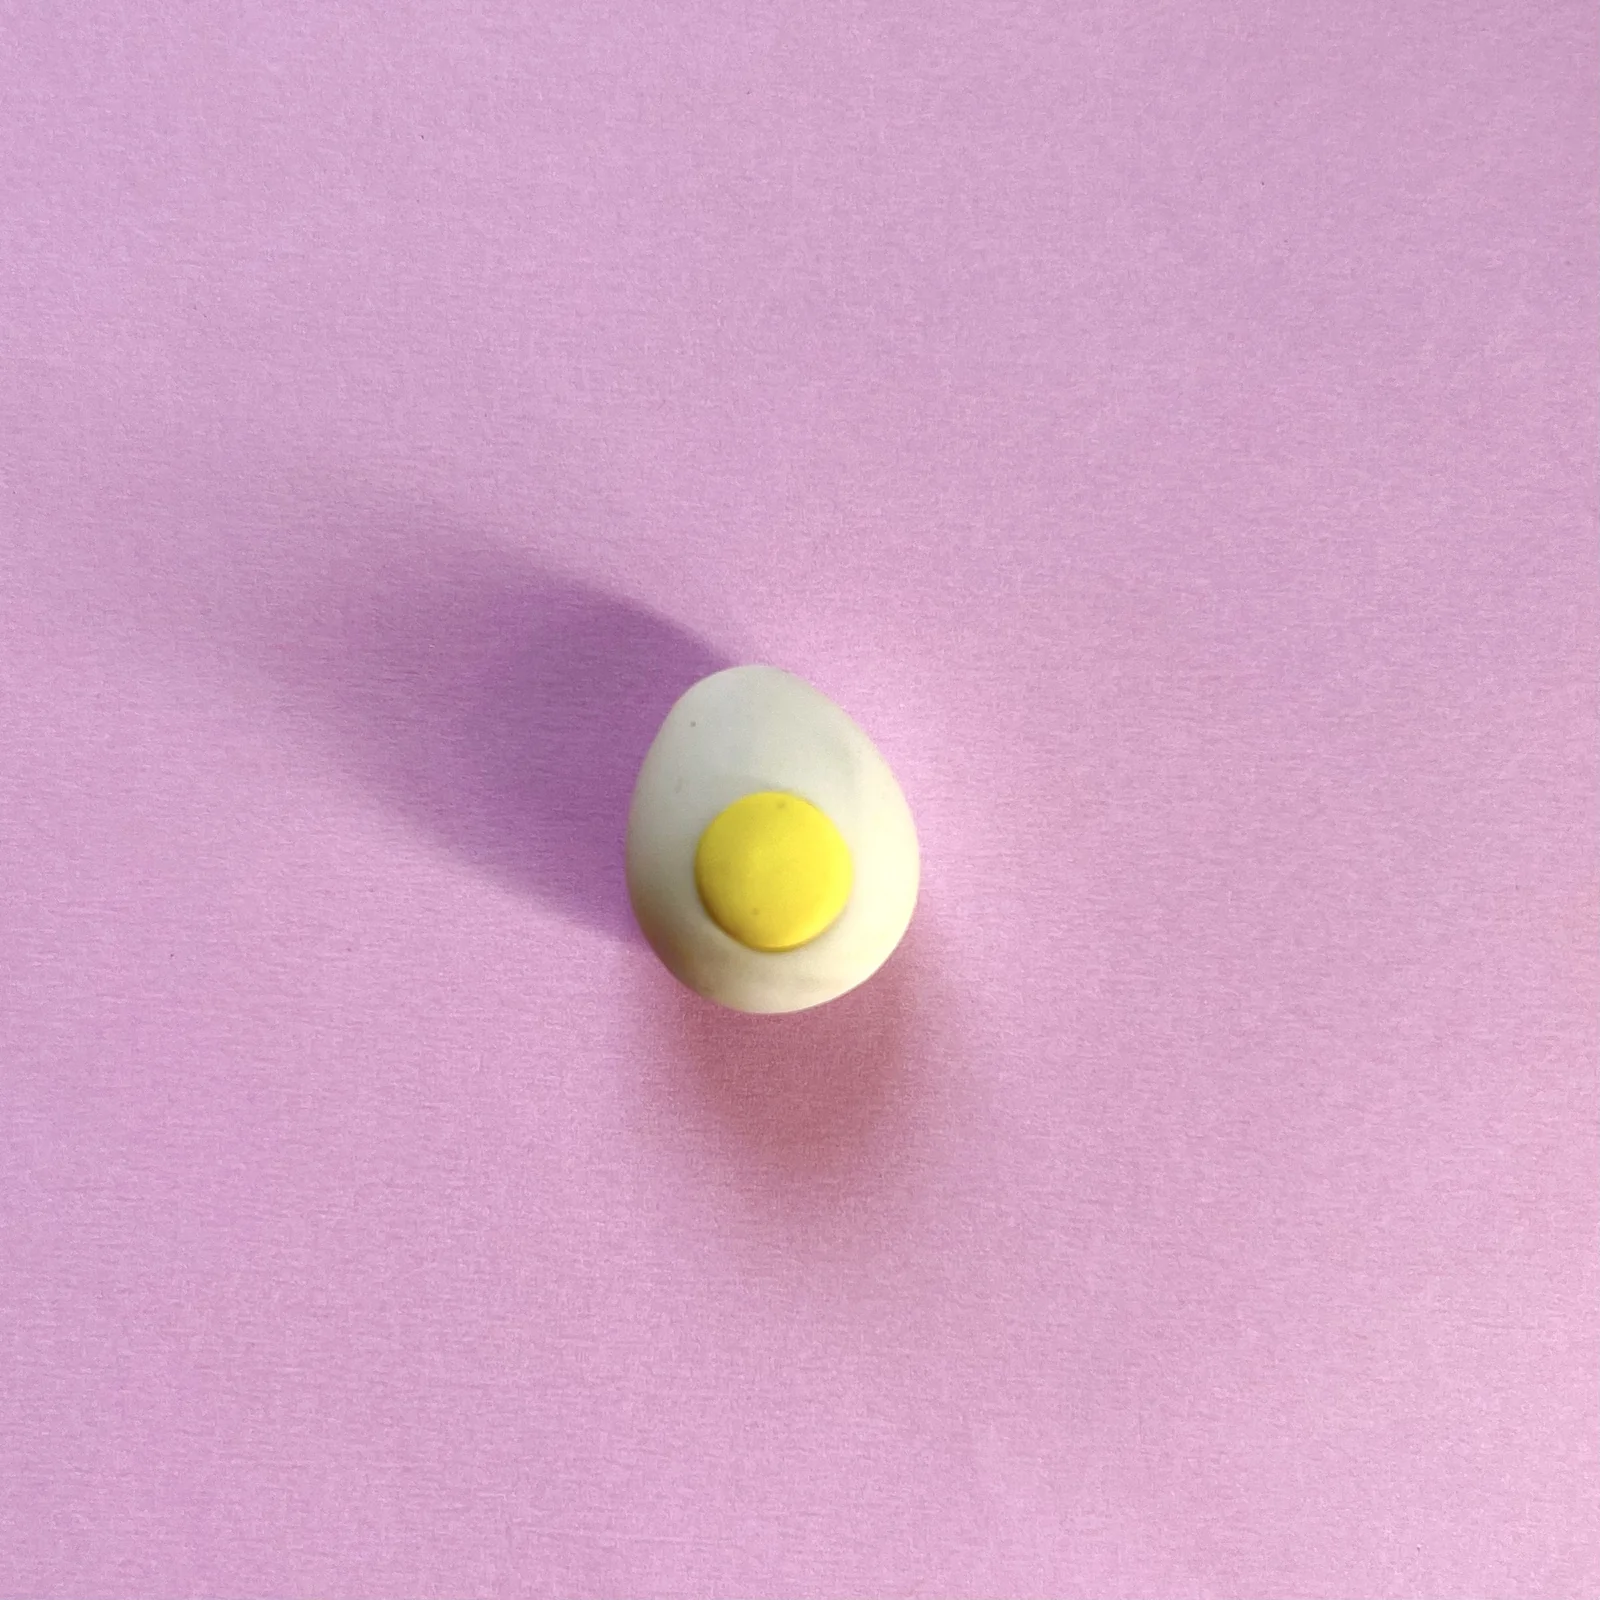
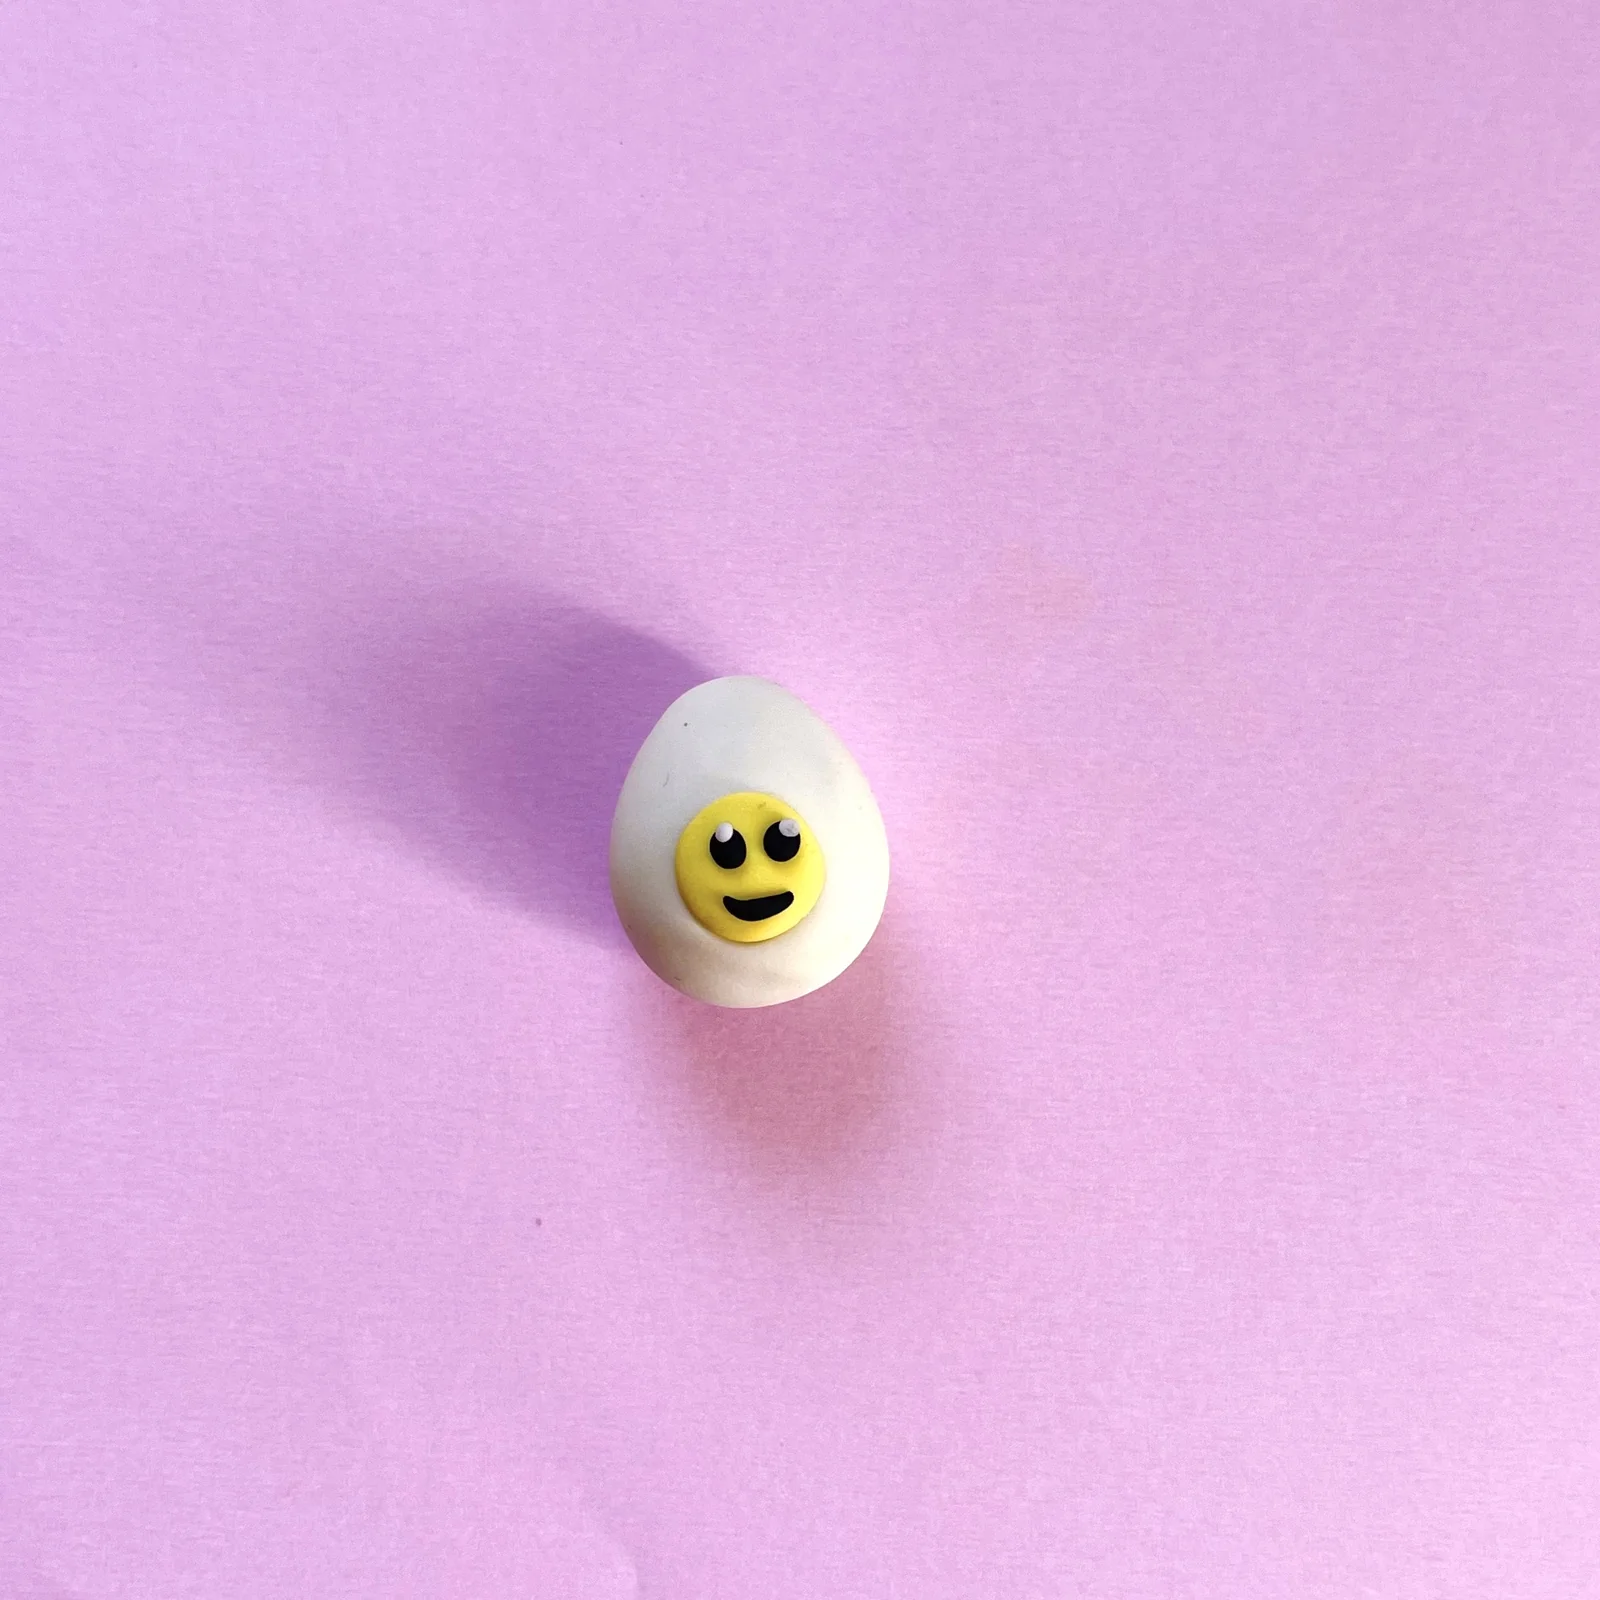
The fried egg (3 steps)
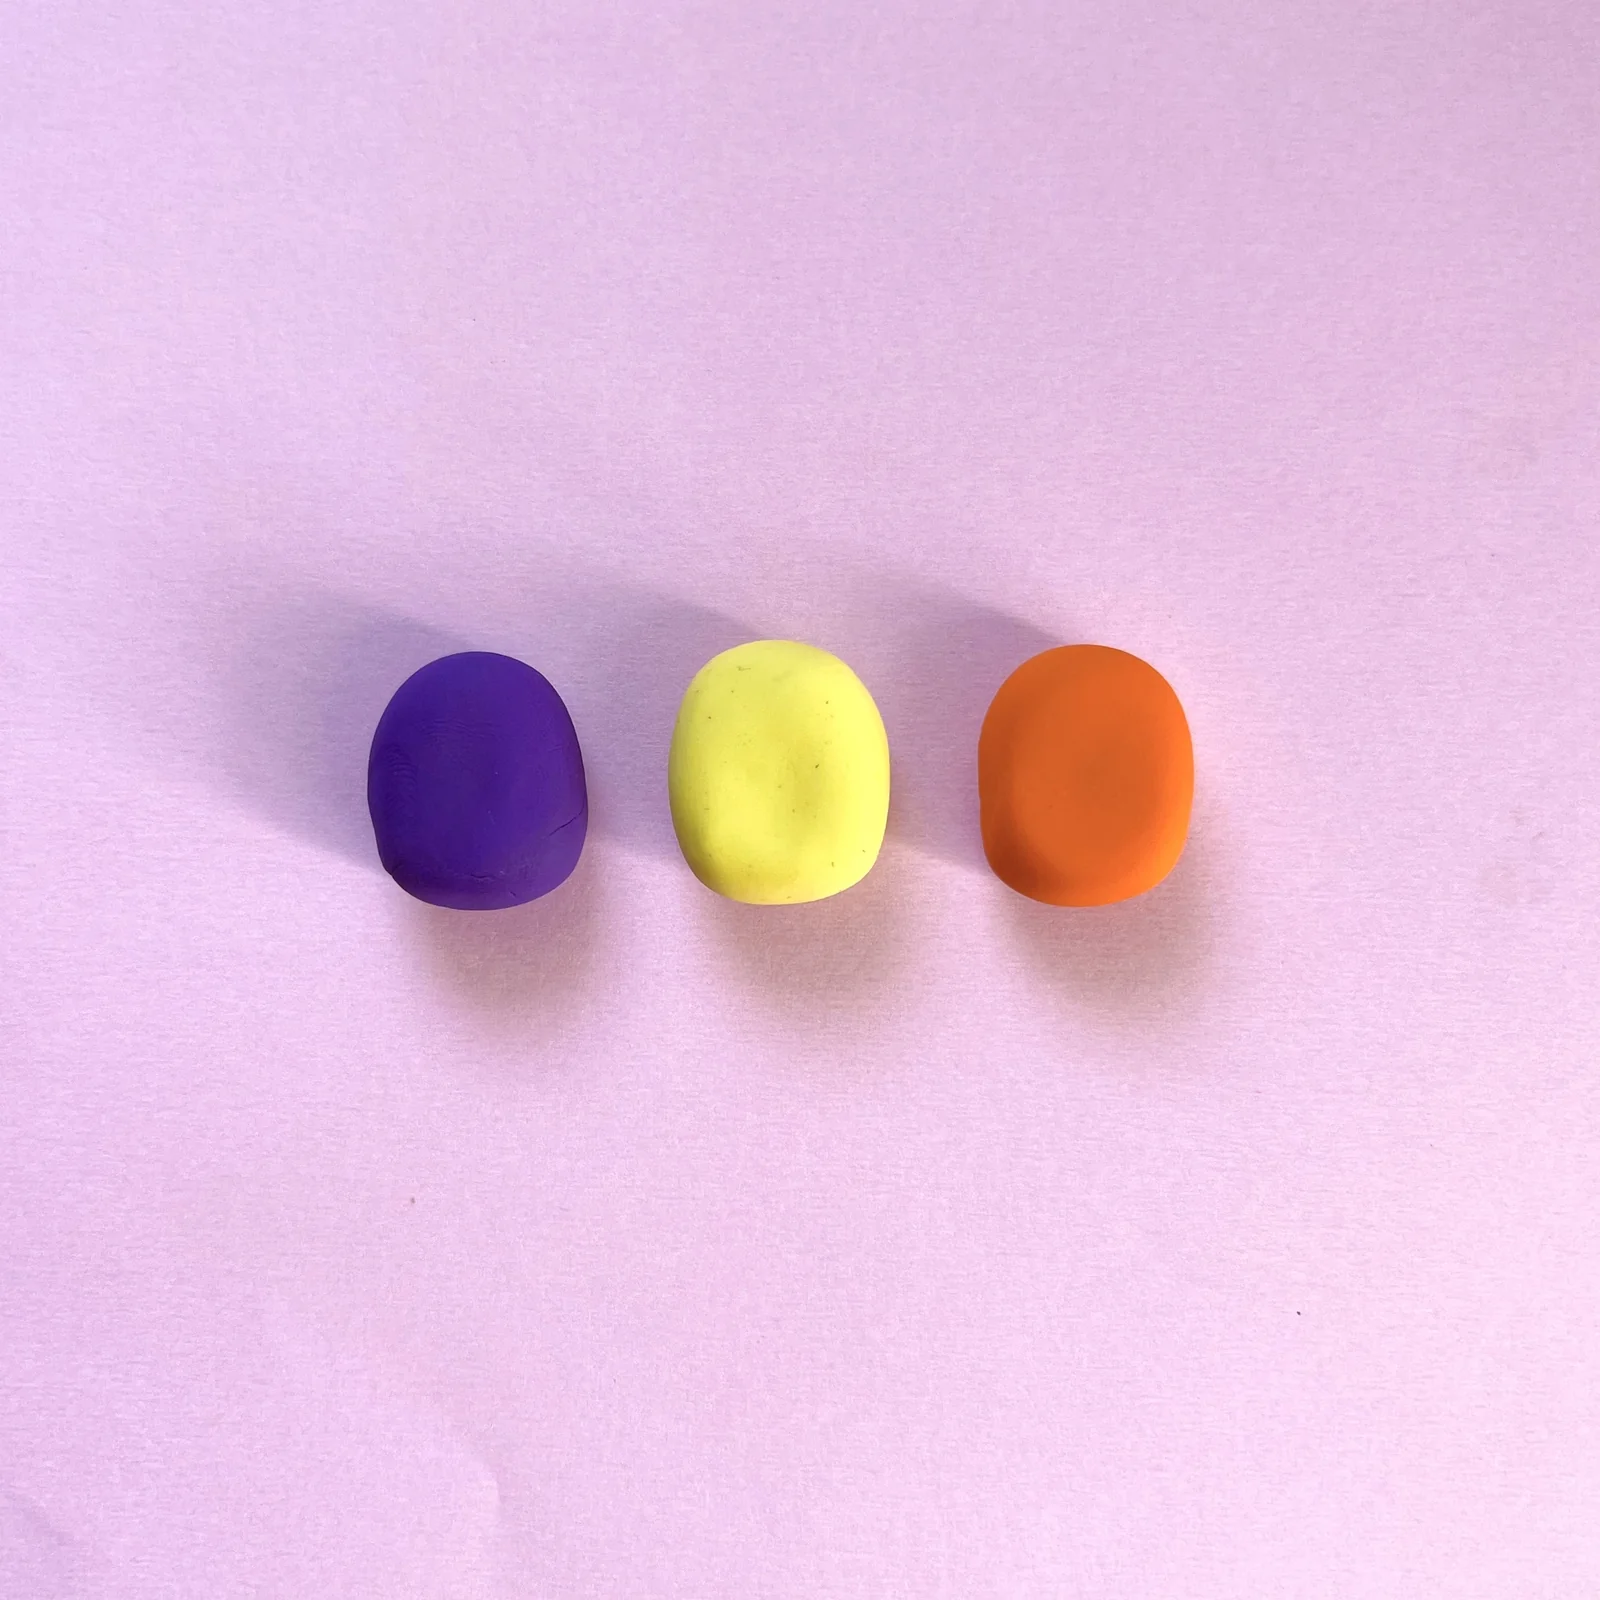
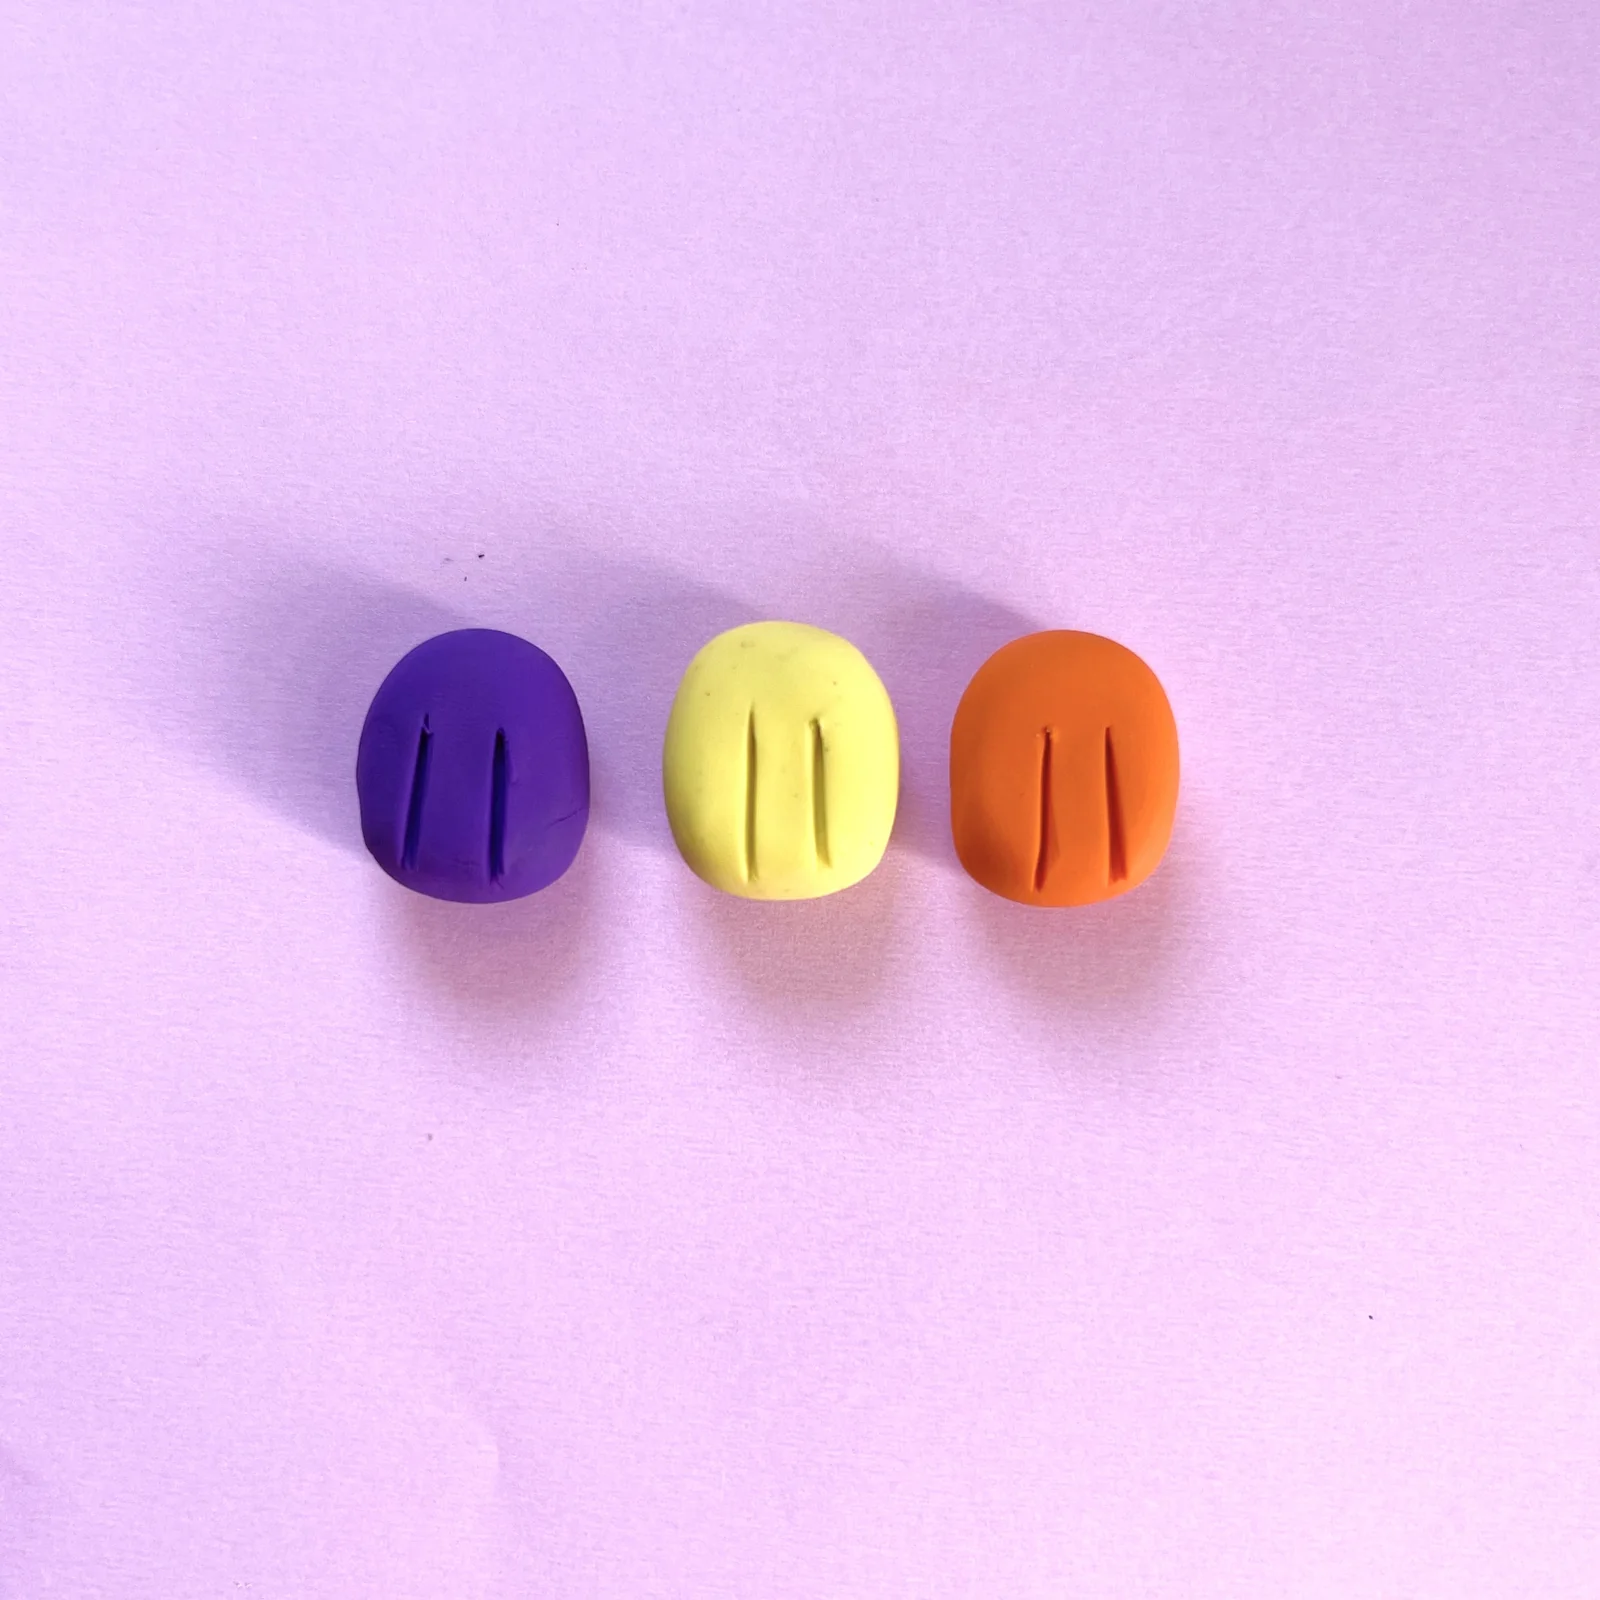
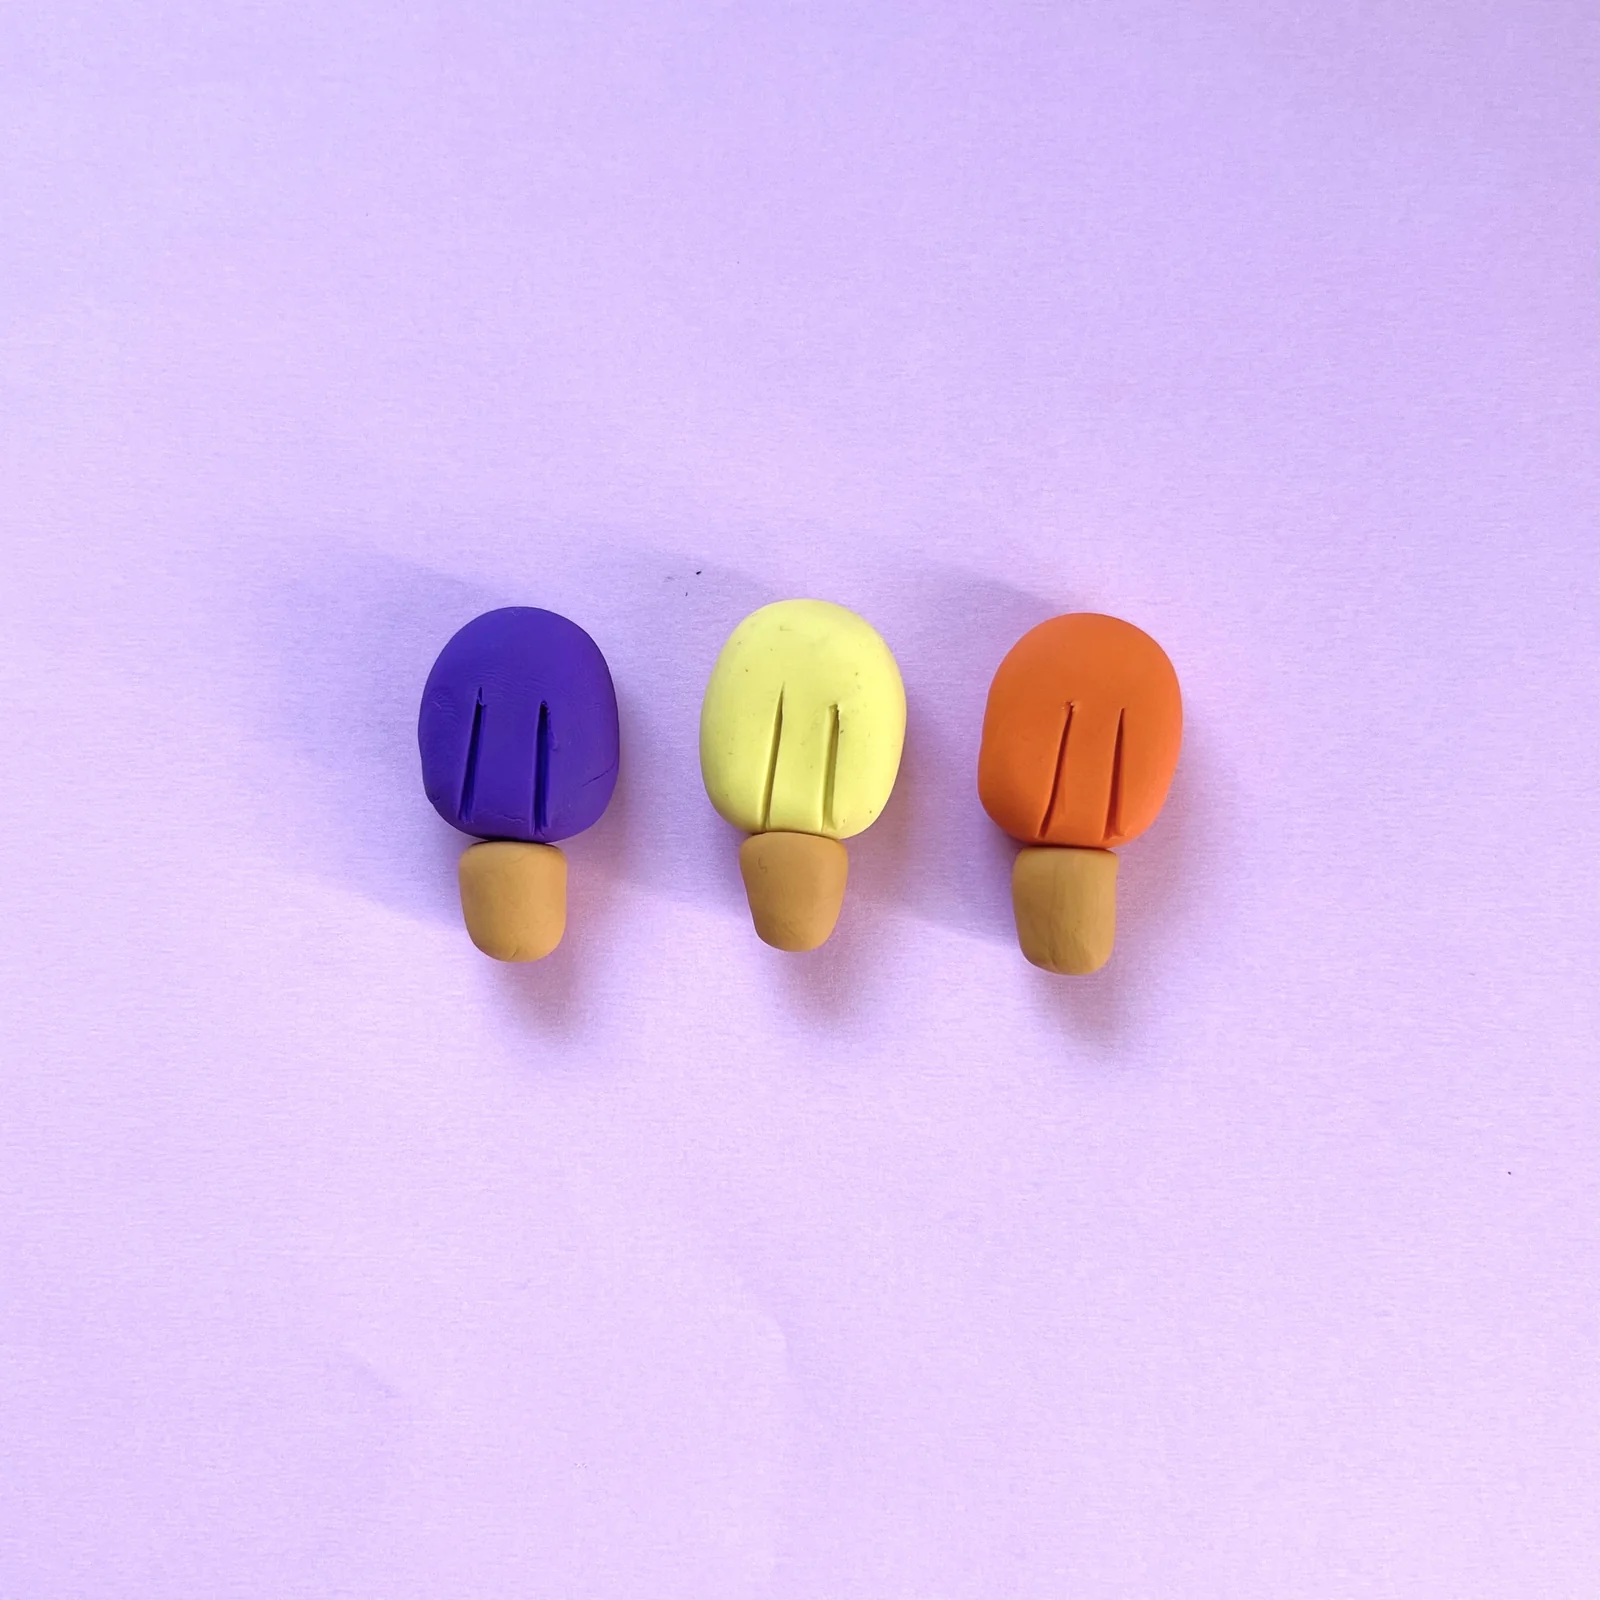
The popsicles (3 steps)
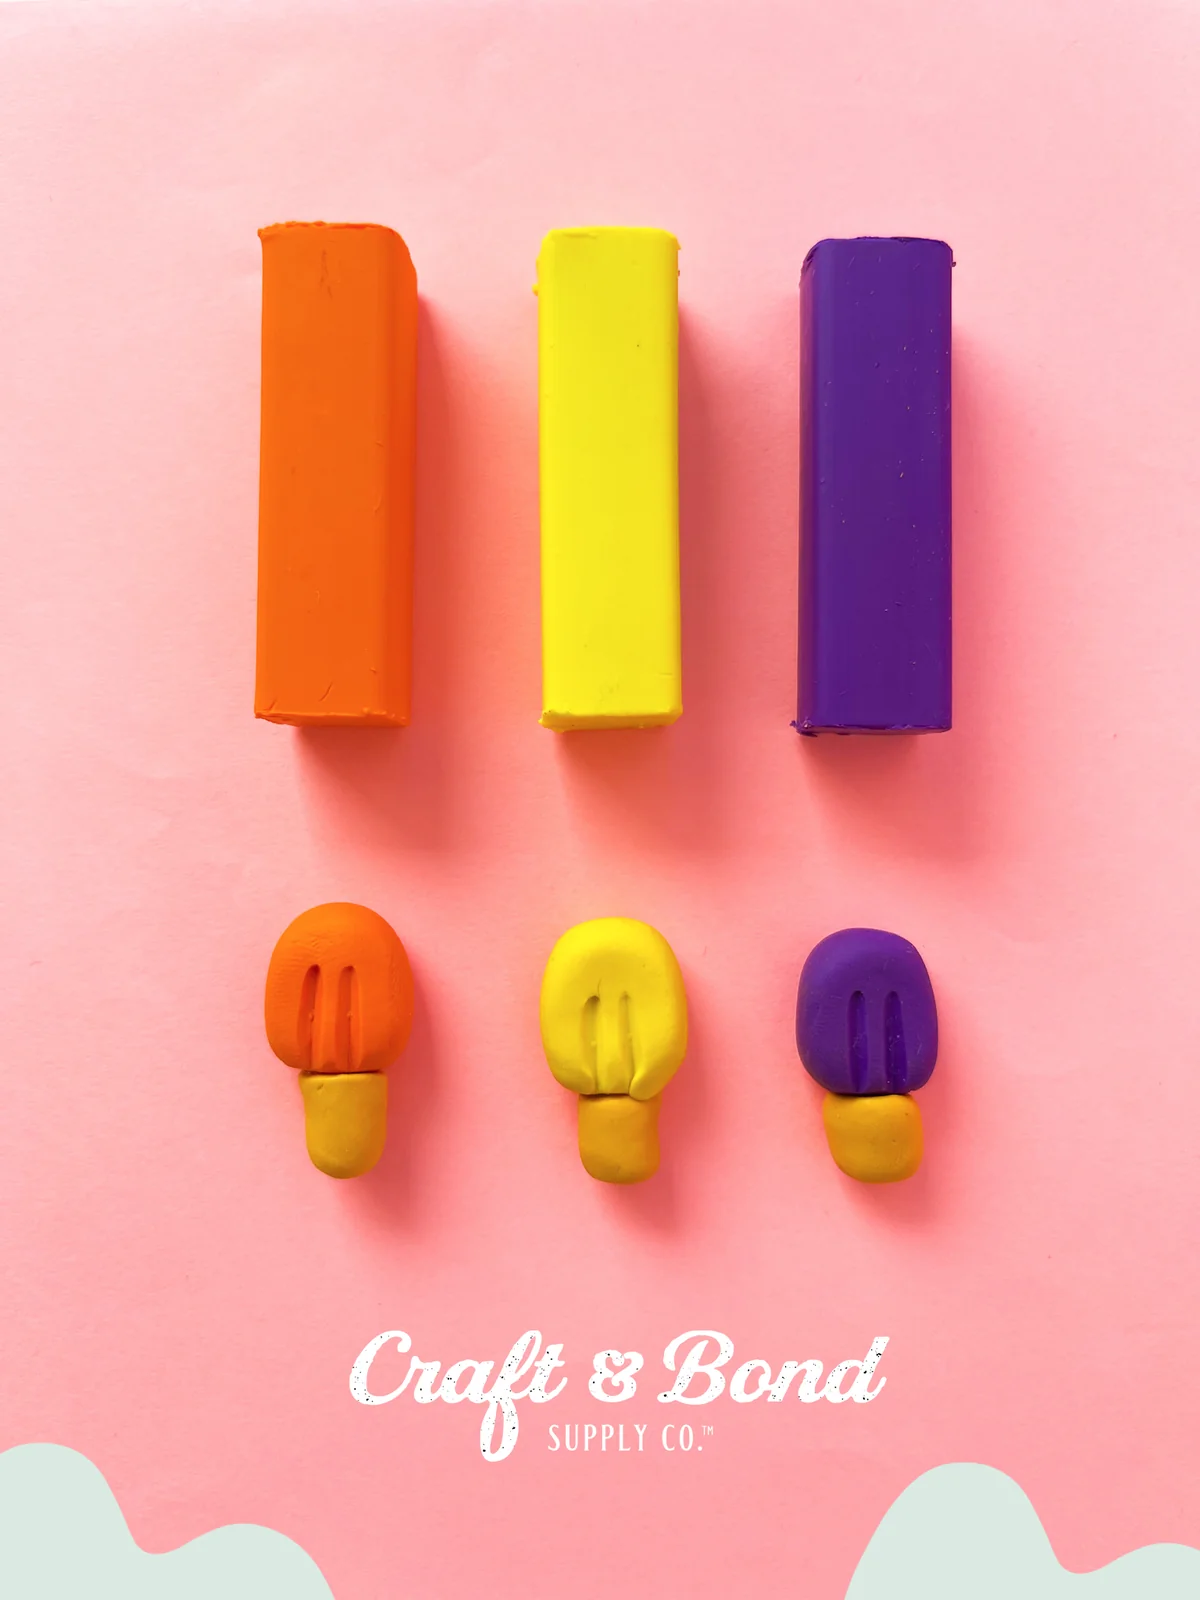
The milk carton (4 steps)
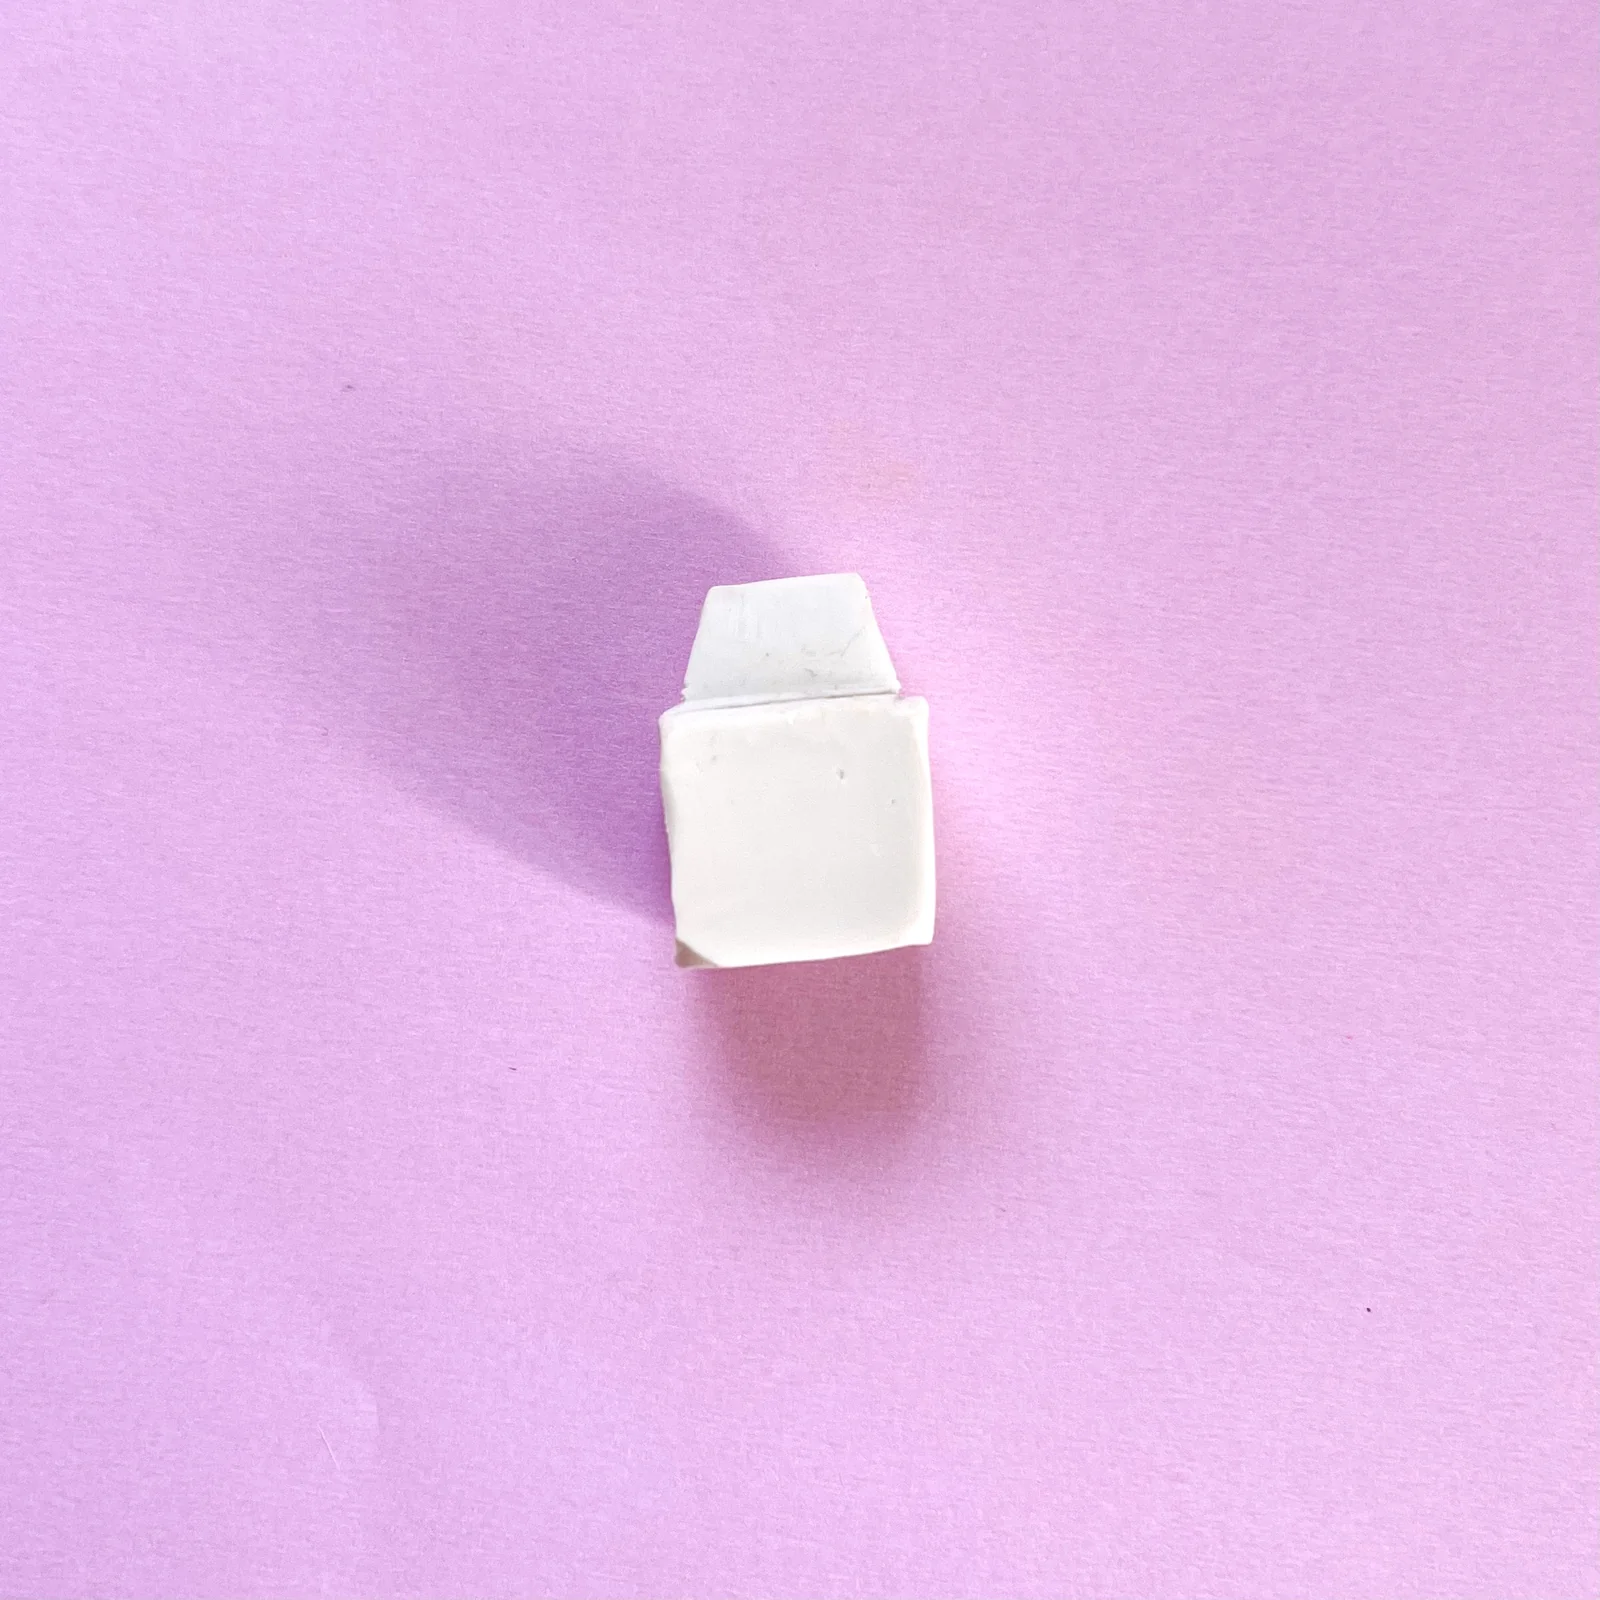
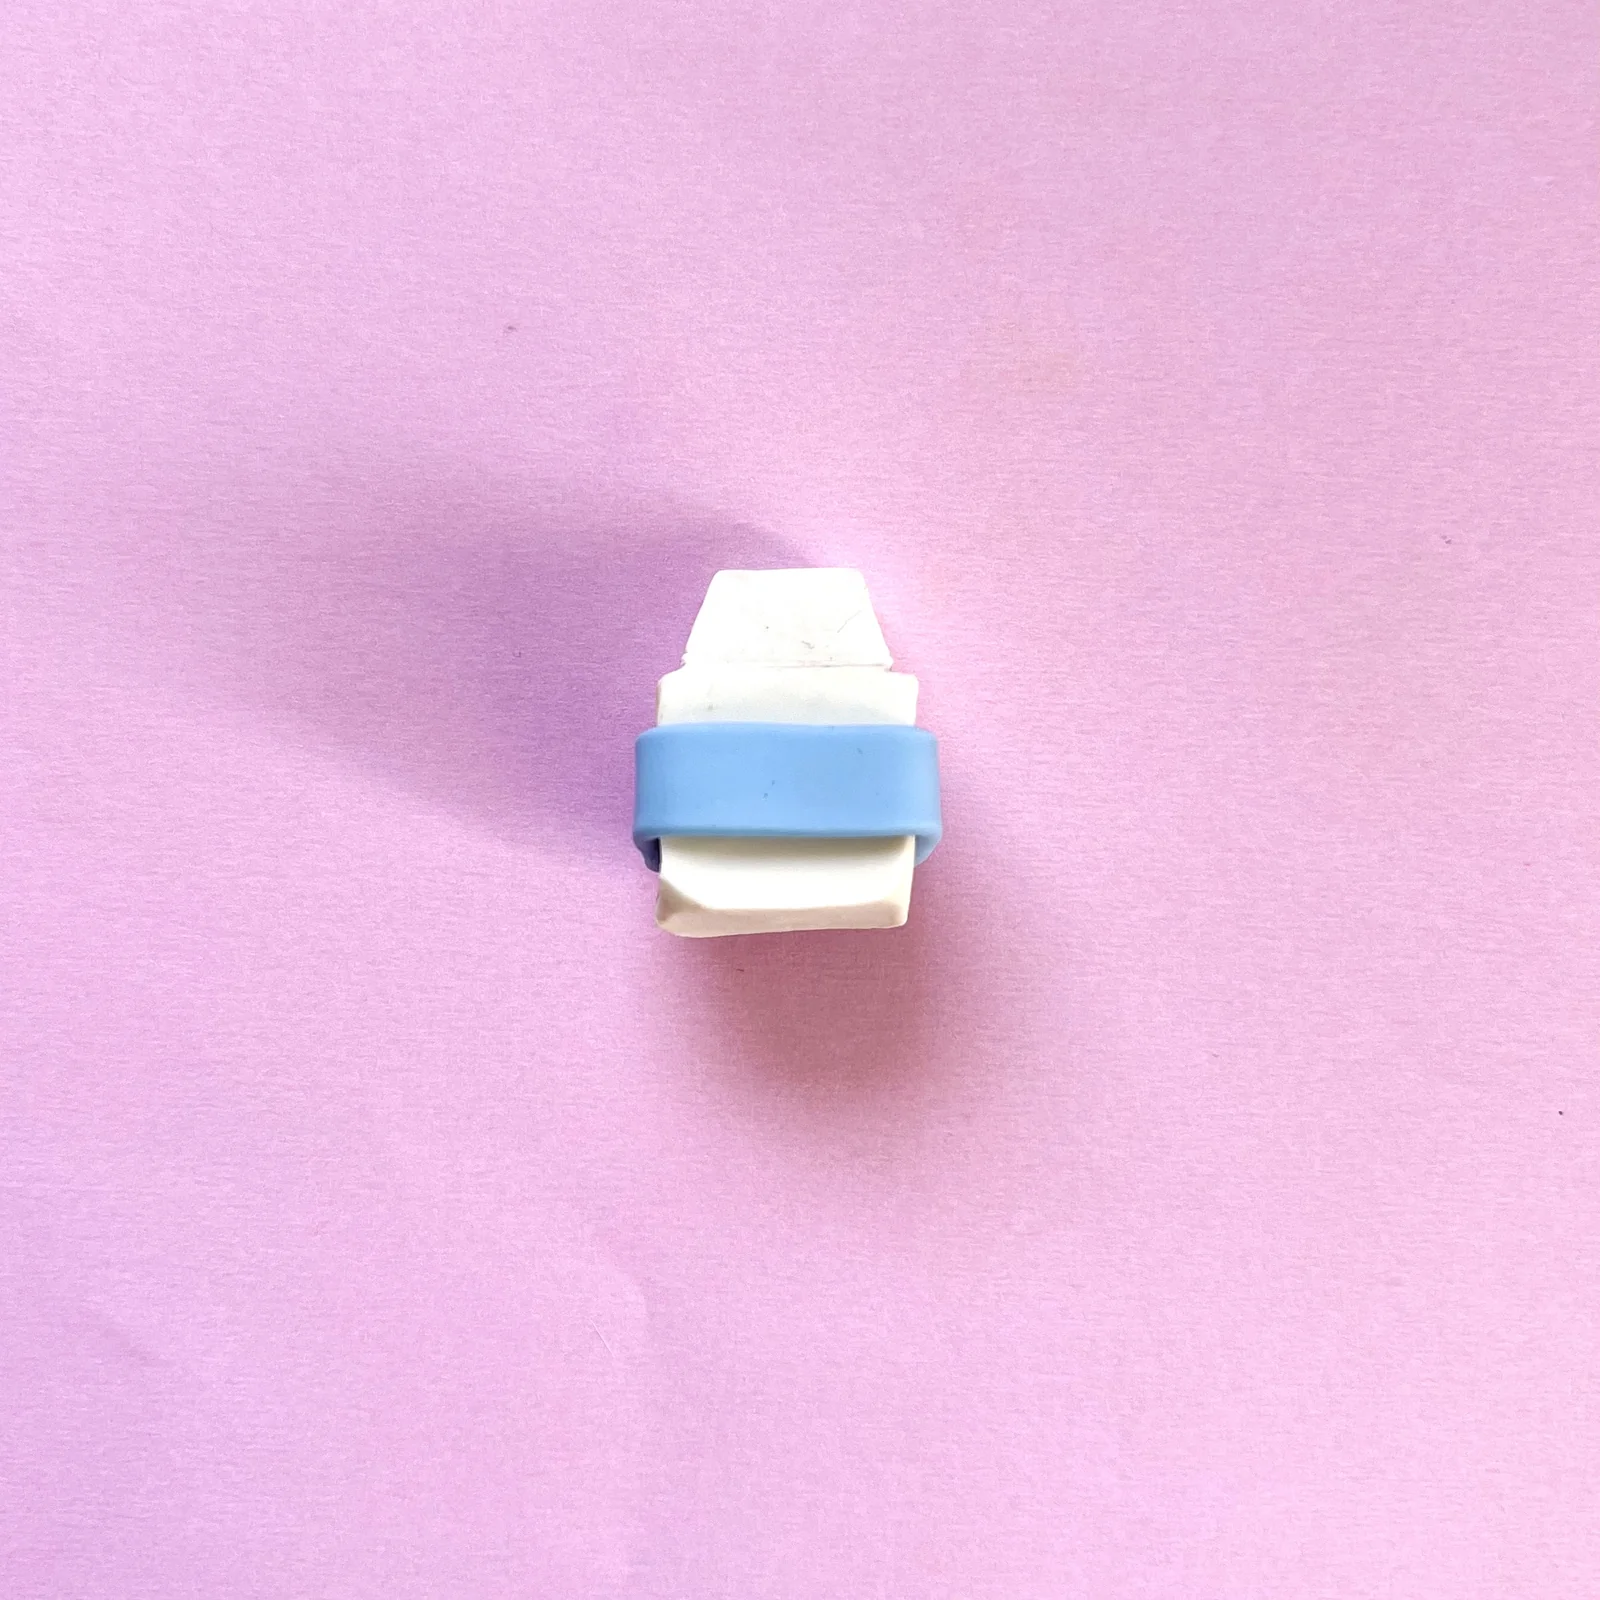
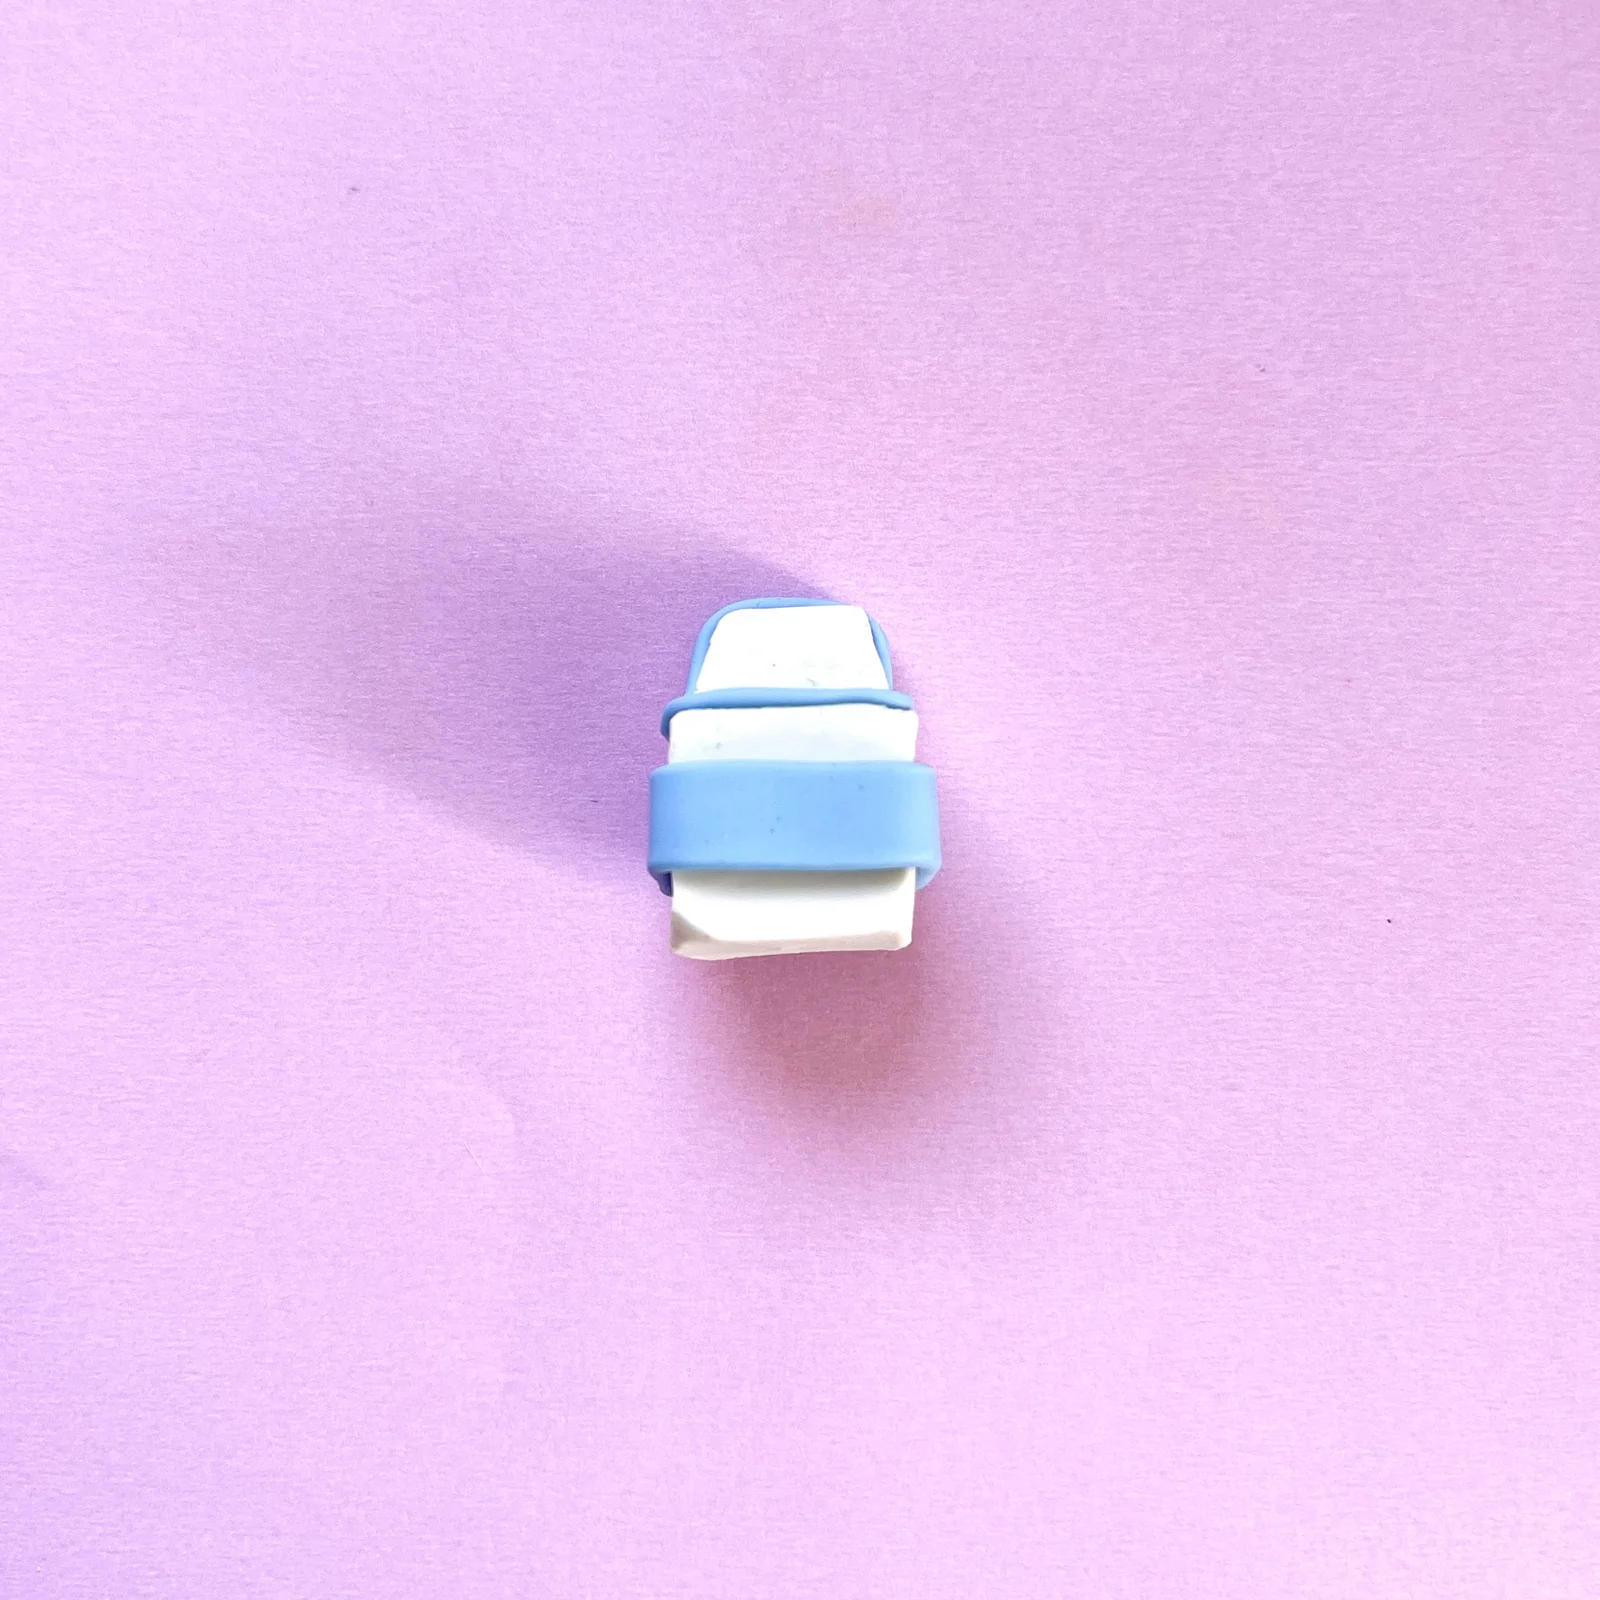
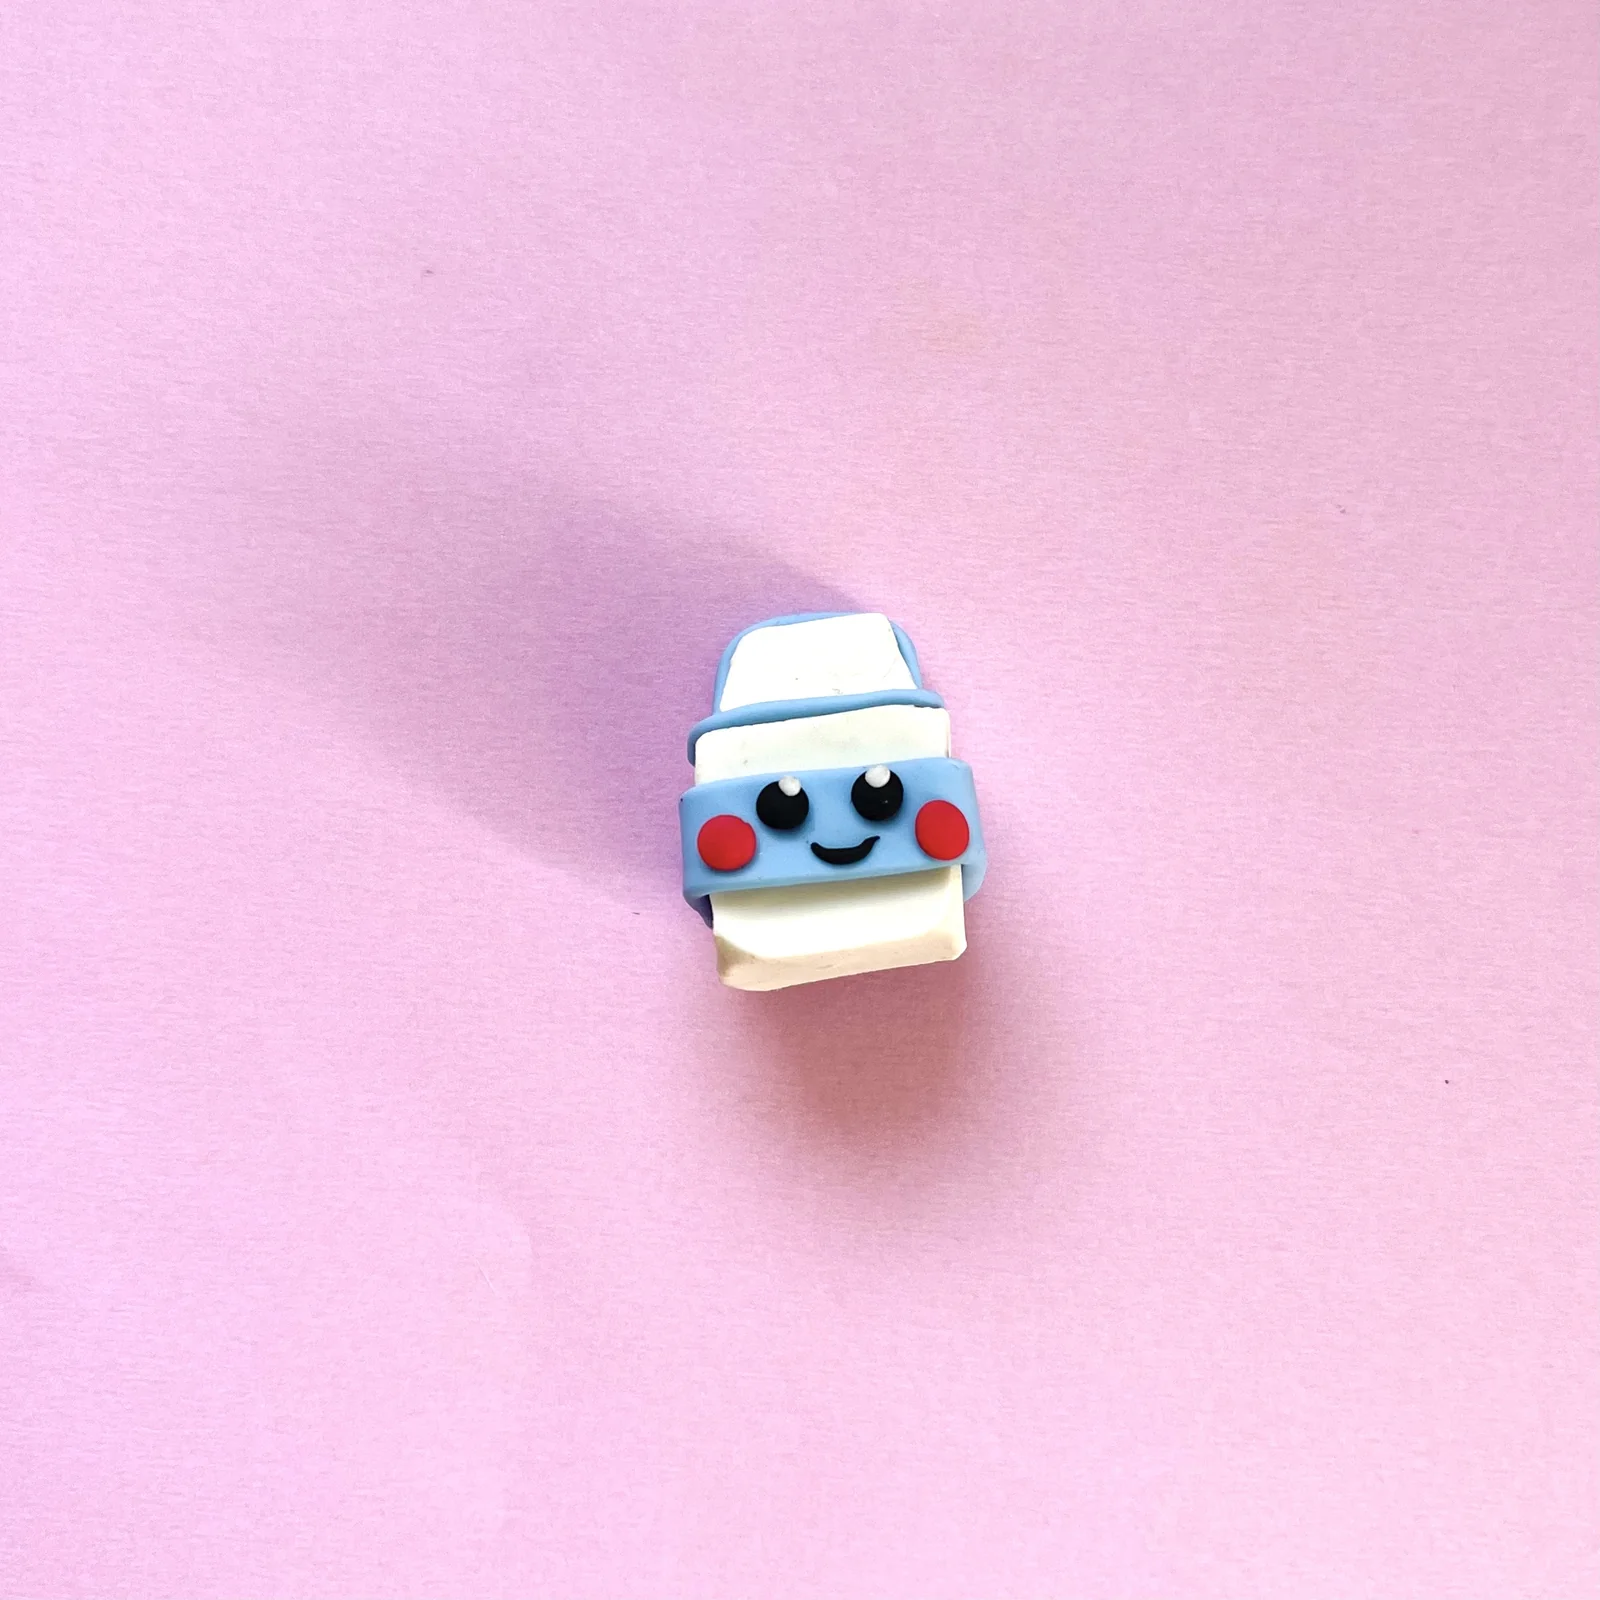
Bake according to the packet on the eraser clay, let everything cool completely, and test on pencil. They erase. That moment lands every single time.
If your crew finishes these and wants more, the animal set uses the same clay and adds a duck, a bear, and a giraffe. If the clay bug has properly bitten, the clay cupcakes are the next level up. And for the crew that prefers mess to precision, the glow in the dark slime is over here.
Production photography and videography by Pauline T. Gamboa for Craft & Bond Supply Co.
If this gave you an idea worth trying, there's more where it came from. Follow along on Pinterest (@CraftandBondCo) and Instagram (@craftandbondco) for new projects, recipes, and the occasional honest mess, and save this post so you can find your way back to it.