DIY Clay Cupcakes with a Powdered Sugar Finish
This post contains affiliate links. If you purchase something through my links I may earn a small commission at no extra cost to you. I only share products I actually used and loved.
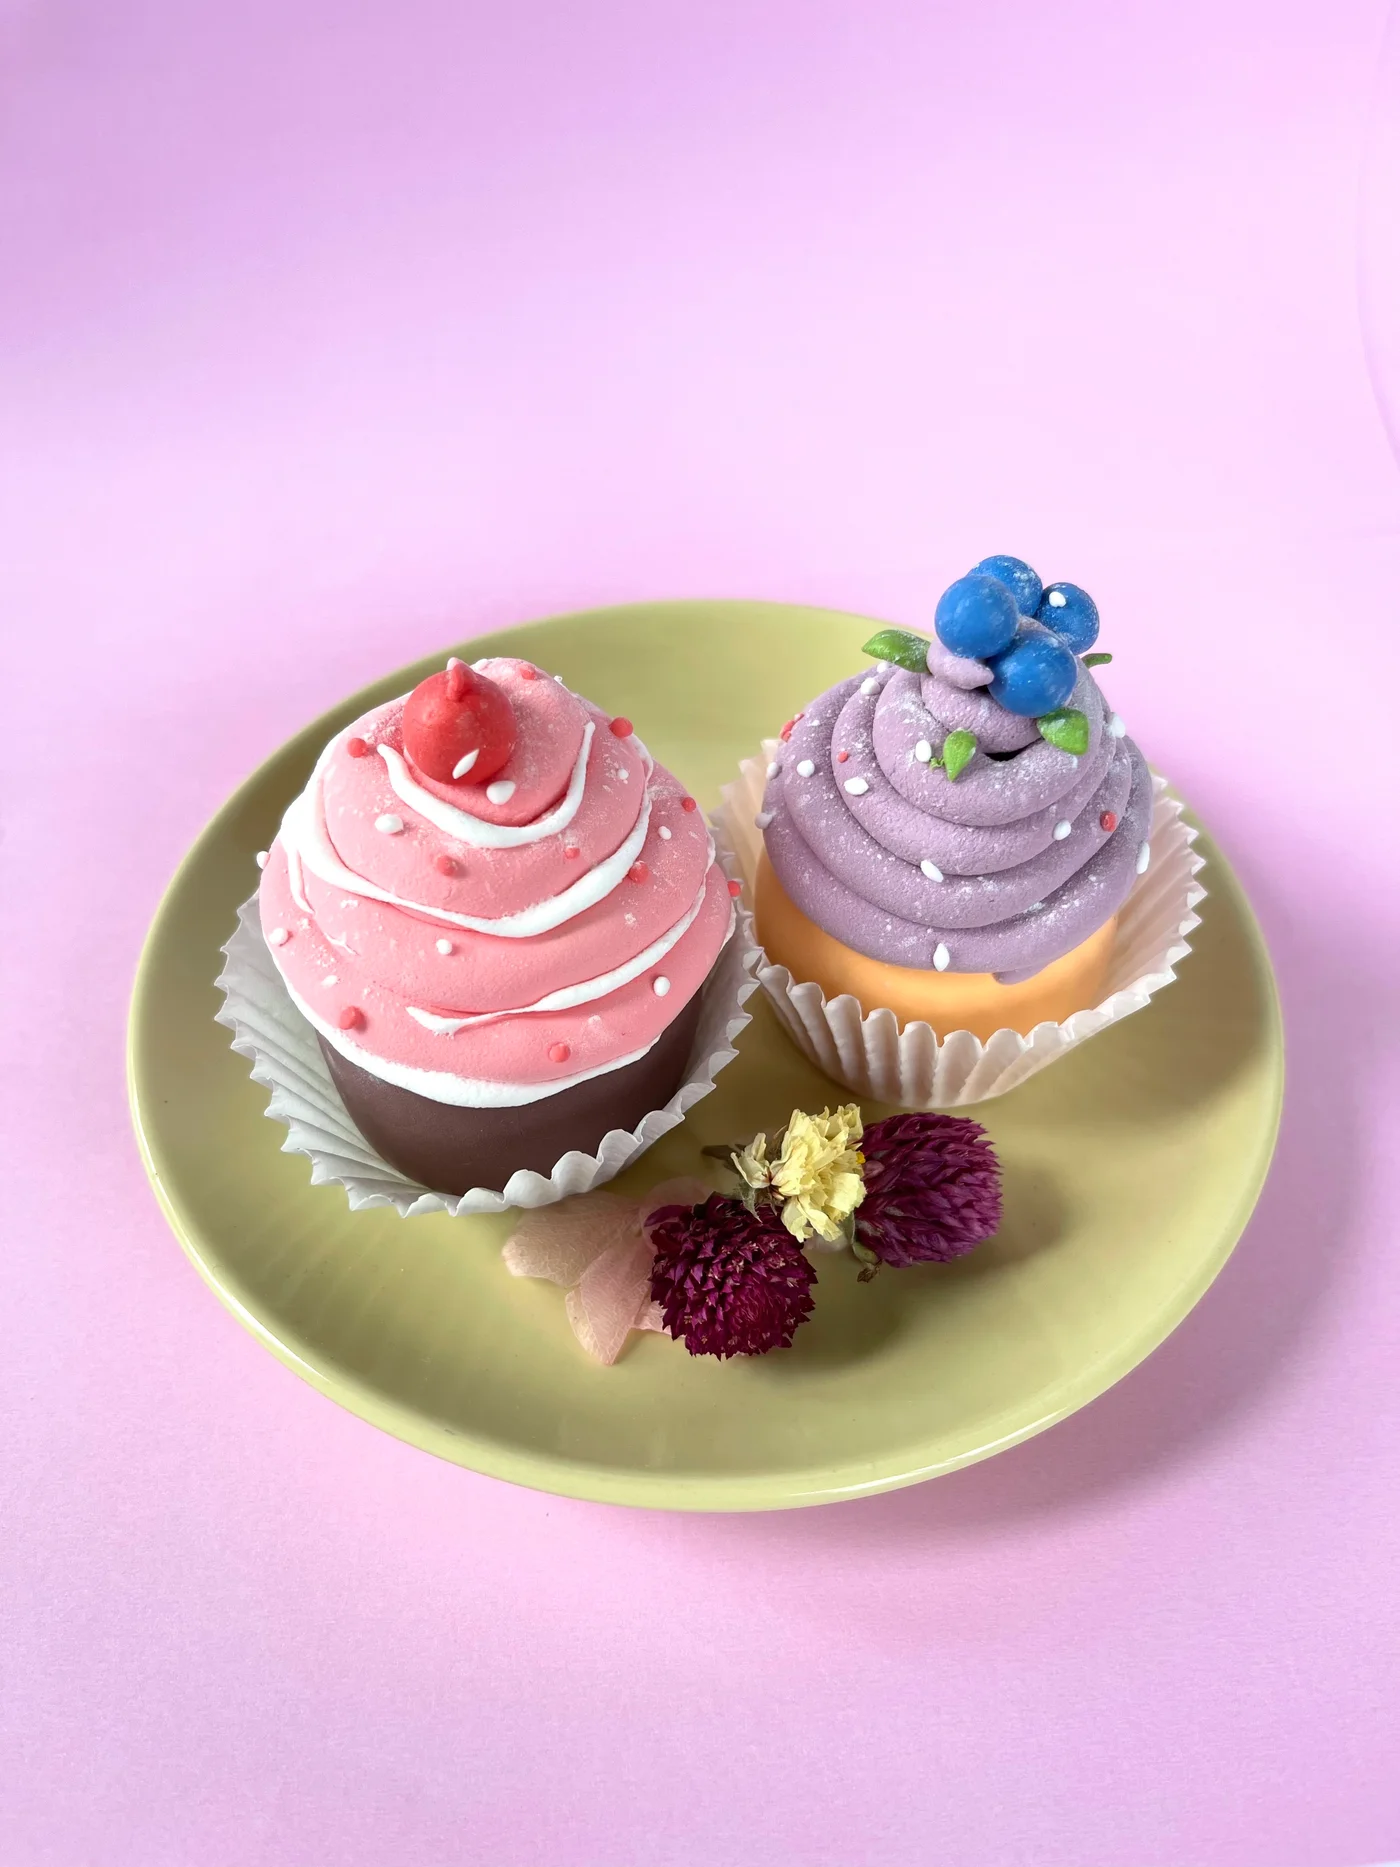
Every project in this series has one moment that makes it. For the cupcakes it is the very last step, when the whole thing is built and frosted and you dust a tiny bit of powder over the top. Suddenly it stops being a craft and looks like something from a bakery case, and whoever made it makes a noise.
What you need
Air dry clay in red, yellow, blue, white, and green, all in one air dry clay kit (or this rainbow set). Sculpting tools. Baking paper. And the secret ingredient: a pinch of baby powder or flour for the finish.
One honest note about the links above: since my last clay post, the clay I used to use has changed hands, and the other shop stopped selling the tool set I liked at the right price. These are fun new sets I am suggesting instead. Great ratings, and the clay comes in a boatload of colors, which makes the mixing even more fun.
Build the cakes
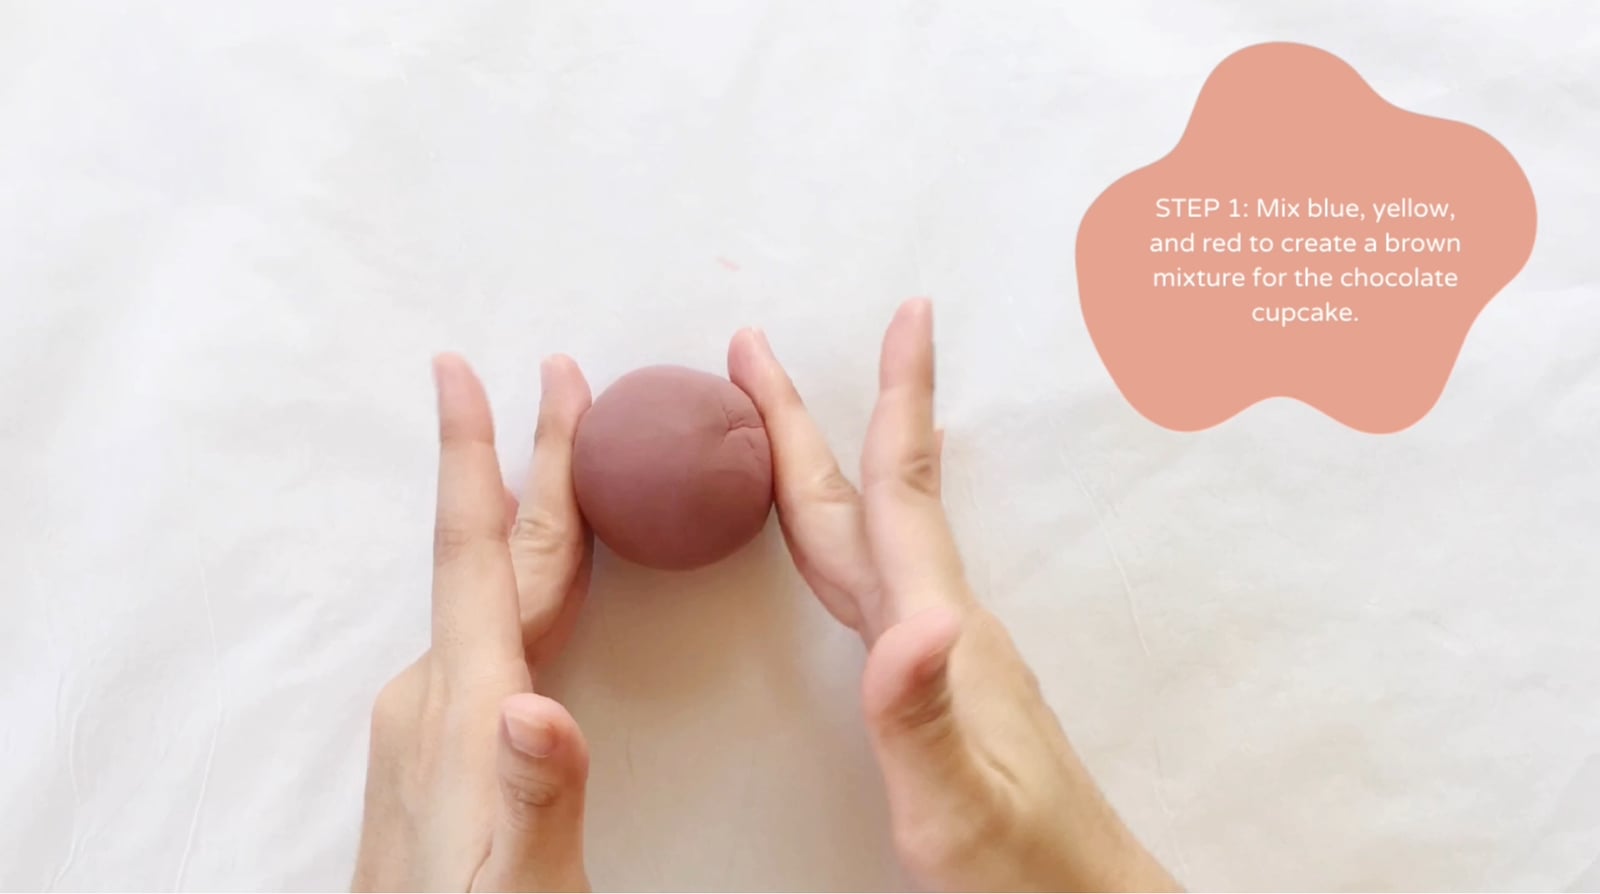
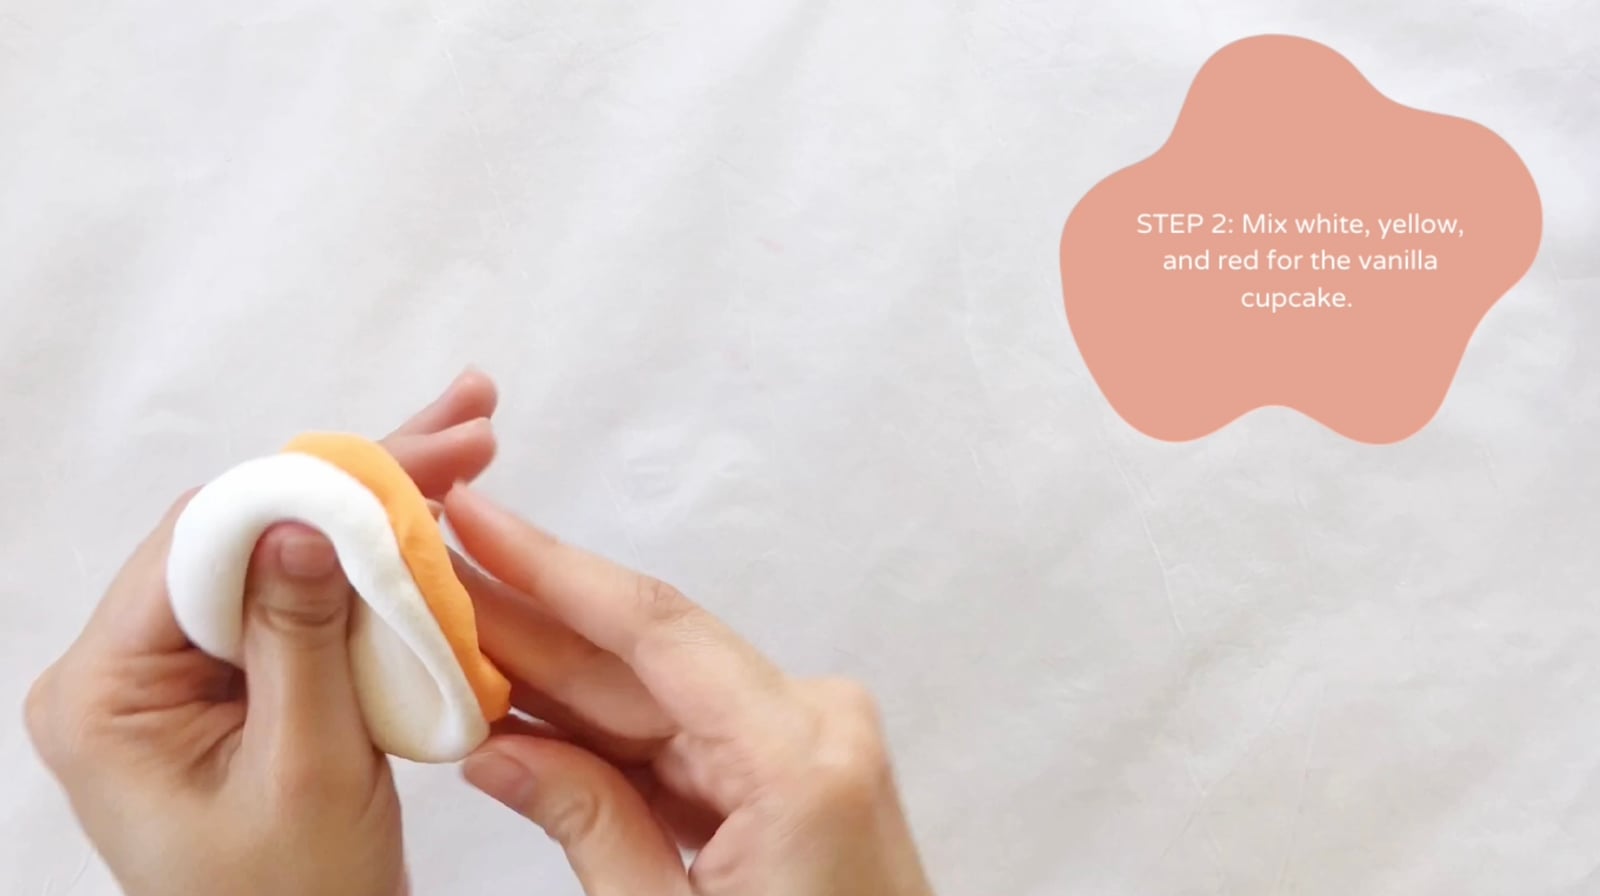
Mix blue, yellow, and red into a chocolate brown for the first cupcake. Mix white, yellow, and a whisper of red for the vanilla one. Shape both into that squat cupcake profile, wider at the top, and score vertical lines around the base so it reads as a paper liner.
Frost them
Strawberry frosting is red and white mixed to pink, swirled onto the chocolate cake. Then the detail pass that does all the work: darker pink dots on the frosting, then white dots, then a rolled clay cherry on top. The vanilla cupcake gets white frosting, then a purple blueberry mixture, then actual tiny clay blueberries pressed in, green mint leaves, and a final scatter of white and pink dots.
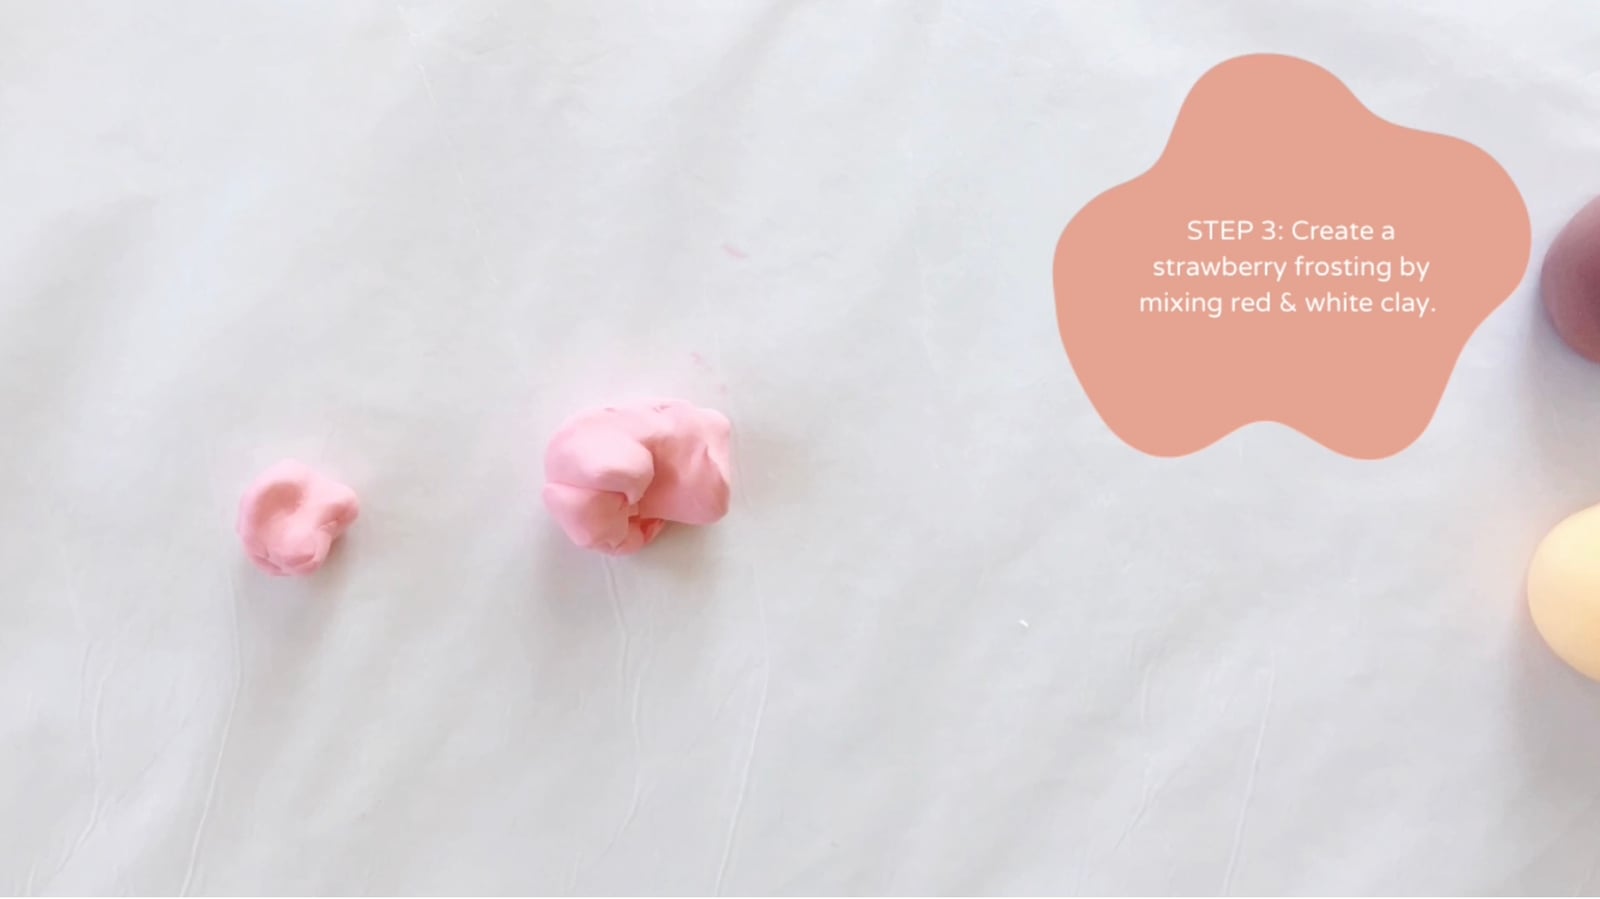
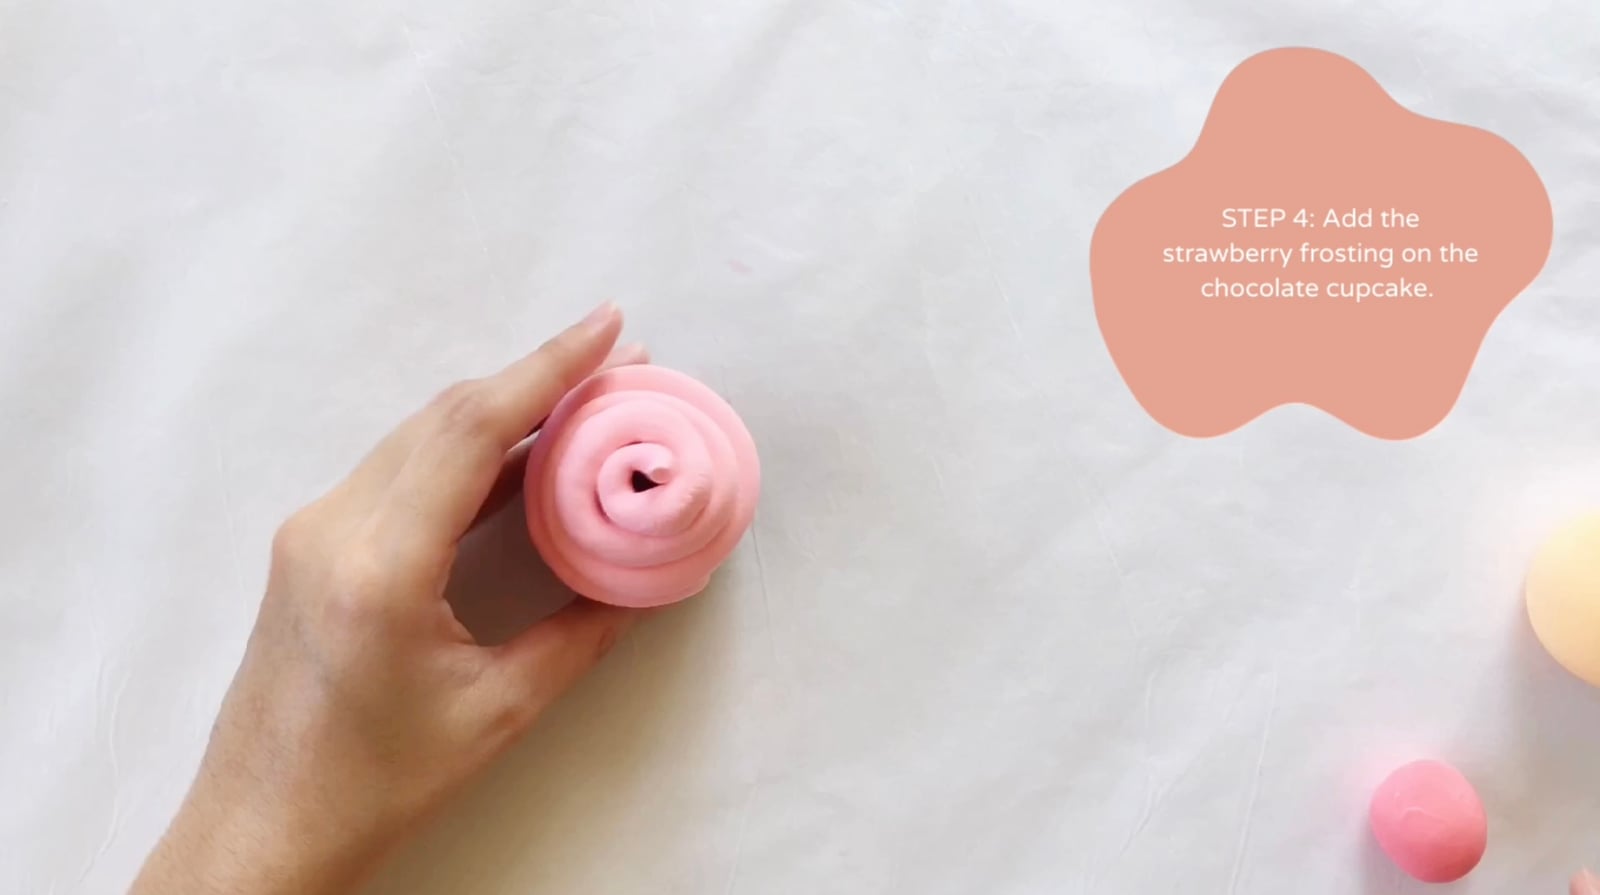
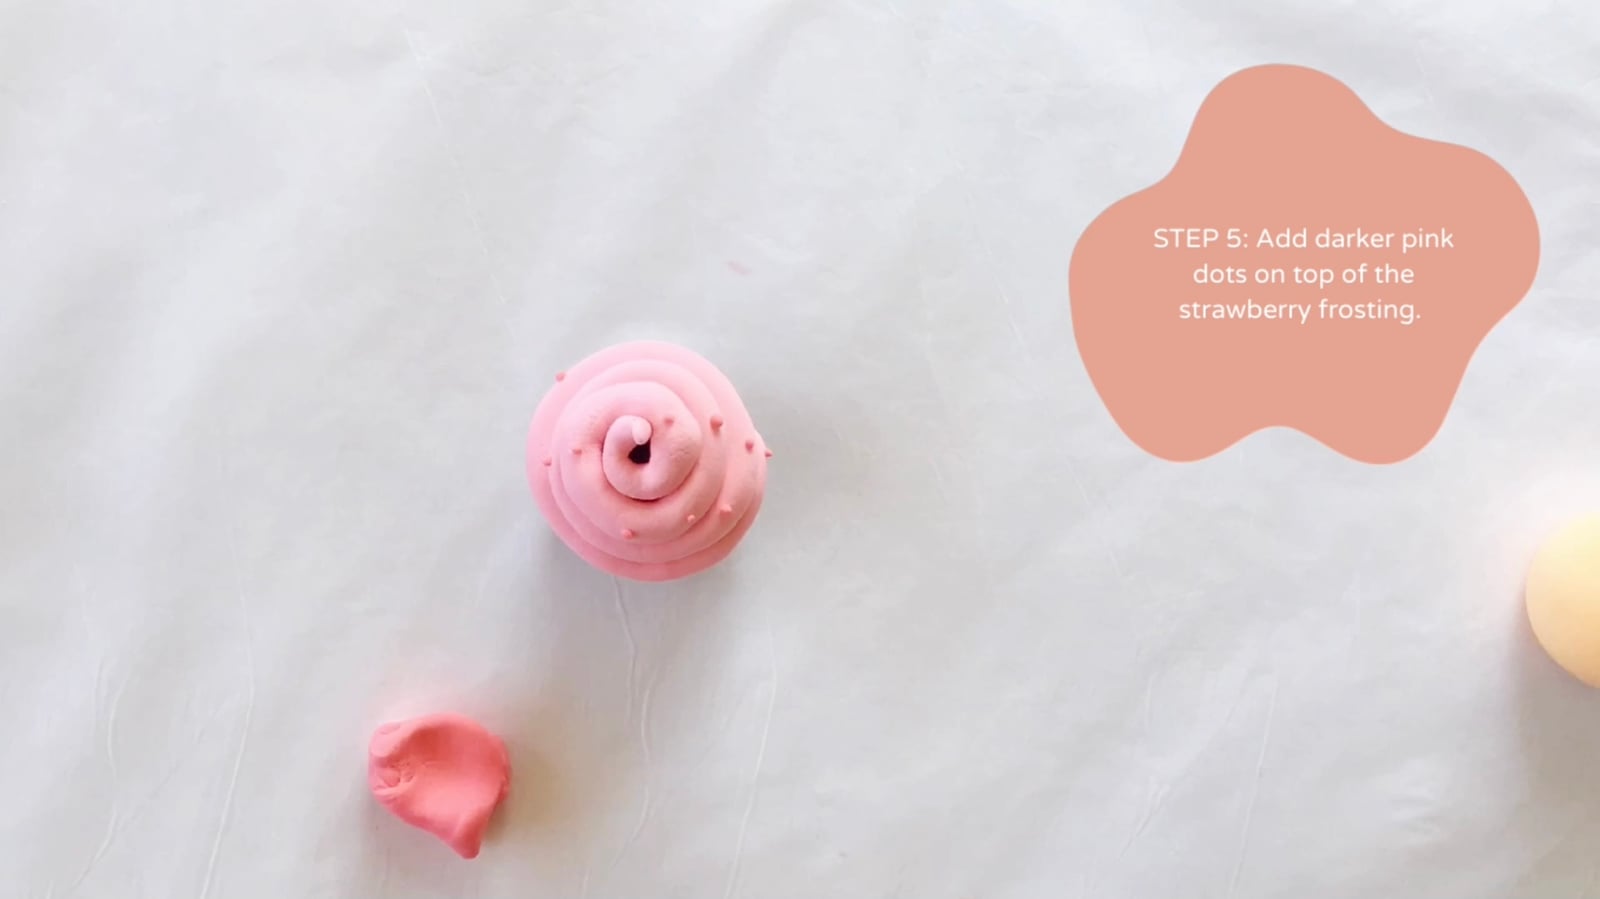
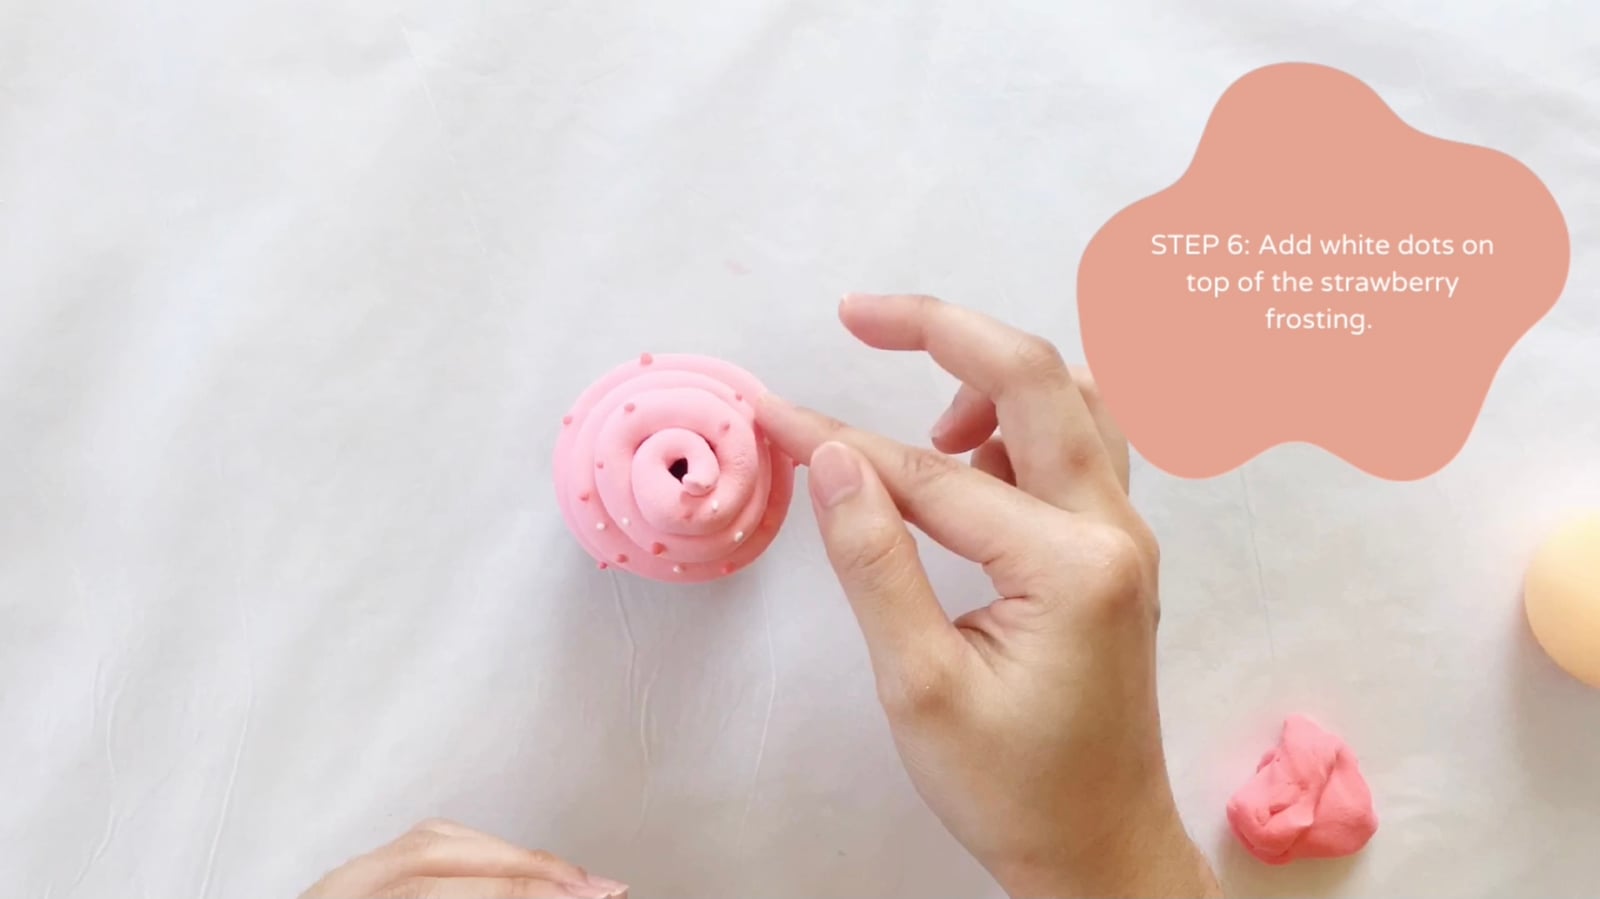
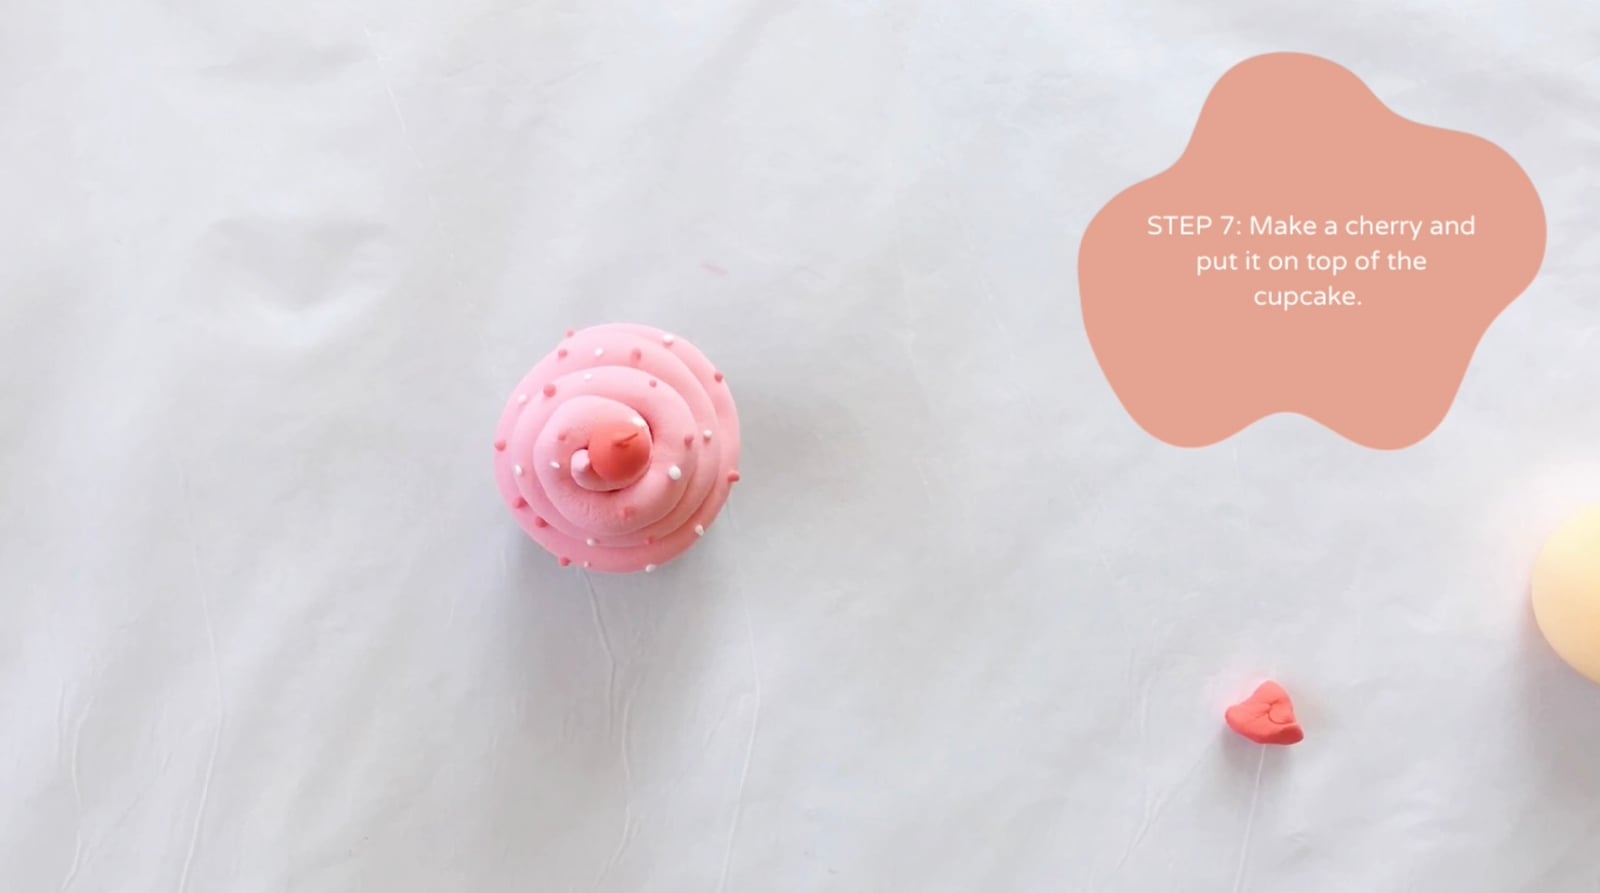
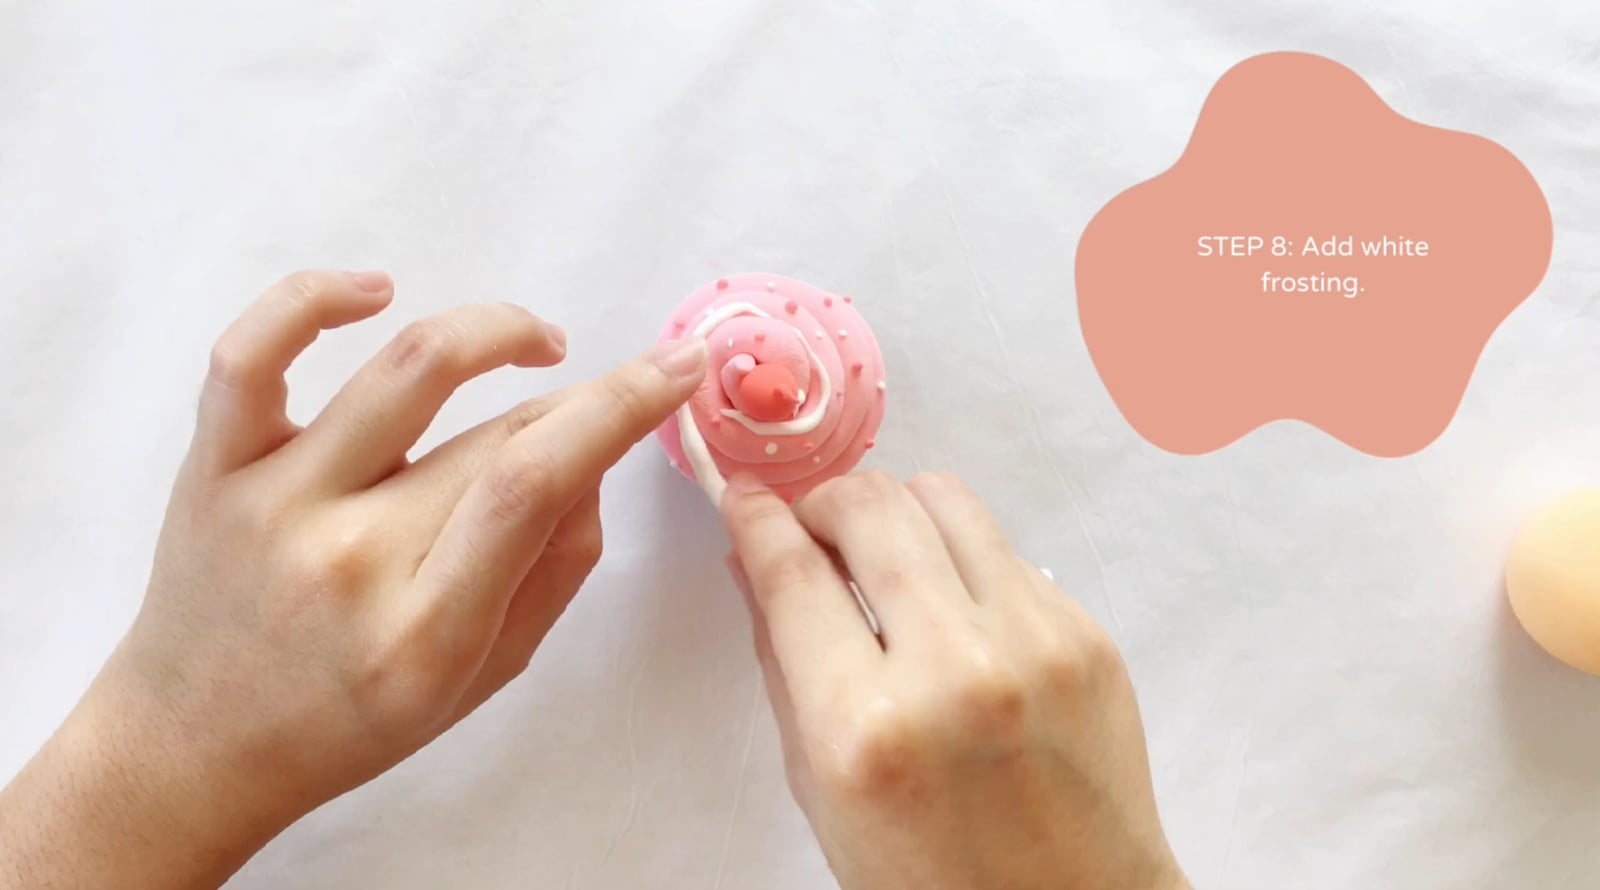
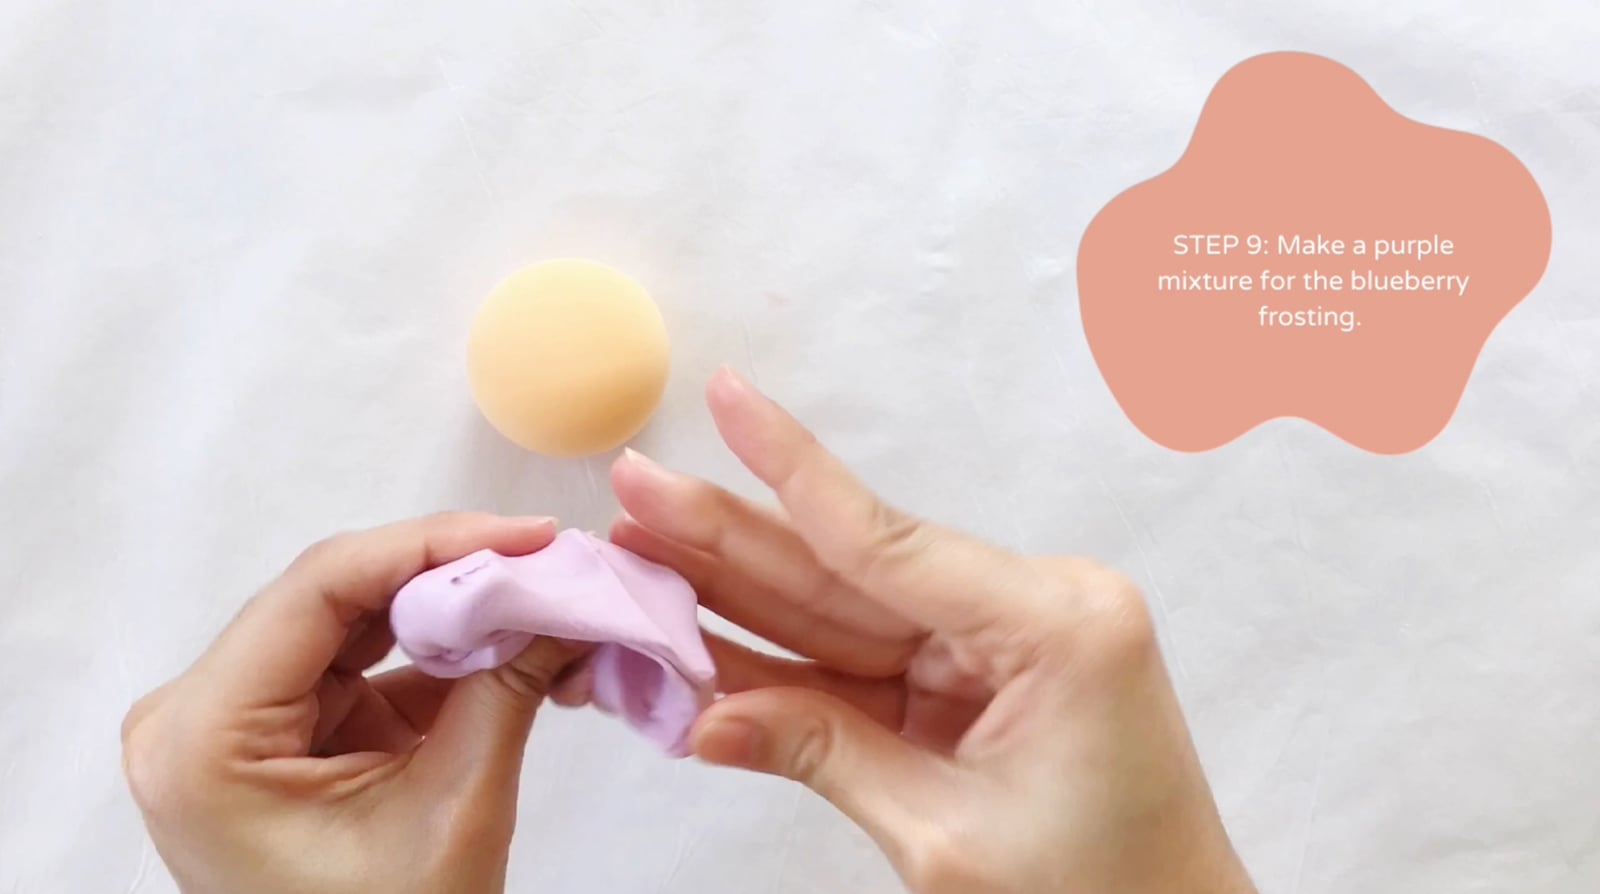
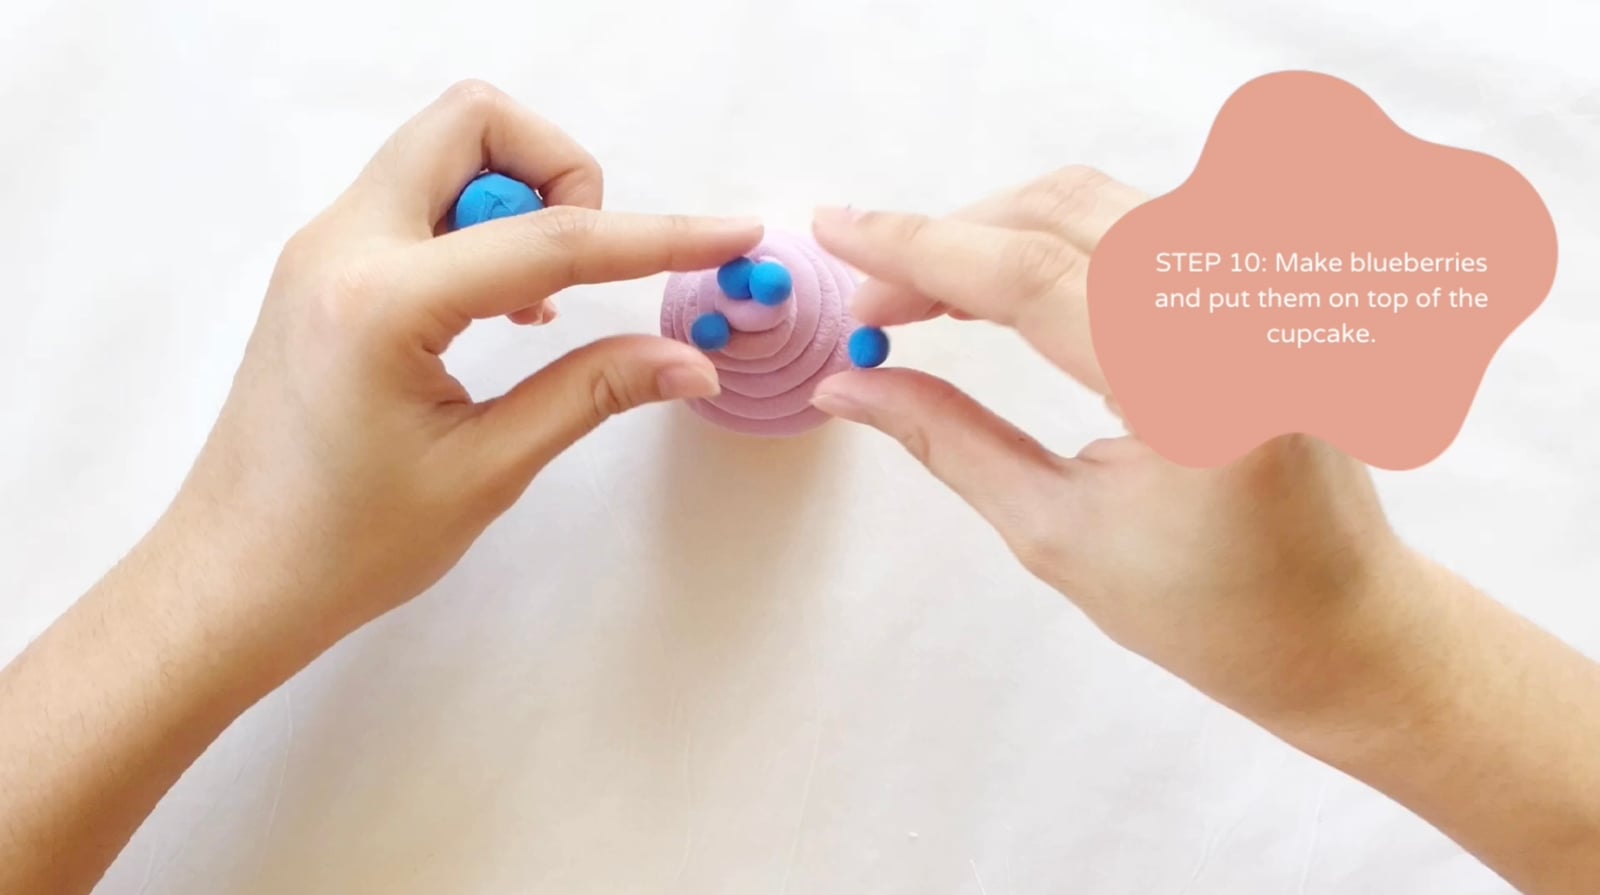
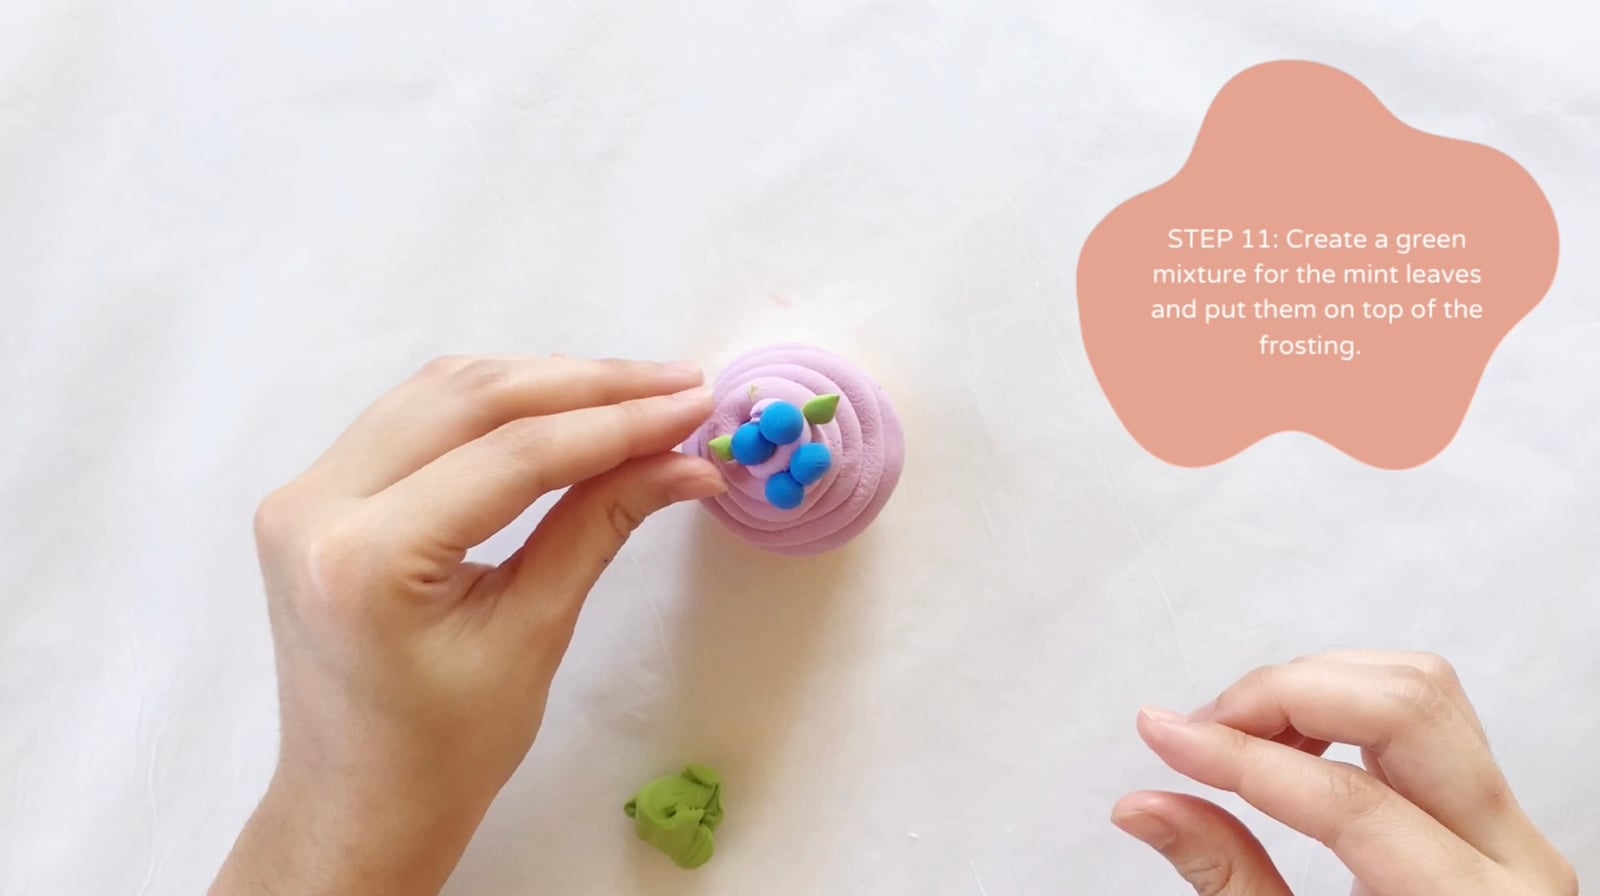
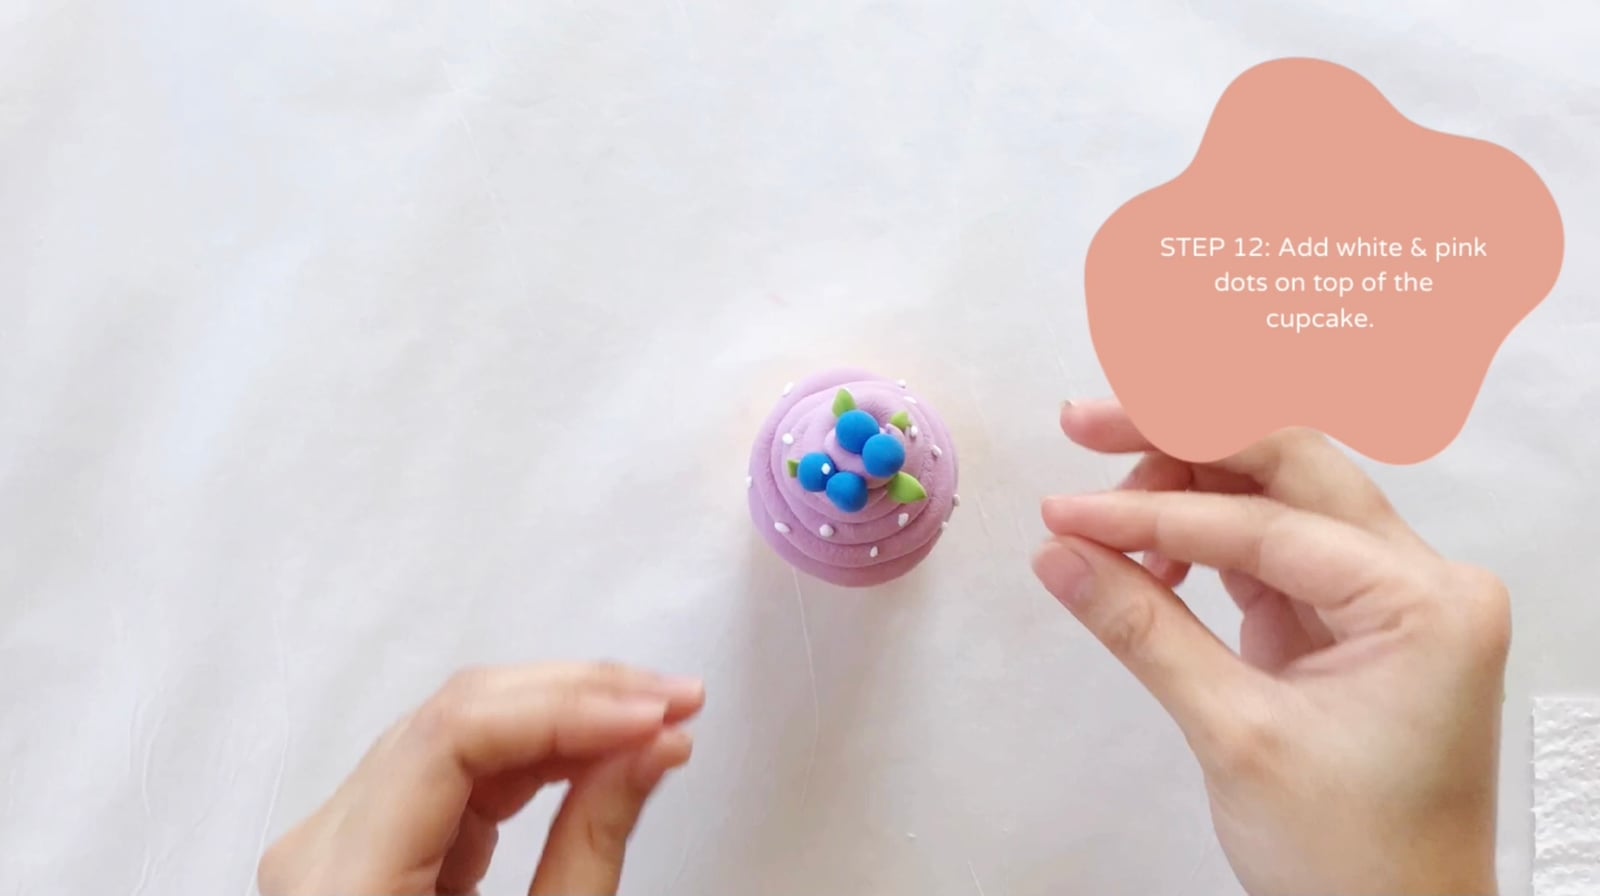
None of these steps is hard. There are thirteen of them and each one is a small ball or a small dot, which is exactly why this project works with kids: constant progress, zero risk.
The finish
When everything is assembled, take a pinch of powder and dust it over the tops. That soft matte coating is what sells the whole illusion. Then hands off while they dry, an hour to handle, a day to cure.
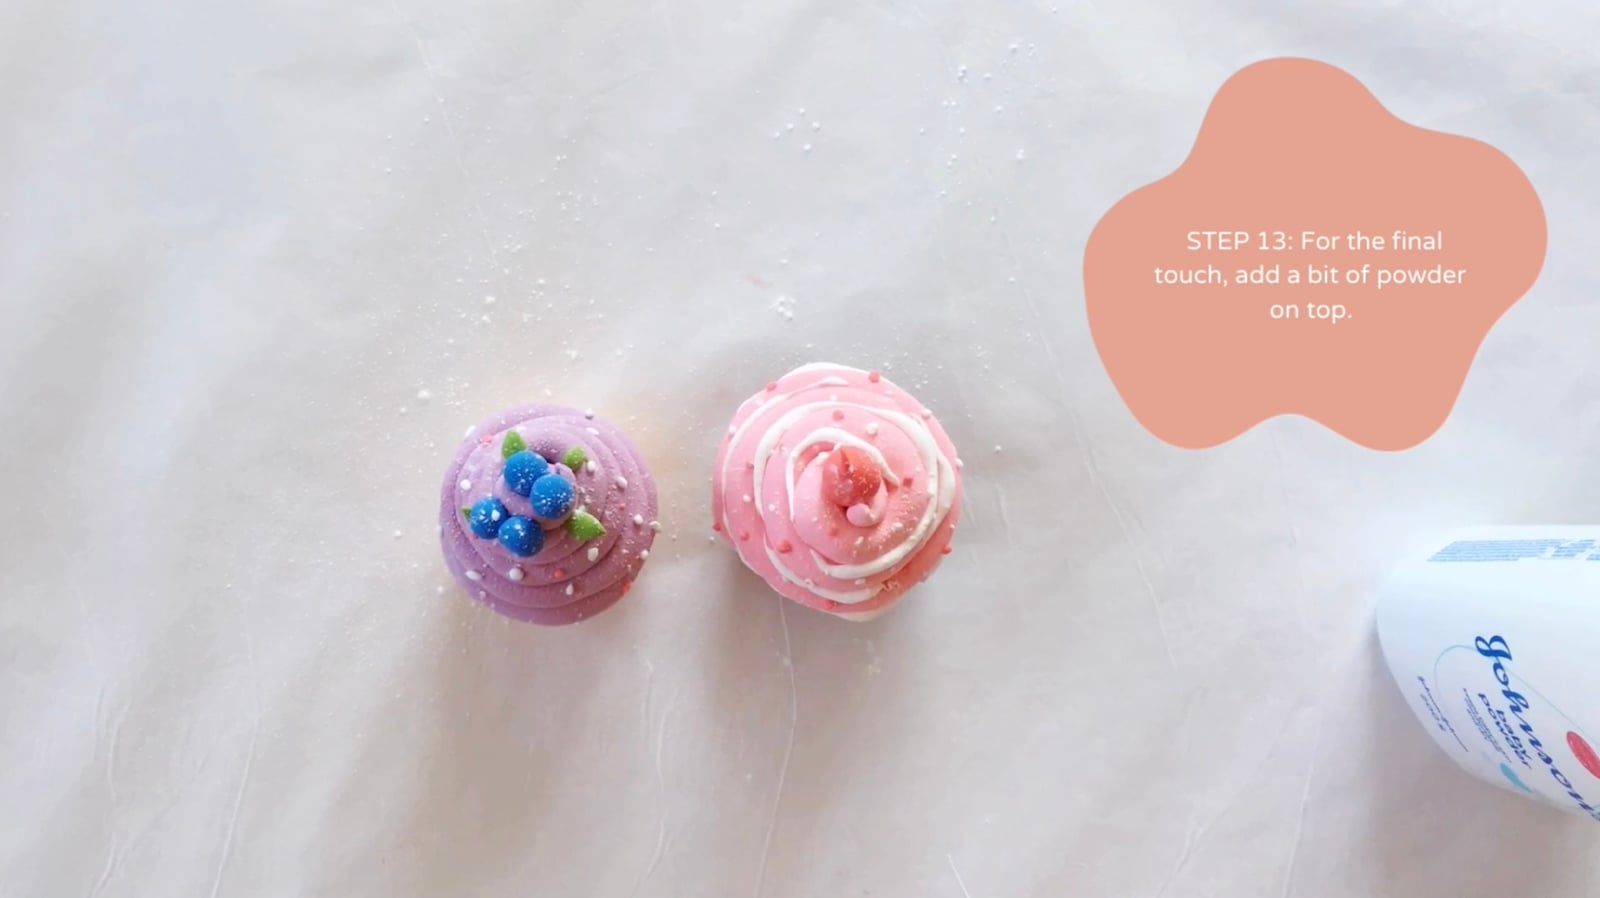
The step photography for this project was shot for Craft & Bond by Pauline Gamboa, whose very steady hands you will see throughout.
Chocolate with strawberry or vanilla with blueberry, which one gets eaten first at your house?
Next in the clay kitchen: the chocolate chip cookies, which are the easiest thing in the whole series.
If this gave you an idea worth trying, there's more where it came from. Follow along on Pinterest (@CraftandBondCo) and Instagram (@craftandbondco) for new projects, recipes, and the occasional honest mess, and save this post so you can find your way back to it.