DIY Clay Sushi: Three Kinds, One Afternoon
This post contains affiliate links. If you purchase something through my links I may earn a small commission at no extra cost to you. I only share products I actually used and loved.
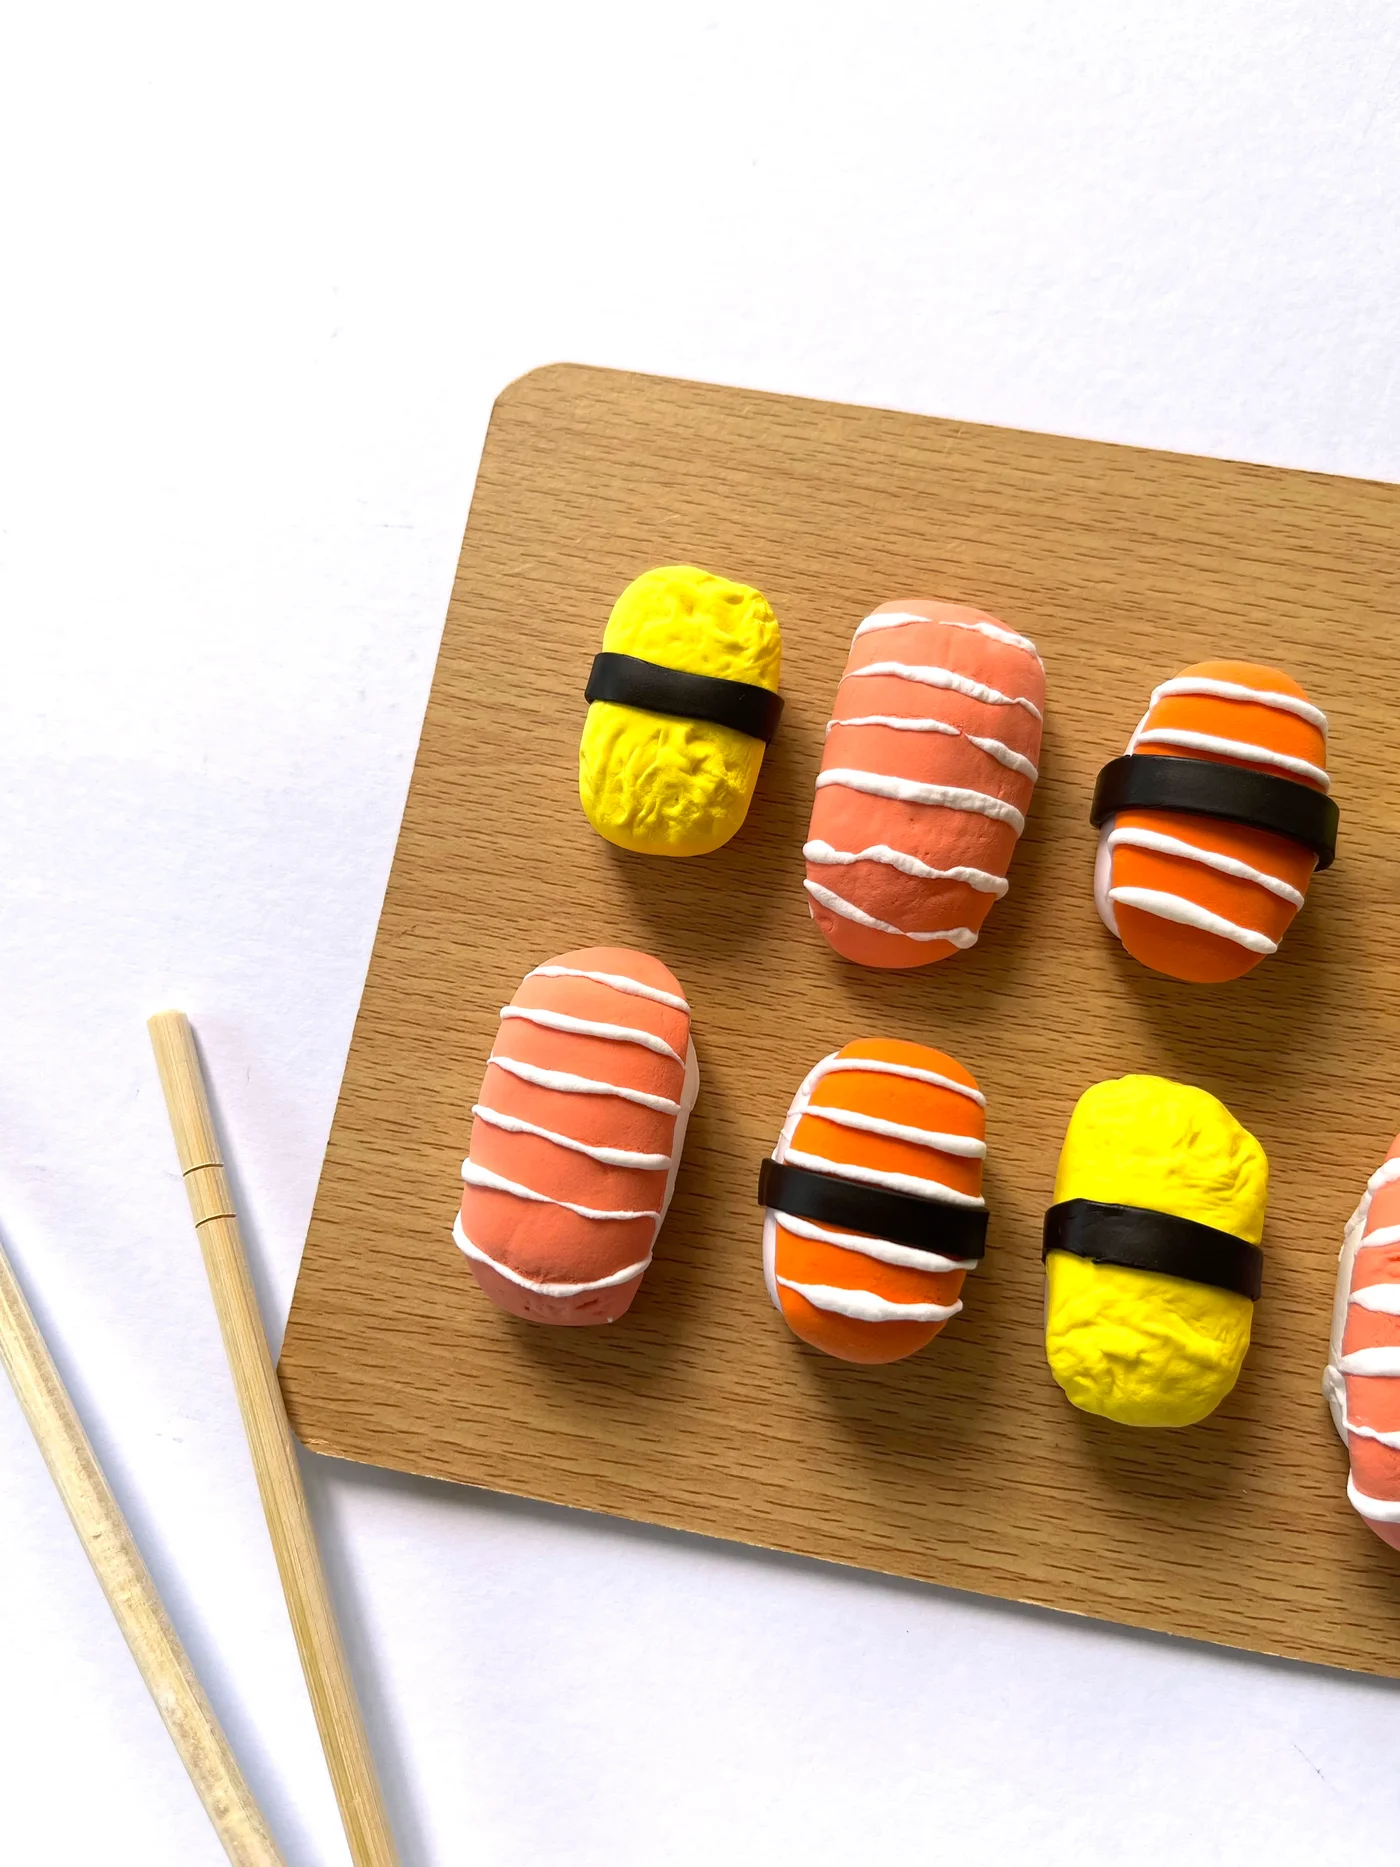
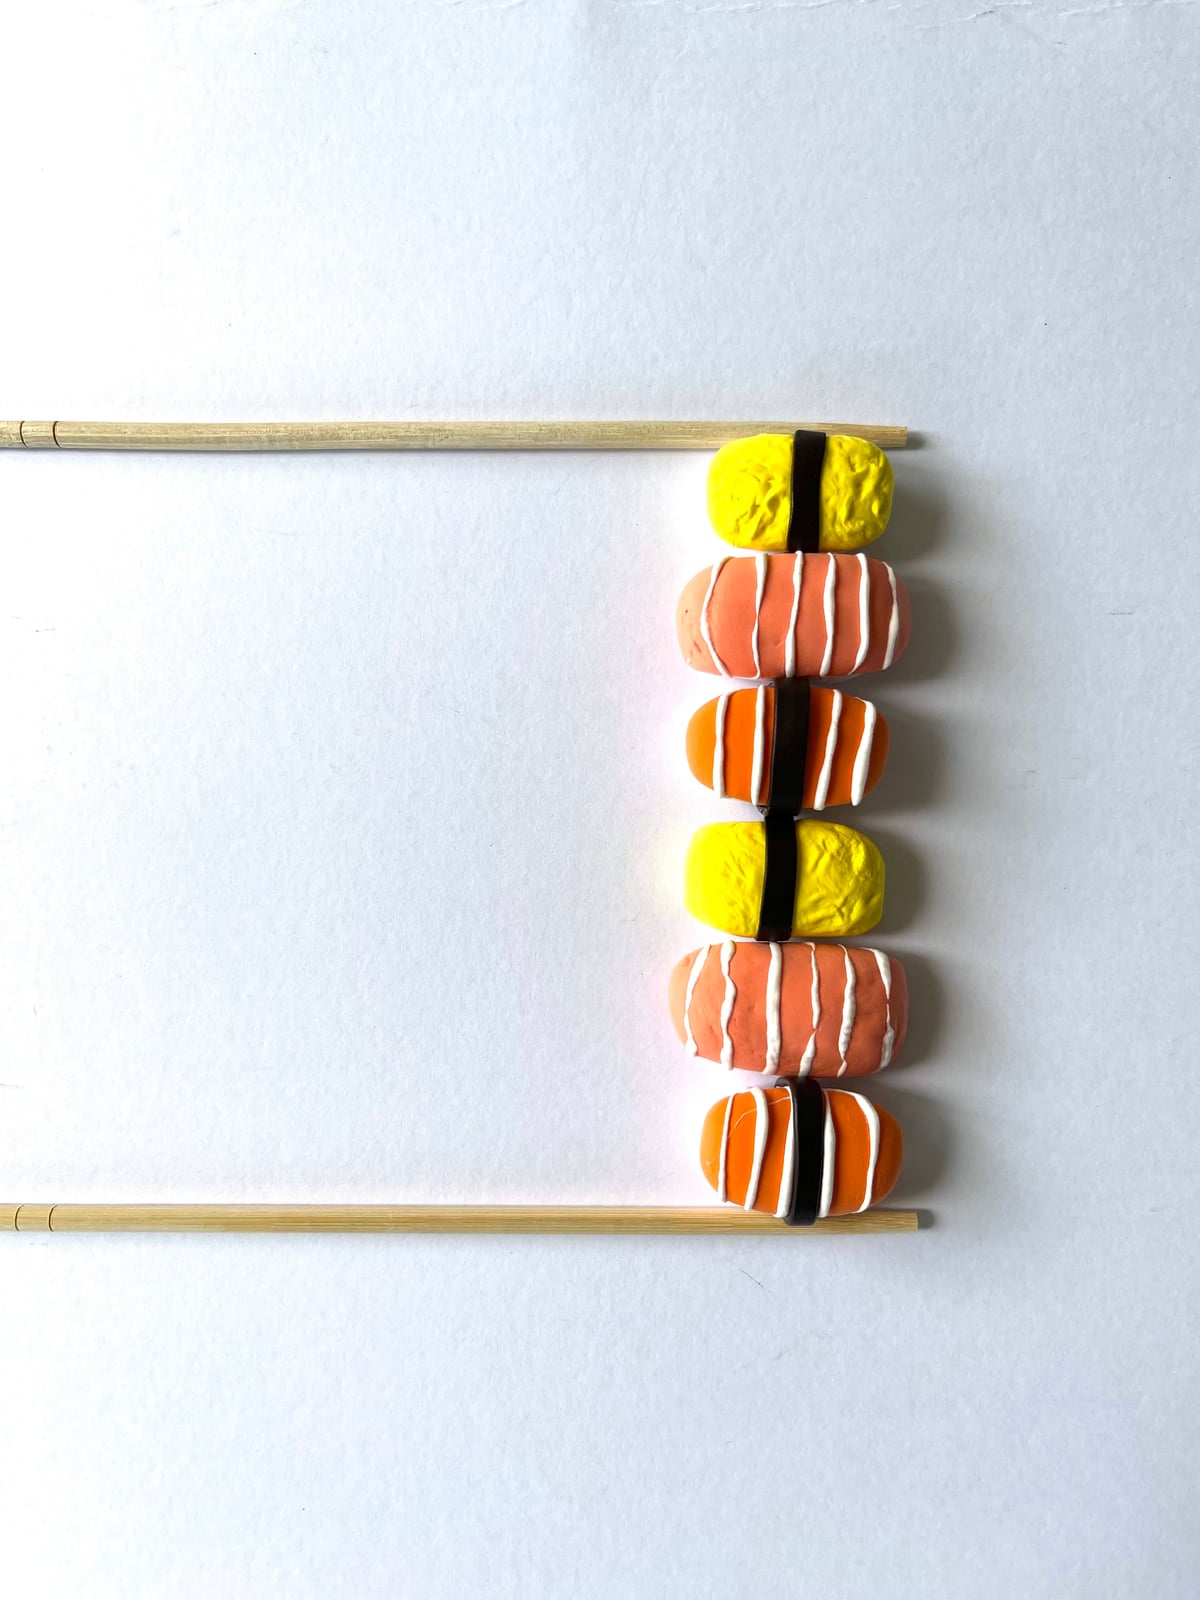
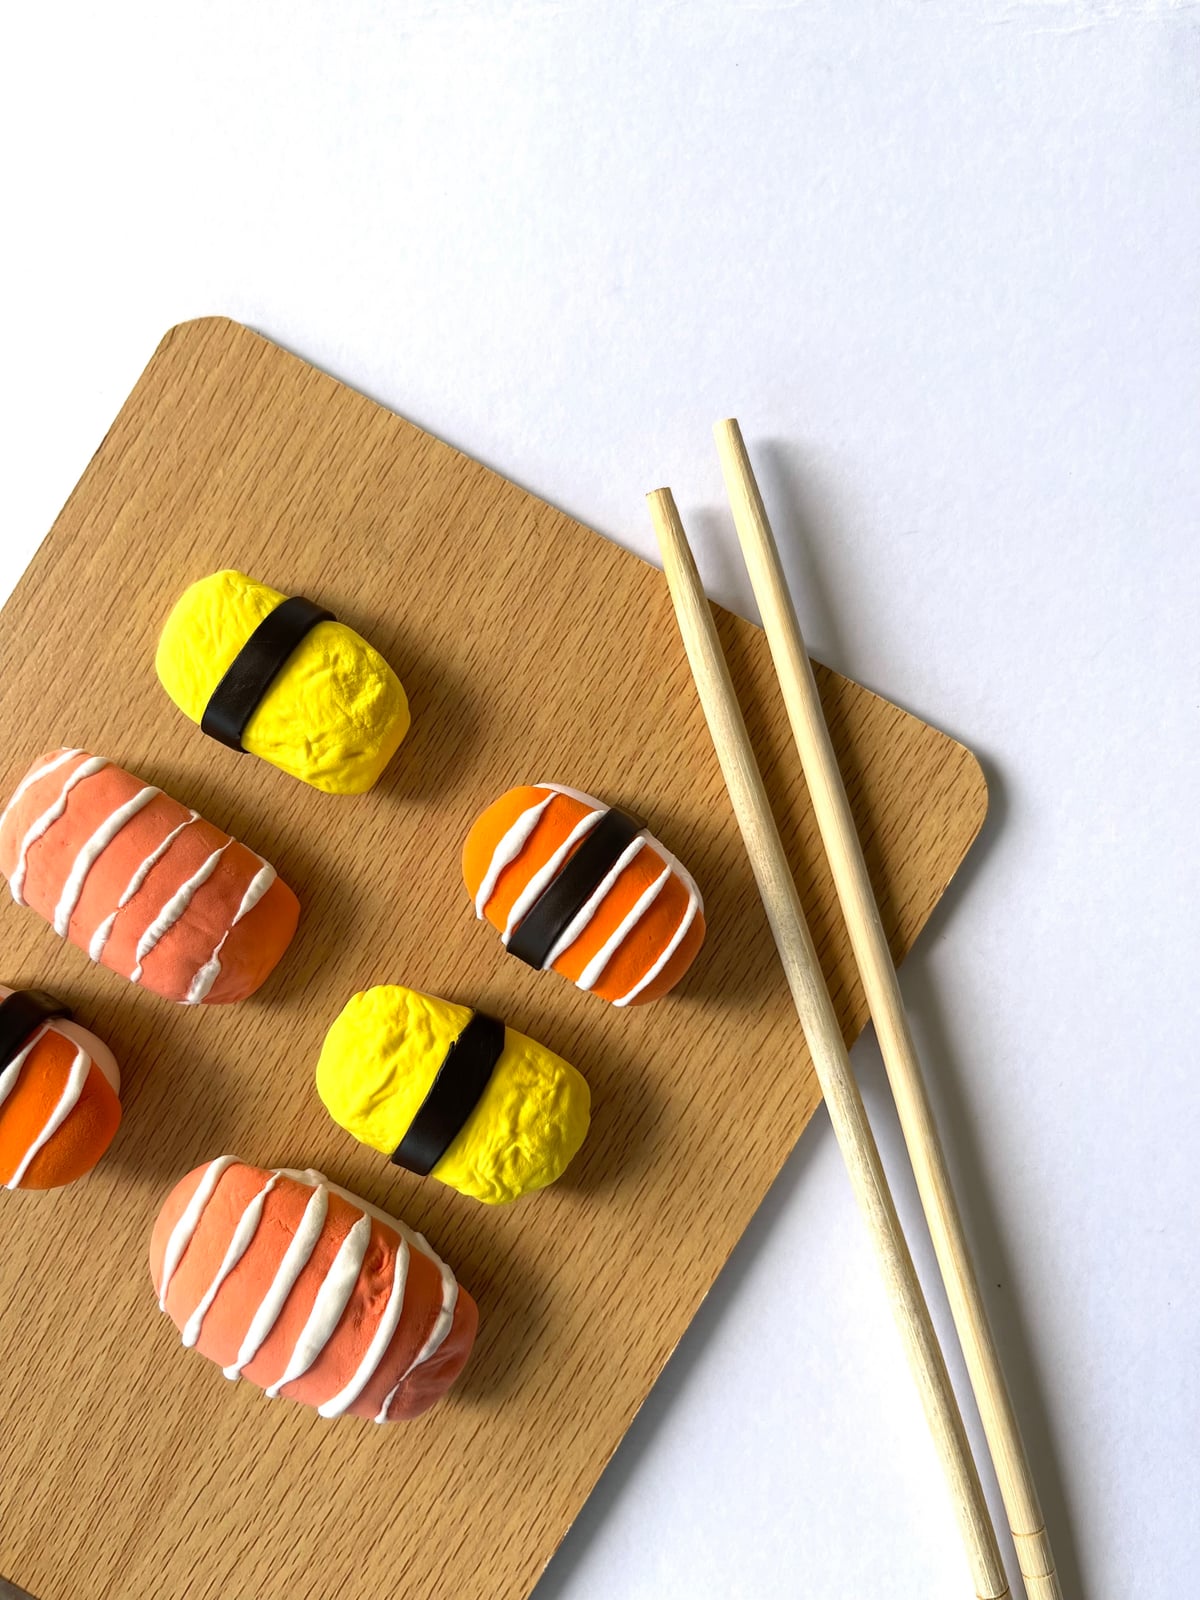
Of everything in our clay food series, the sushi gets the biggest reaction, because a little board of clay nigiri with chopsticks beside it looks close enough to real that people lean in. It is also the project that quietly teaches the most: rolling even bases, wrapping, layering, and the restraint to stop fiddling.
You make three kinds here. Salmon first, because it is the most forgiving. Then tamago, the sweet egg one, which adds a texture trick. Then tuna, which is really just the first two skills combined. A kid who finishes all three has genuinely leveled up.
What you need
Air dry clay in white, yellow, red, and black, from a basic air dry clay kit (or this rainbow set). A basic set of sculpting tools. An old paintbrush for texture. Baking paper to work on, which is optional but saves your table.
One honest note about the links above: since my last clay post, the clay I used to use has changed hands, and the other shop stopped selling the tool set I liked at the right price. These are fun new sets I am suggesting instead. Great ratings, and the clay comes in a boatload of colors, which makes the mixing even more fun.
The salmon
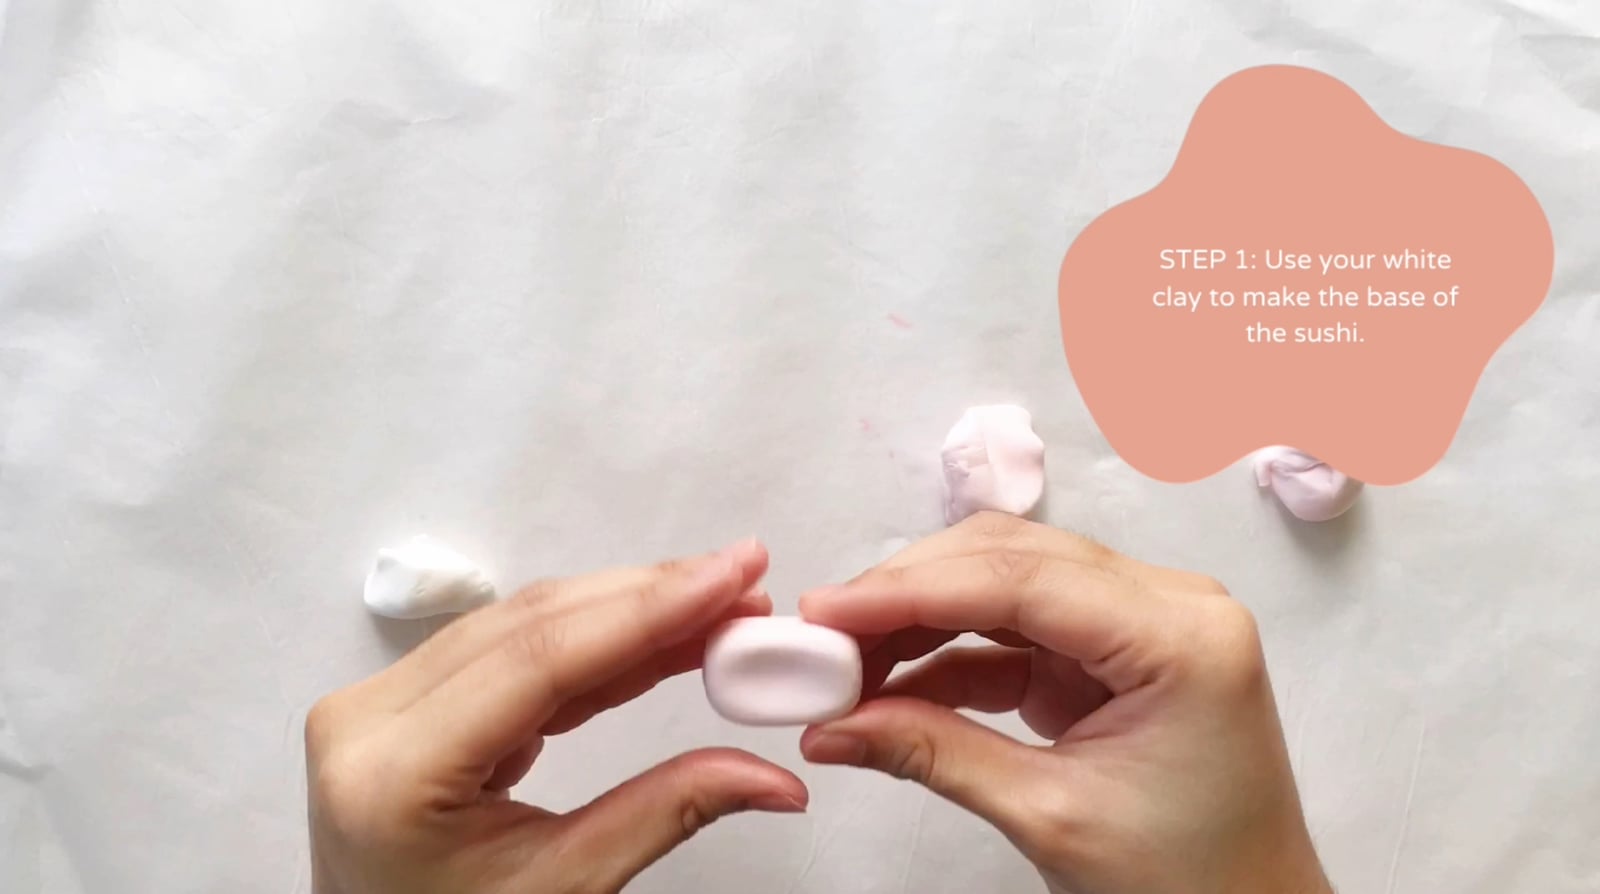
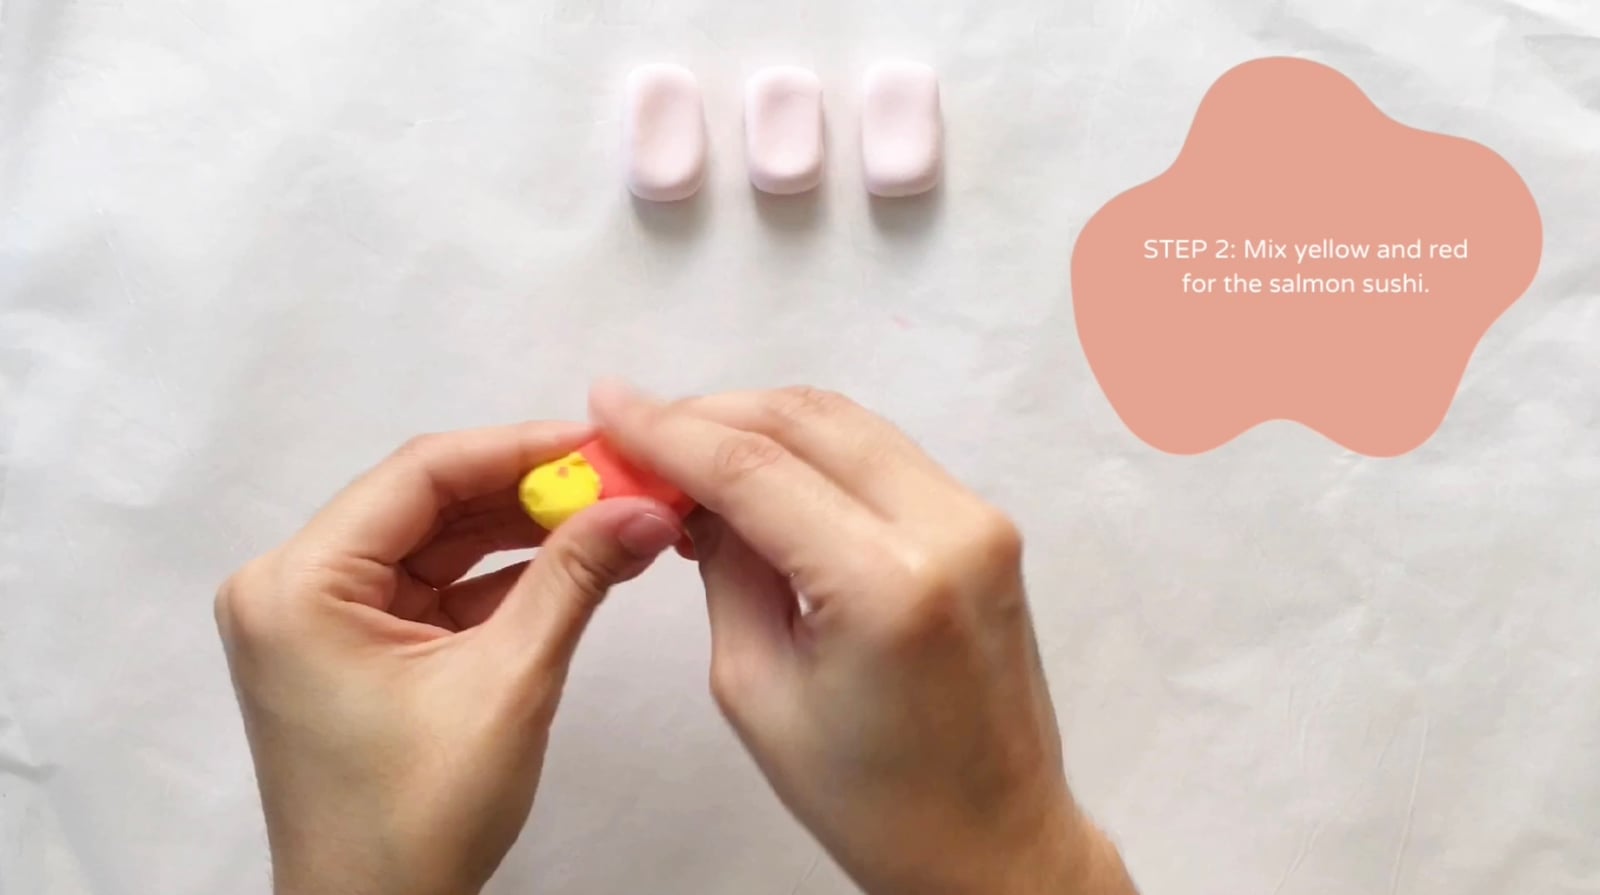
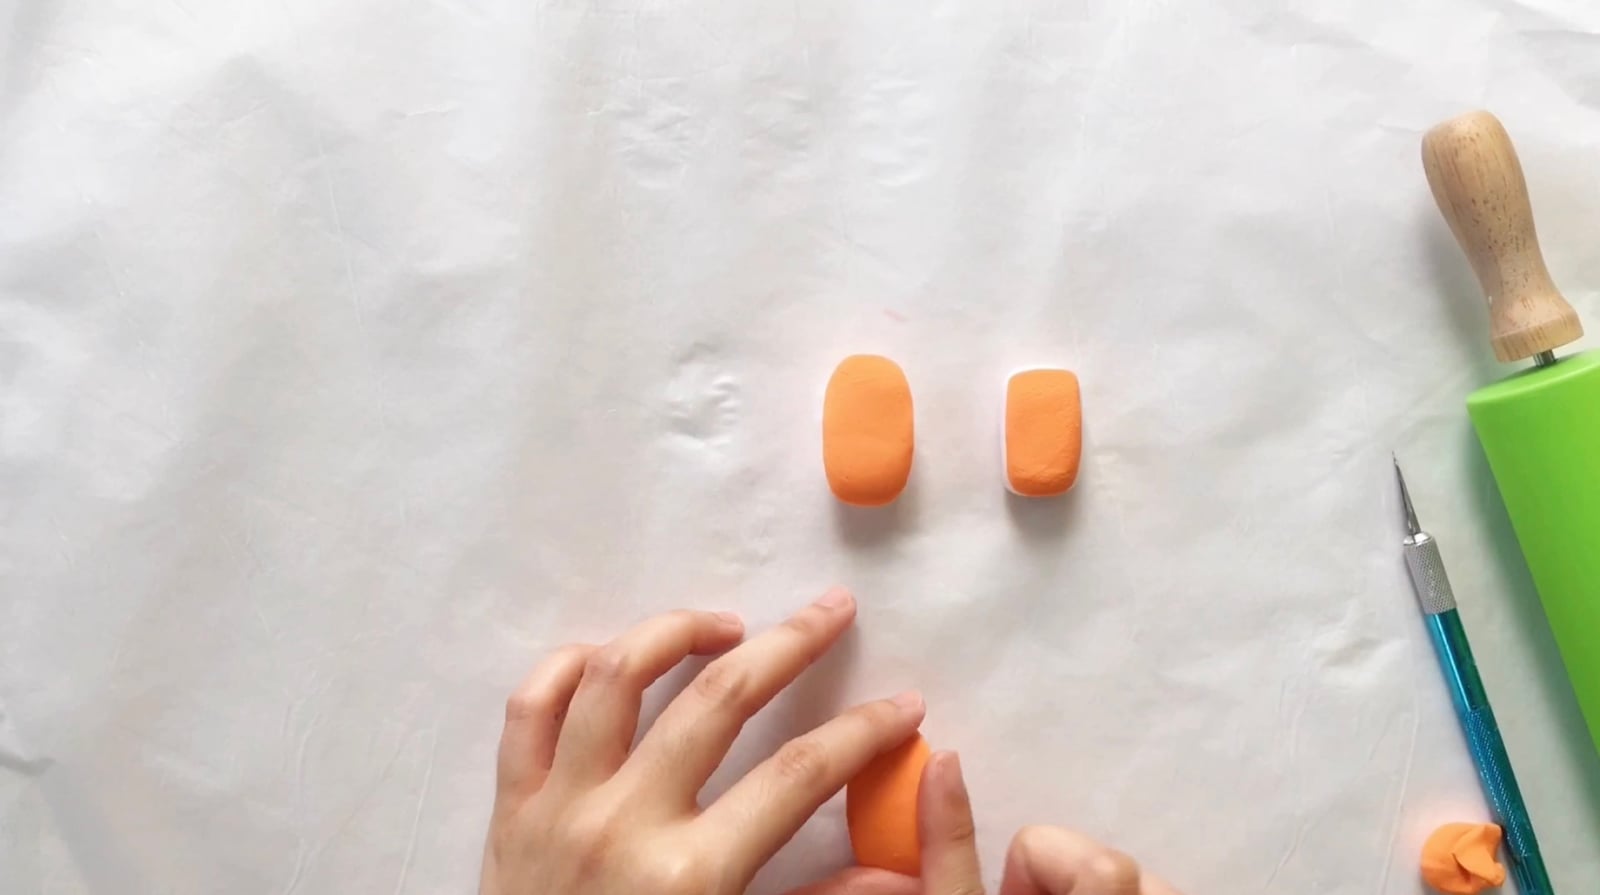
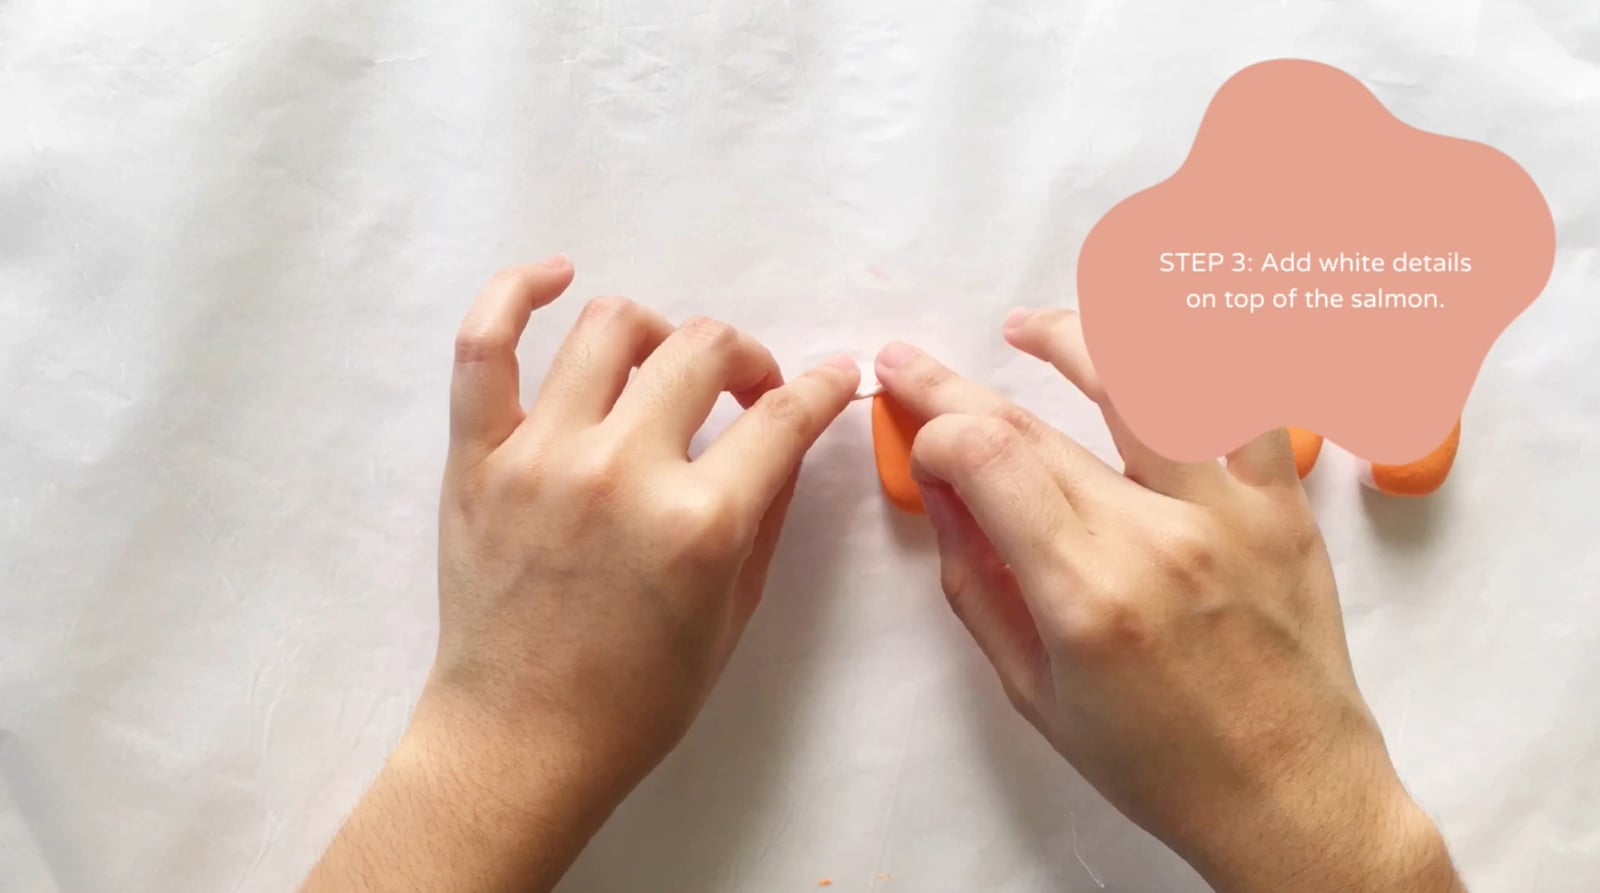
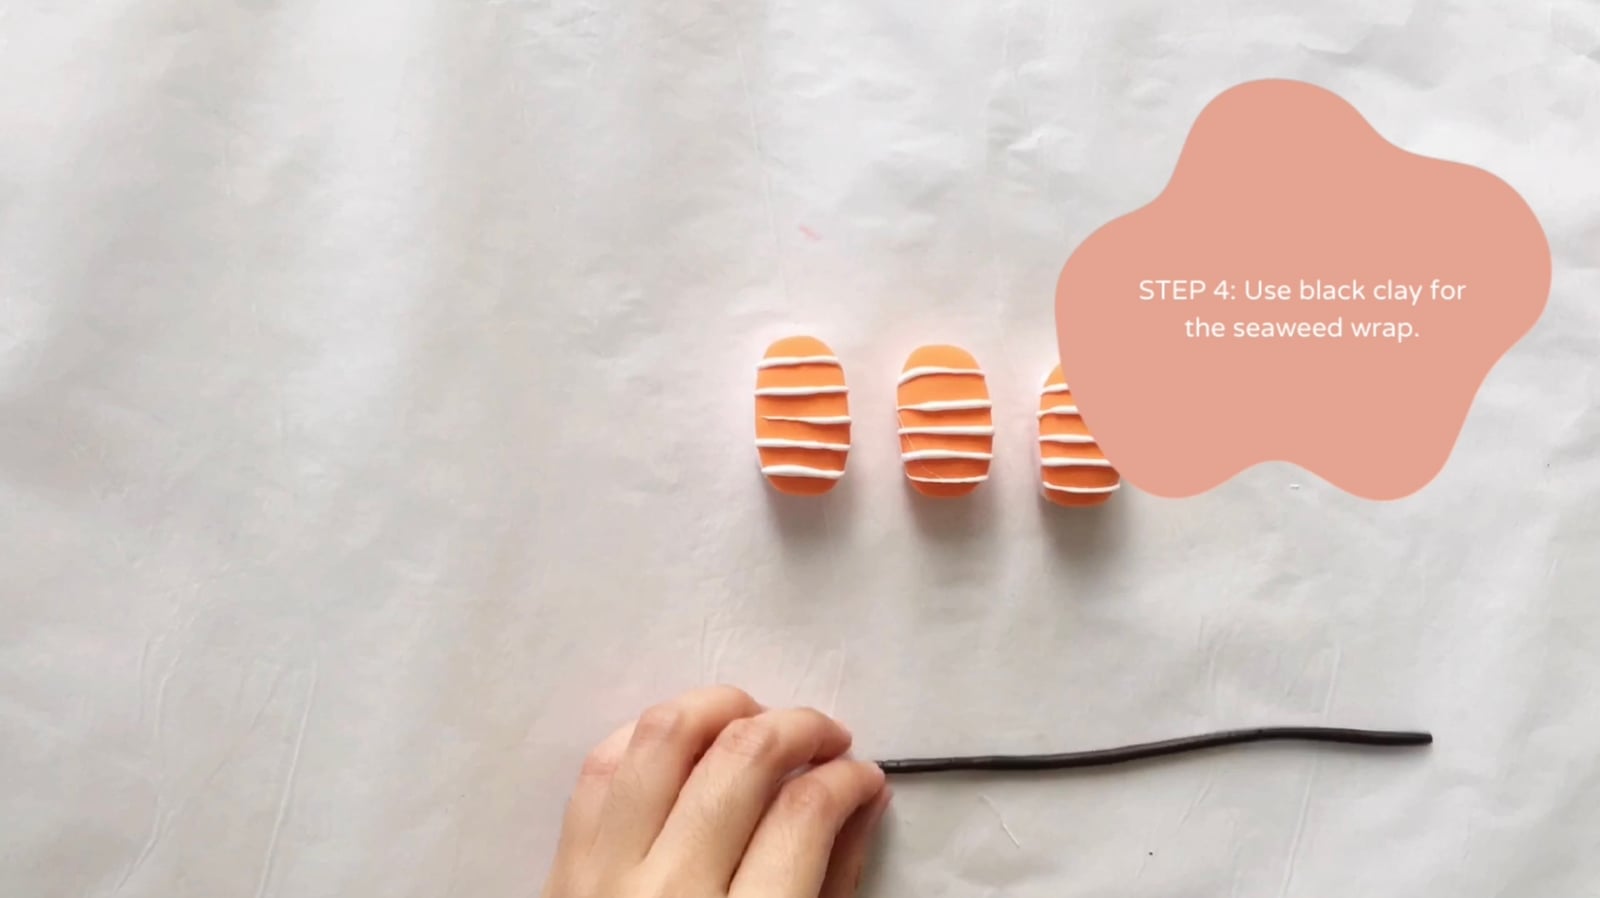
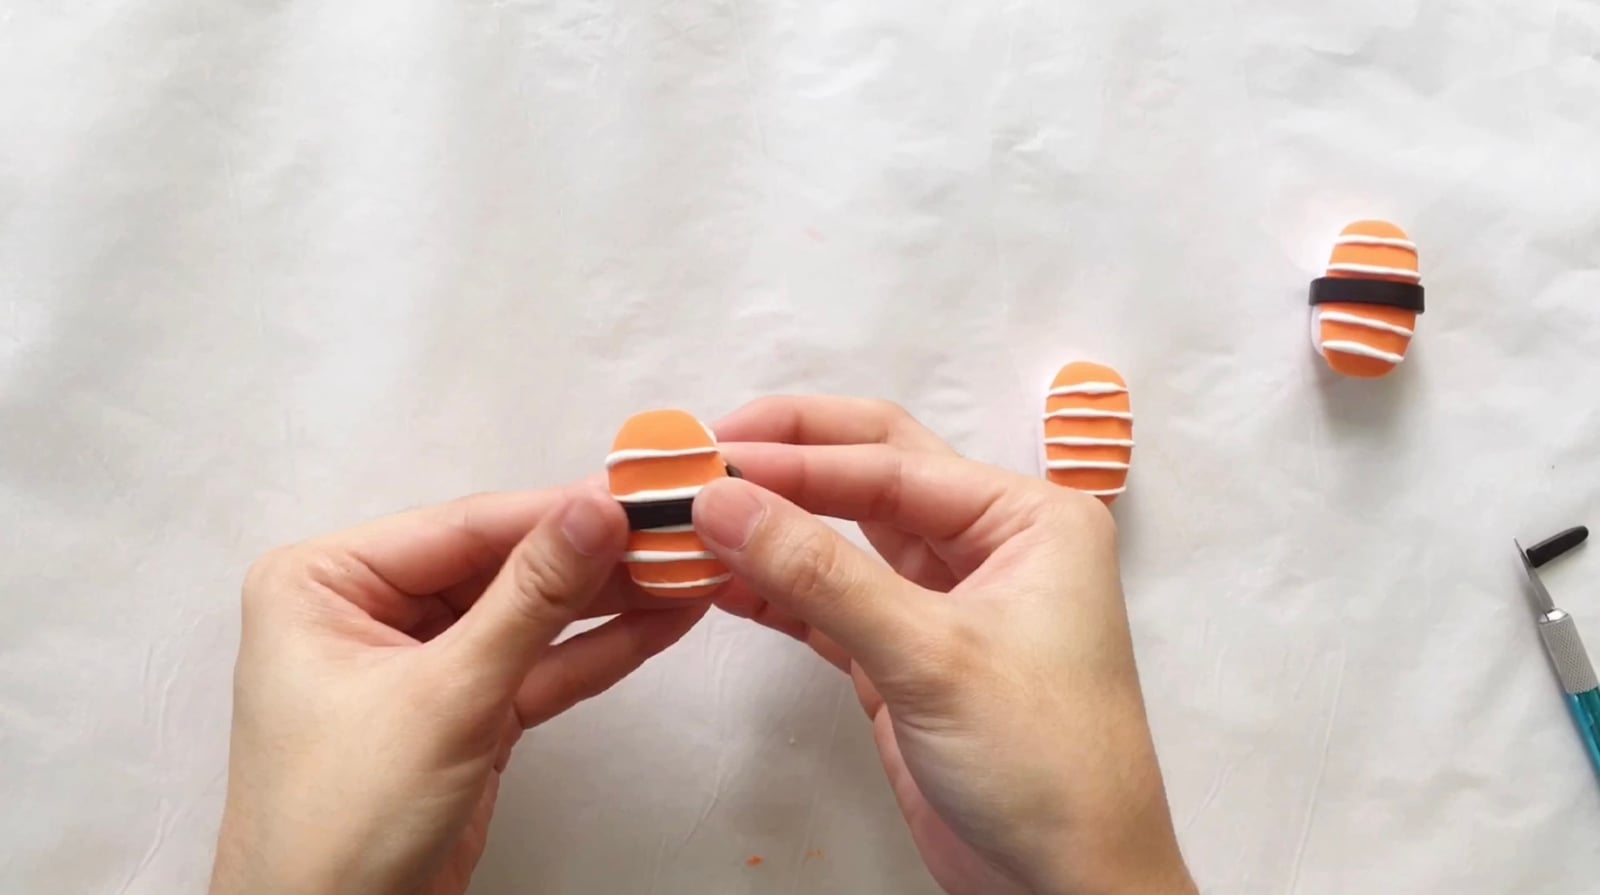
Start with your white clay and make the base of the sushi, a small rounded brick, the shape of the rice. Mix yellow and red clay together until you get that orange salmon color, then shape a slice to drape over the base. Add thin white details on top of the salmon, those little fat lines are what make it read as fish. Finish with a strip of black clay wrapped around the middle for the seaweed band.
The tamago
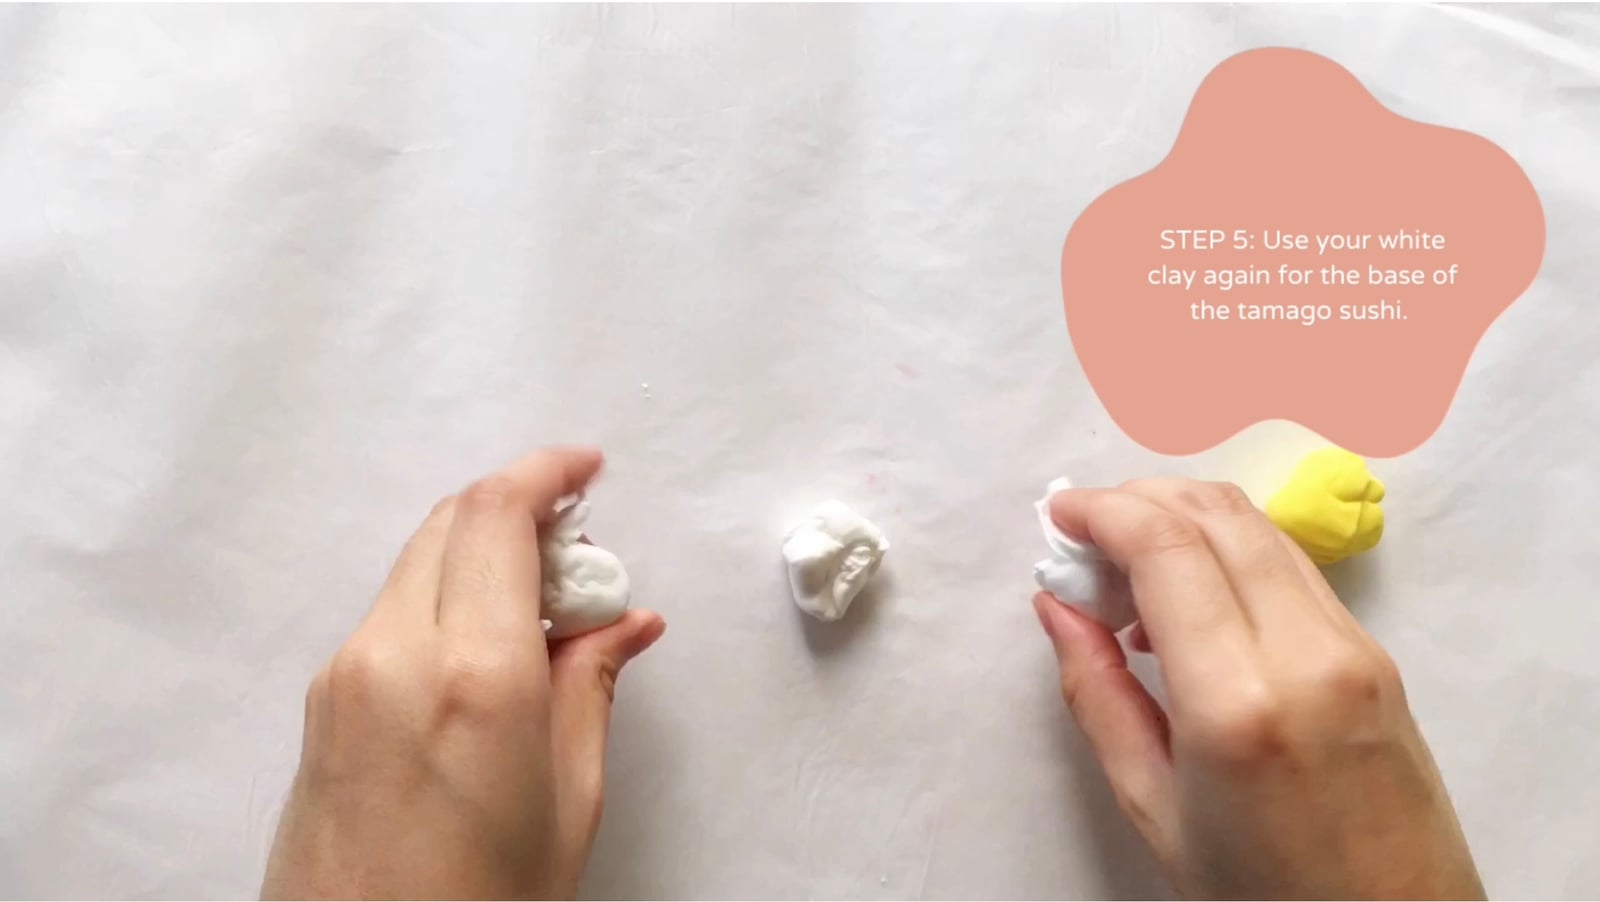
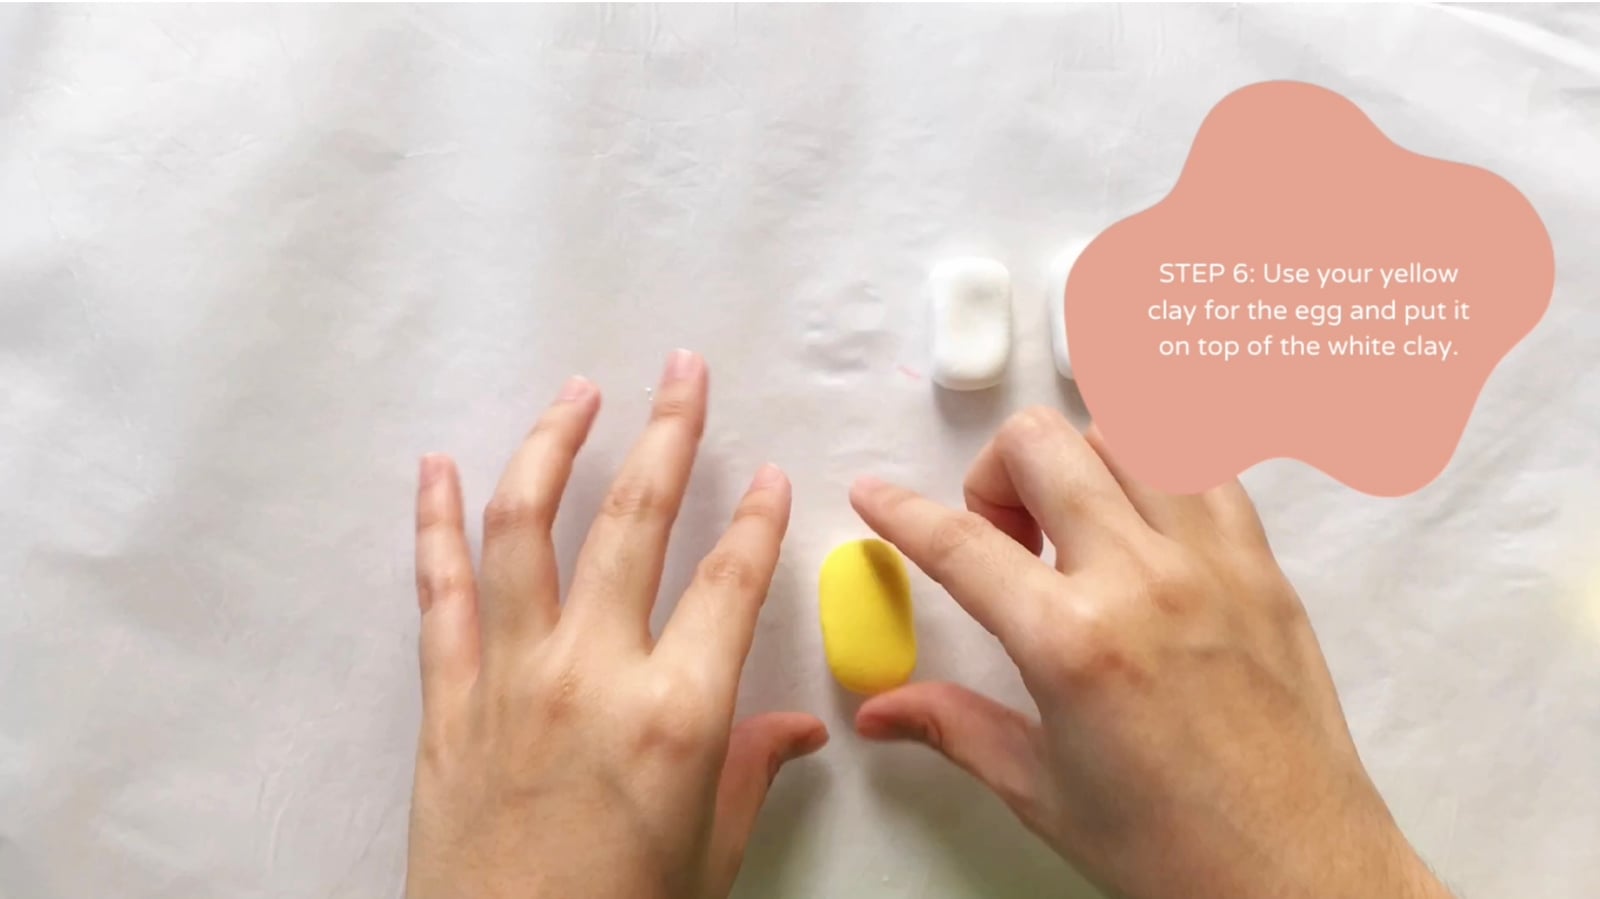
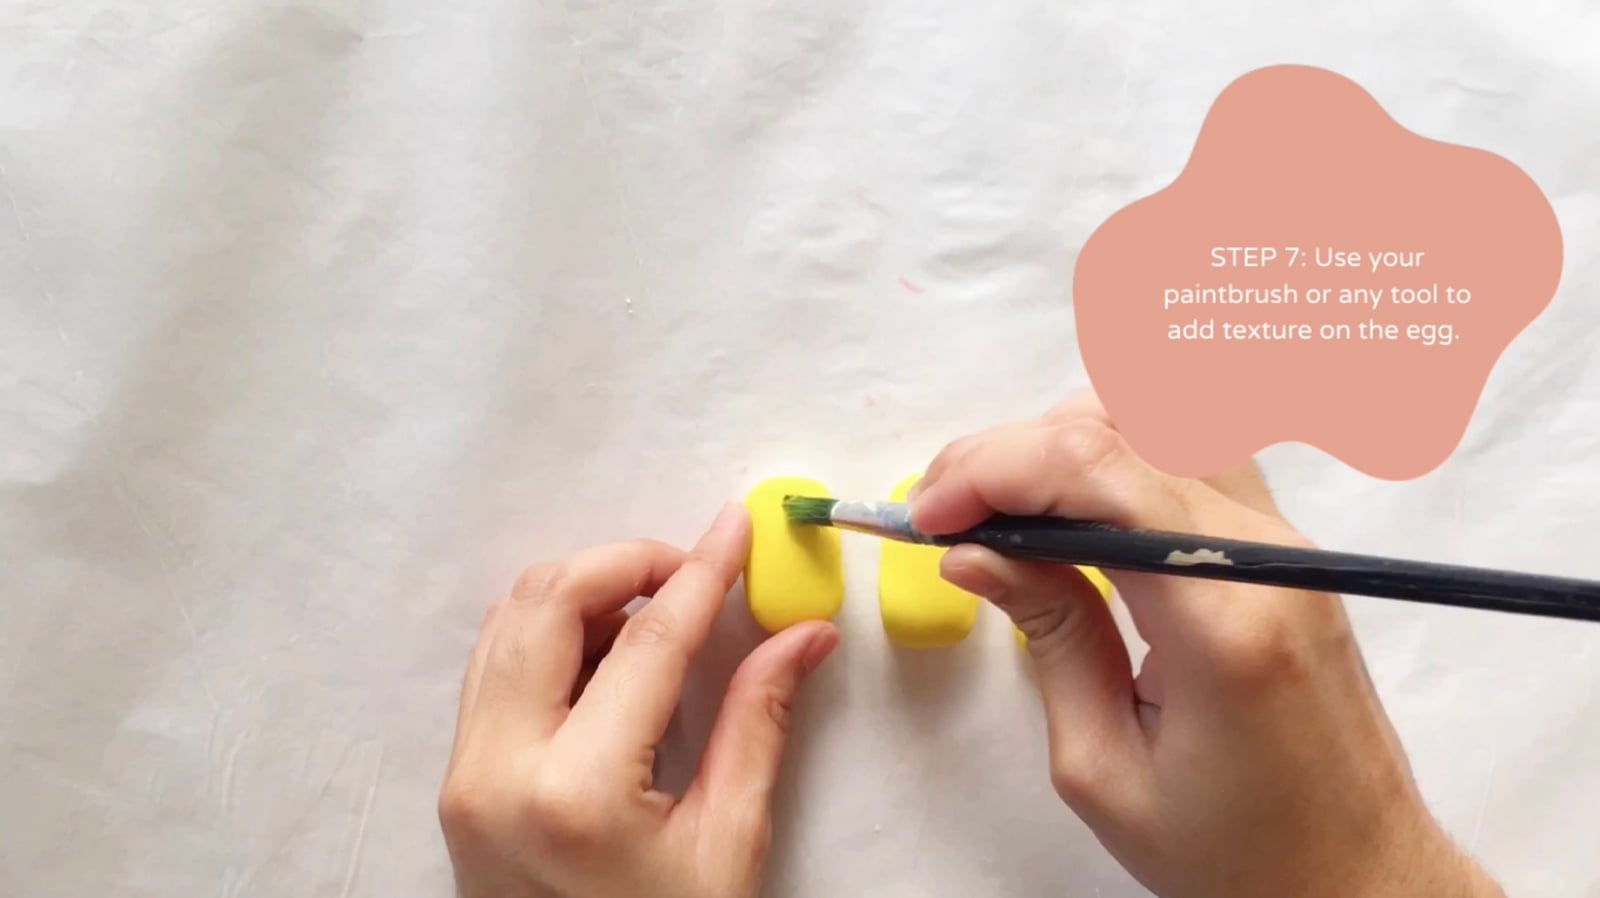
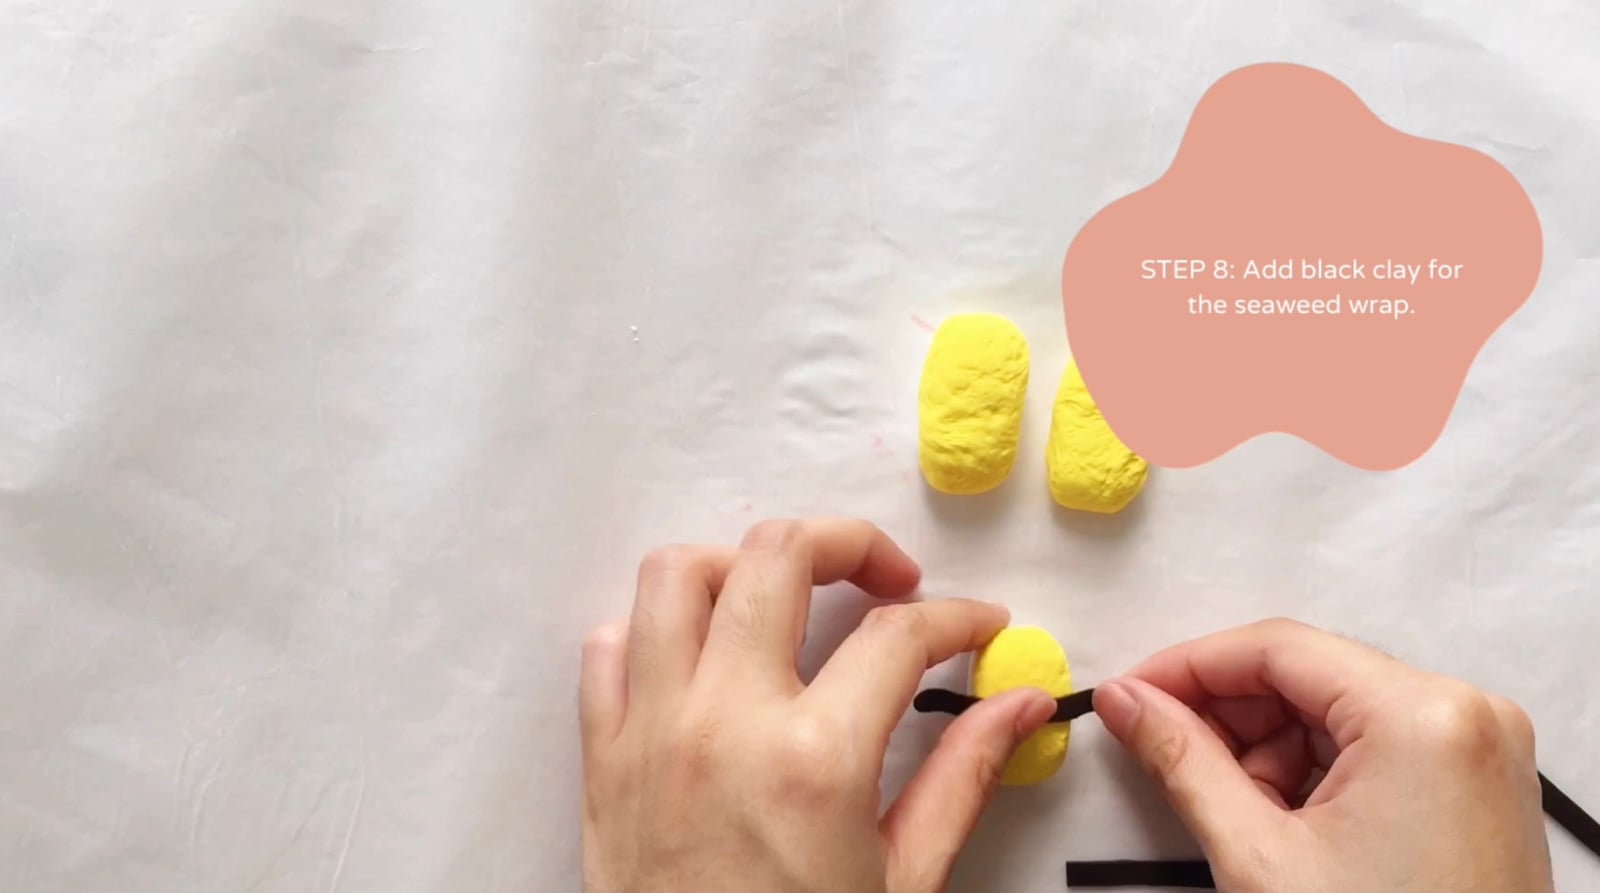
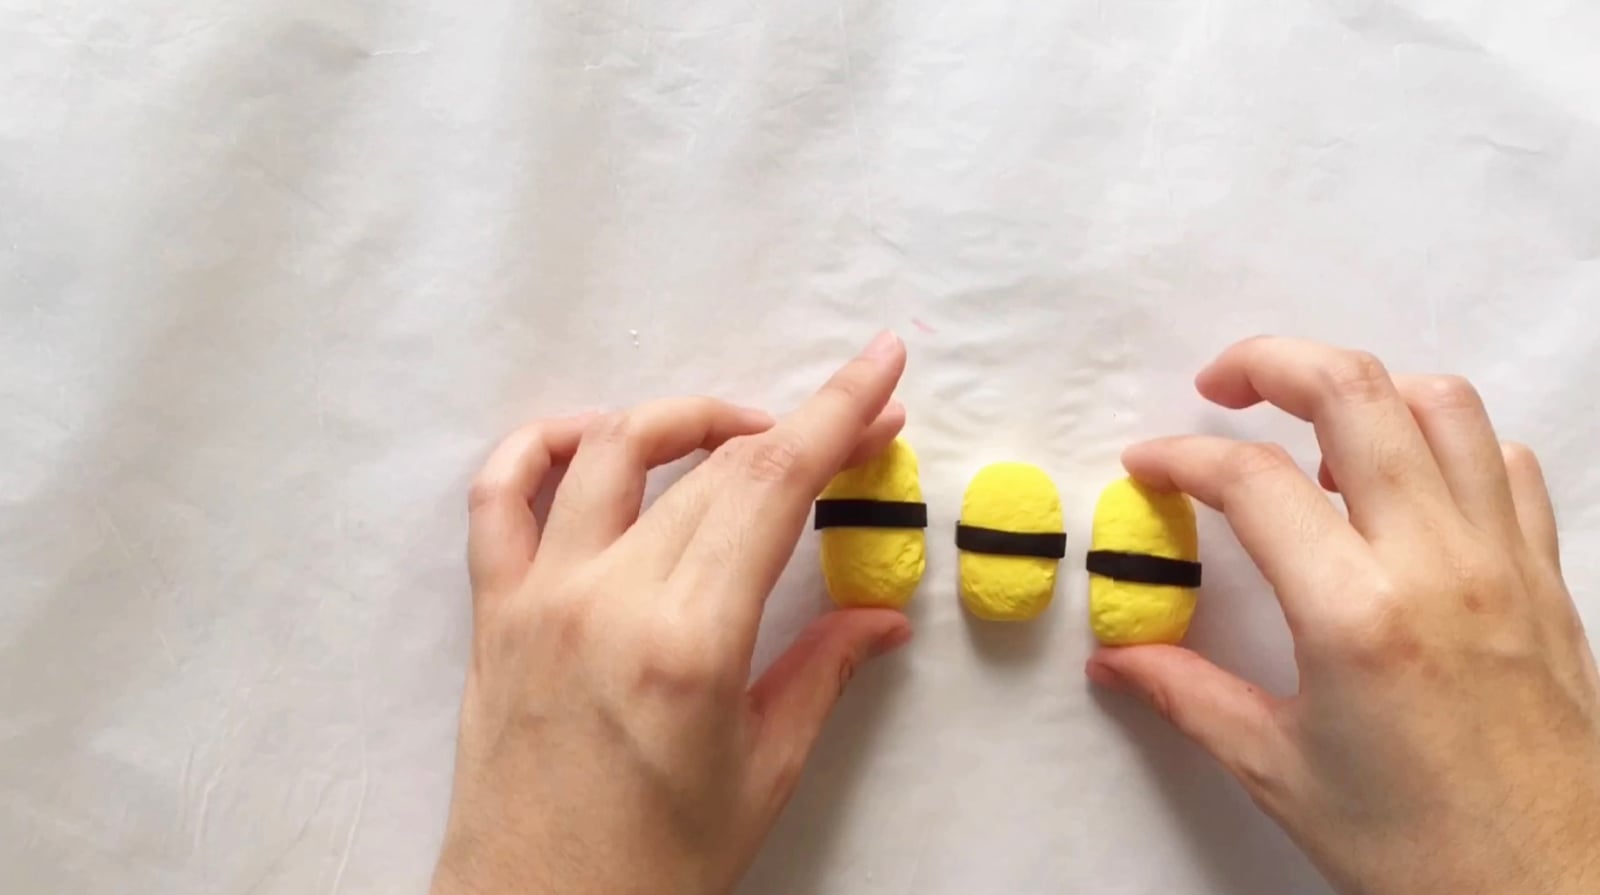
White clay again for the base. Then take your yellow clay, shape the egg, and lay it on top. Here is the texture trick: drag an old paintbrush across the yellow surface so it stops looking like plastic and starts looking like cooked egg. Wrap it with a black clay seaweed band, same as the salmon.
The tuna
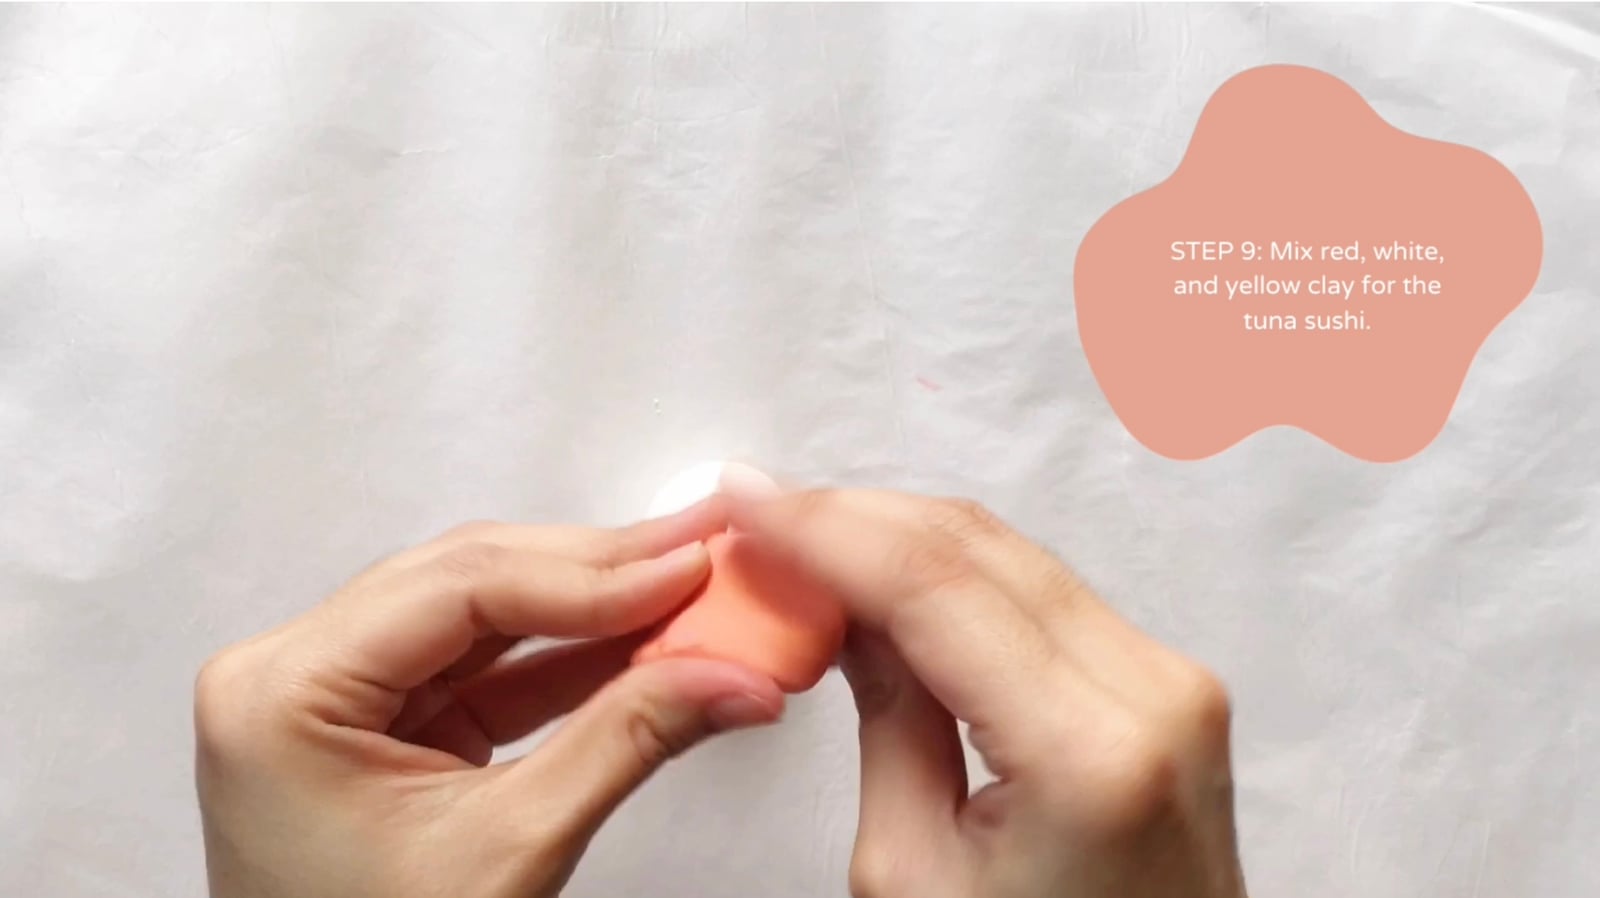
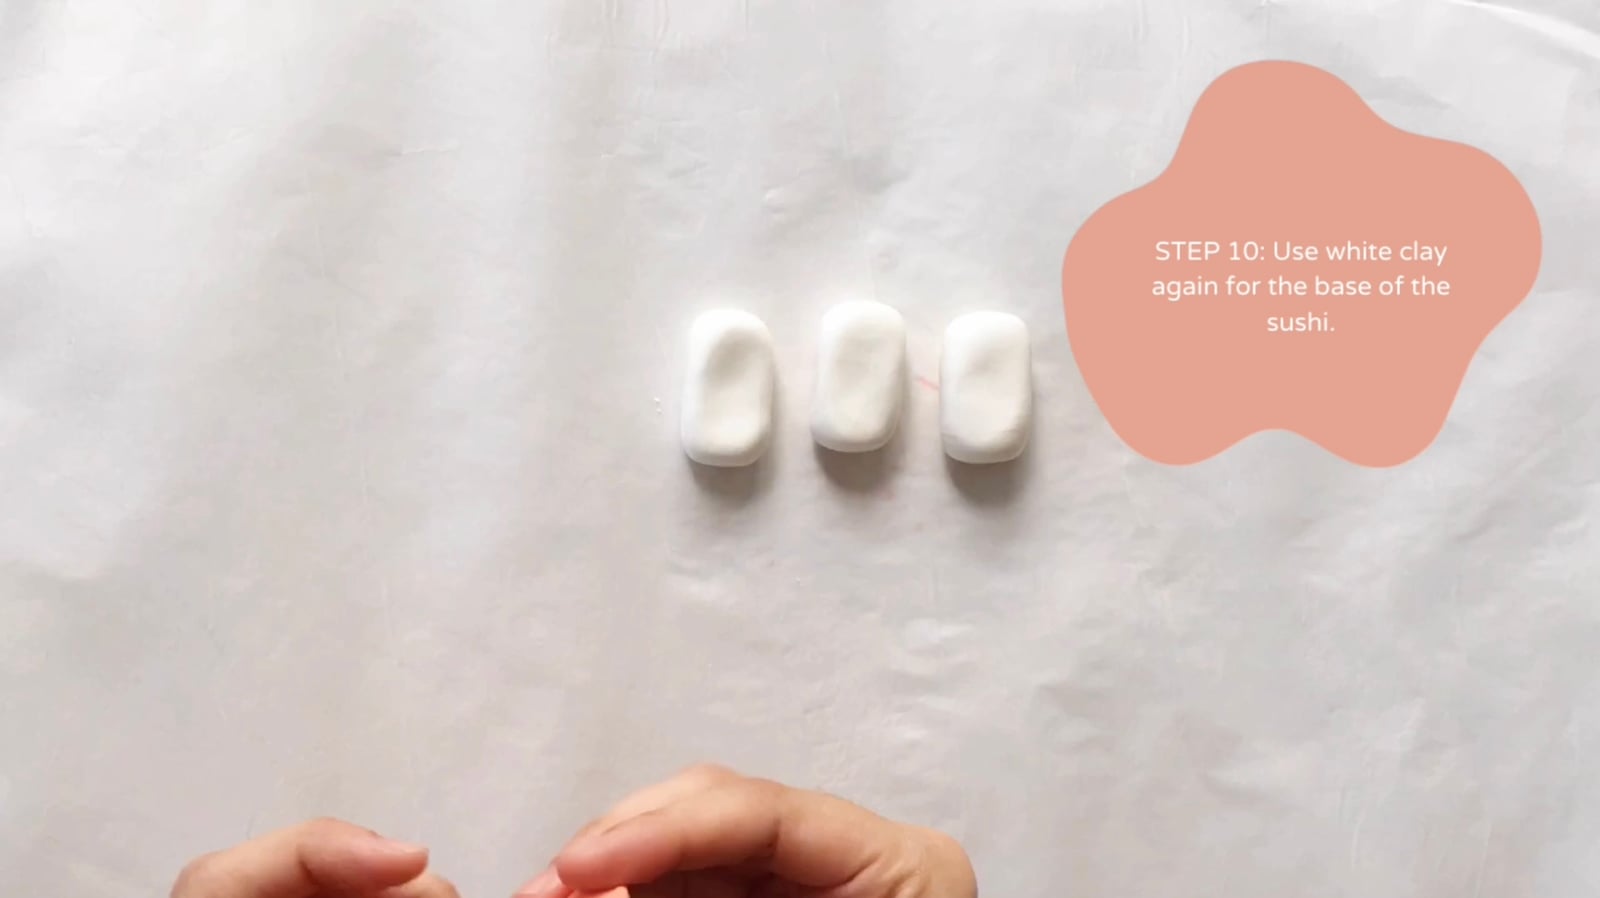
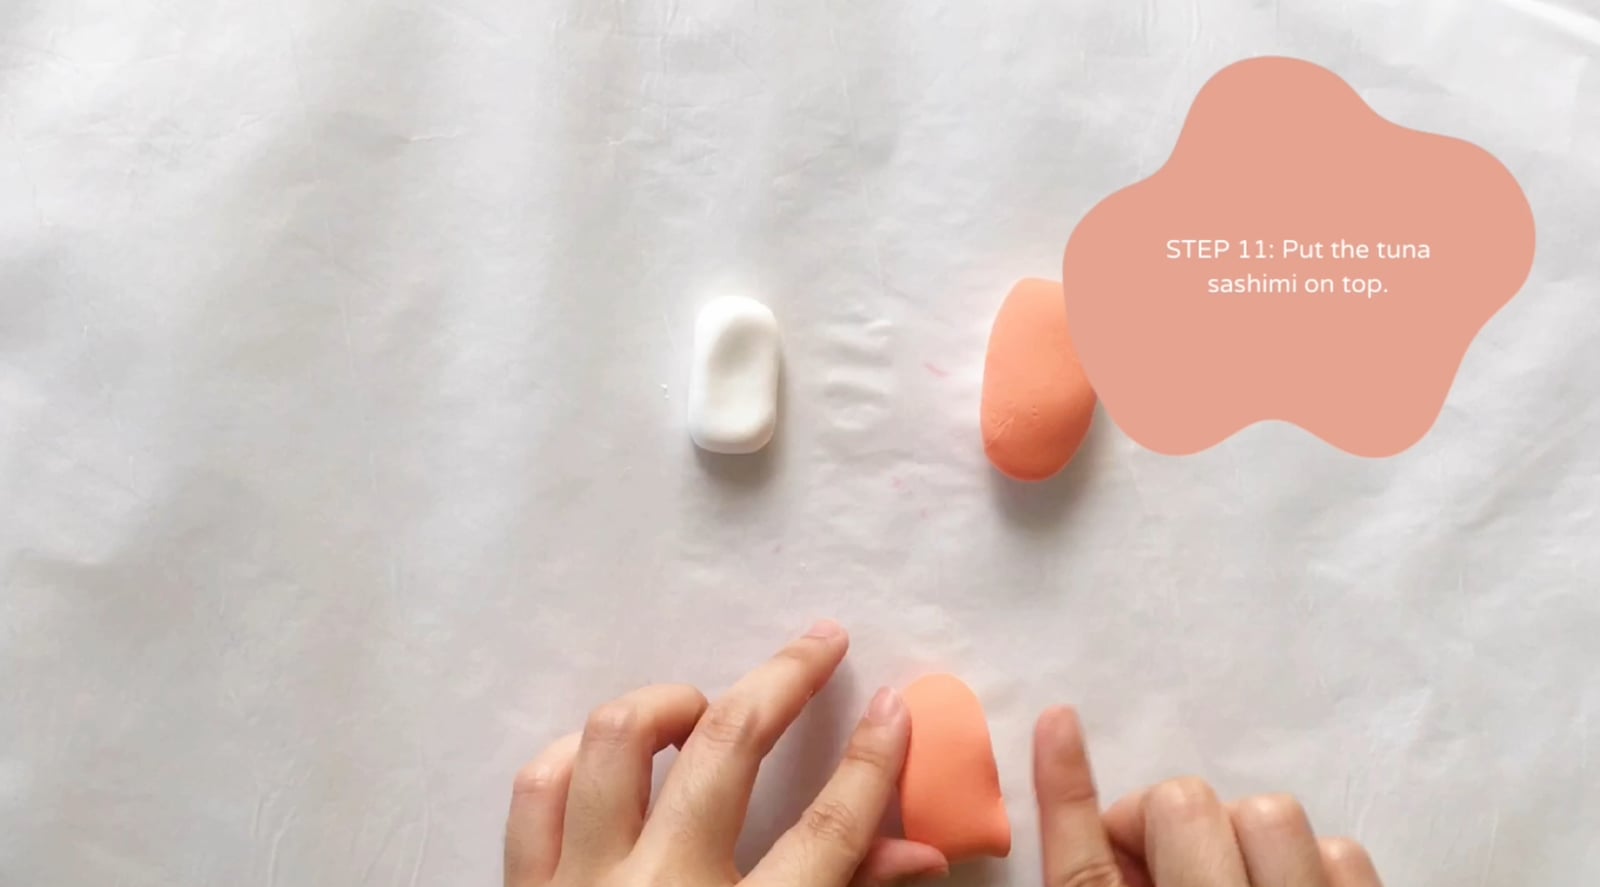
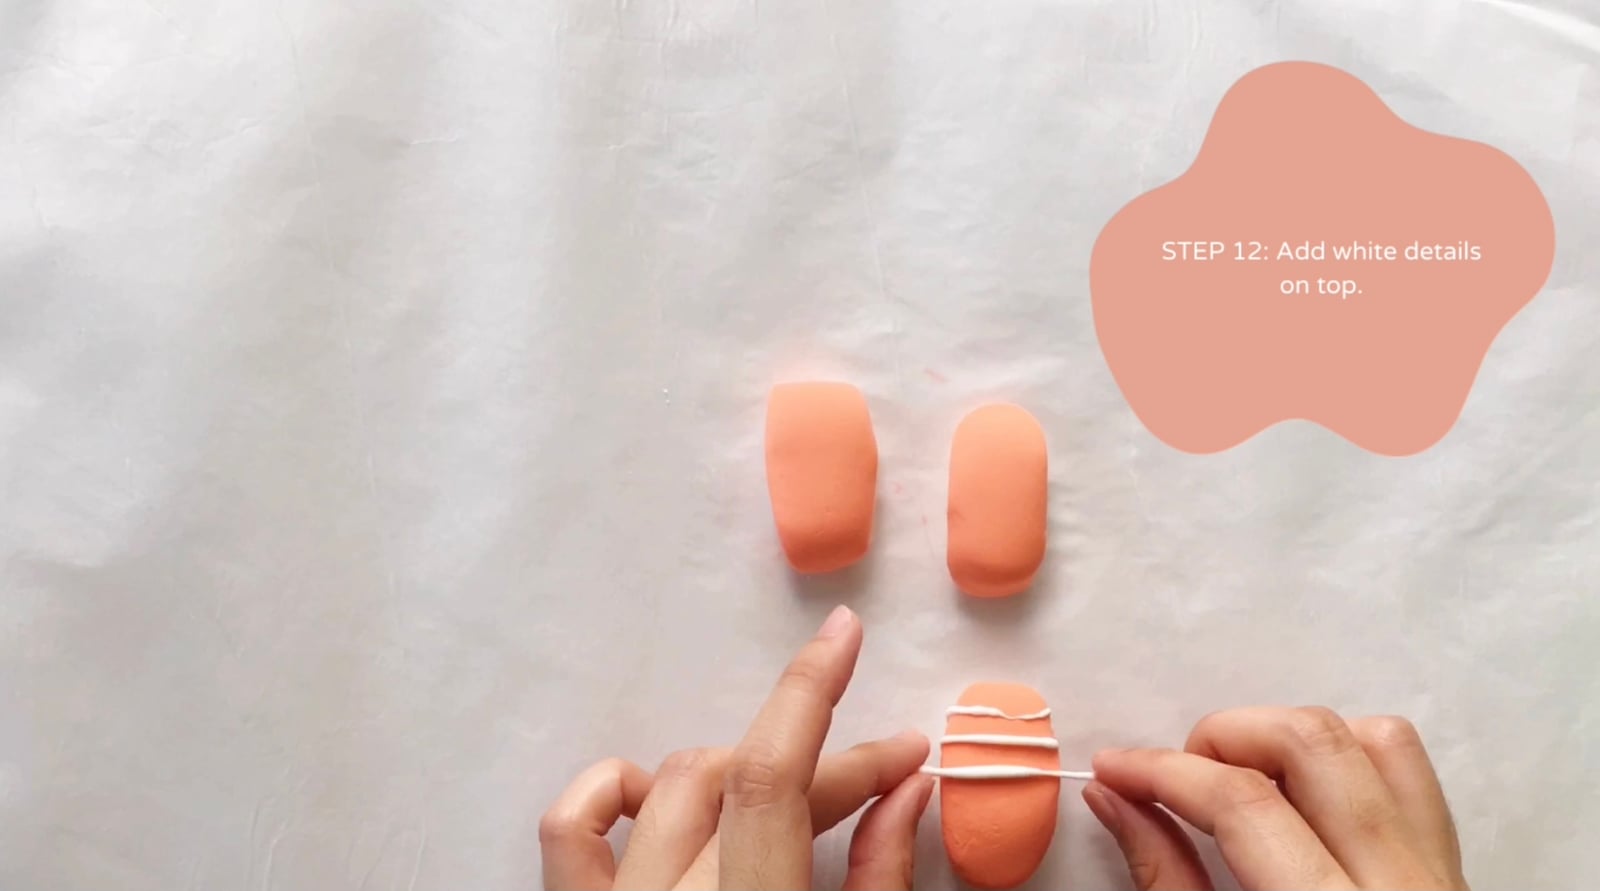
Mix red, white, and a touch of yellow until you have a deep tuna pink. Make one more white base, lay the tuna slice on top, and add thin white lines across it. That is the whole build, and by now the hands know what they are doing.
The part nobody tells you
Let everything rest before anyone plays restaurant. Air dry clay firms up over about an hour and fully dries in a day, and a squeezed sushi is a sad sushi. Line them up on a little board while they dry and they do their best work as a display piece, or glue on magnets and give the fridge a sushi bar.
The step photography for this project was shot for Craft & Bond by Pauline Gamboa, whose very steady hands you will see throughout.
Which one would your kids try first, the salmon or the tamago? DM me on Instagram (@craftandbondco), or hit reply on the newsletter, it comes straight to me.
Next up in the clay kitchen: donuts in six flavors.
If this gave you an idea worth trying, there's more where it came from. Follow along on Pinterest (@CraftandBondCo) and Instagram (@craftandbondco) for new projects, recipes, and the occasional honest mess, and save this post so you can find your way back to it.