DIY Clay Donuts in Six Flavors
This post contains affiliate links. If you purchase something through my links I may earn a small commission at no extra cost to you. I only share products I actually used and loved.
If you only ever do one clay food project, do the donuts. The shape is a circle with a hole in it, which means nothing can really go wrong, and all the fun lives in the decorating, which is exactly where kids want to be anyway.
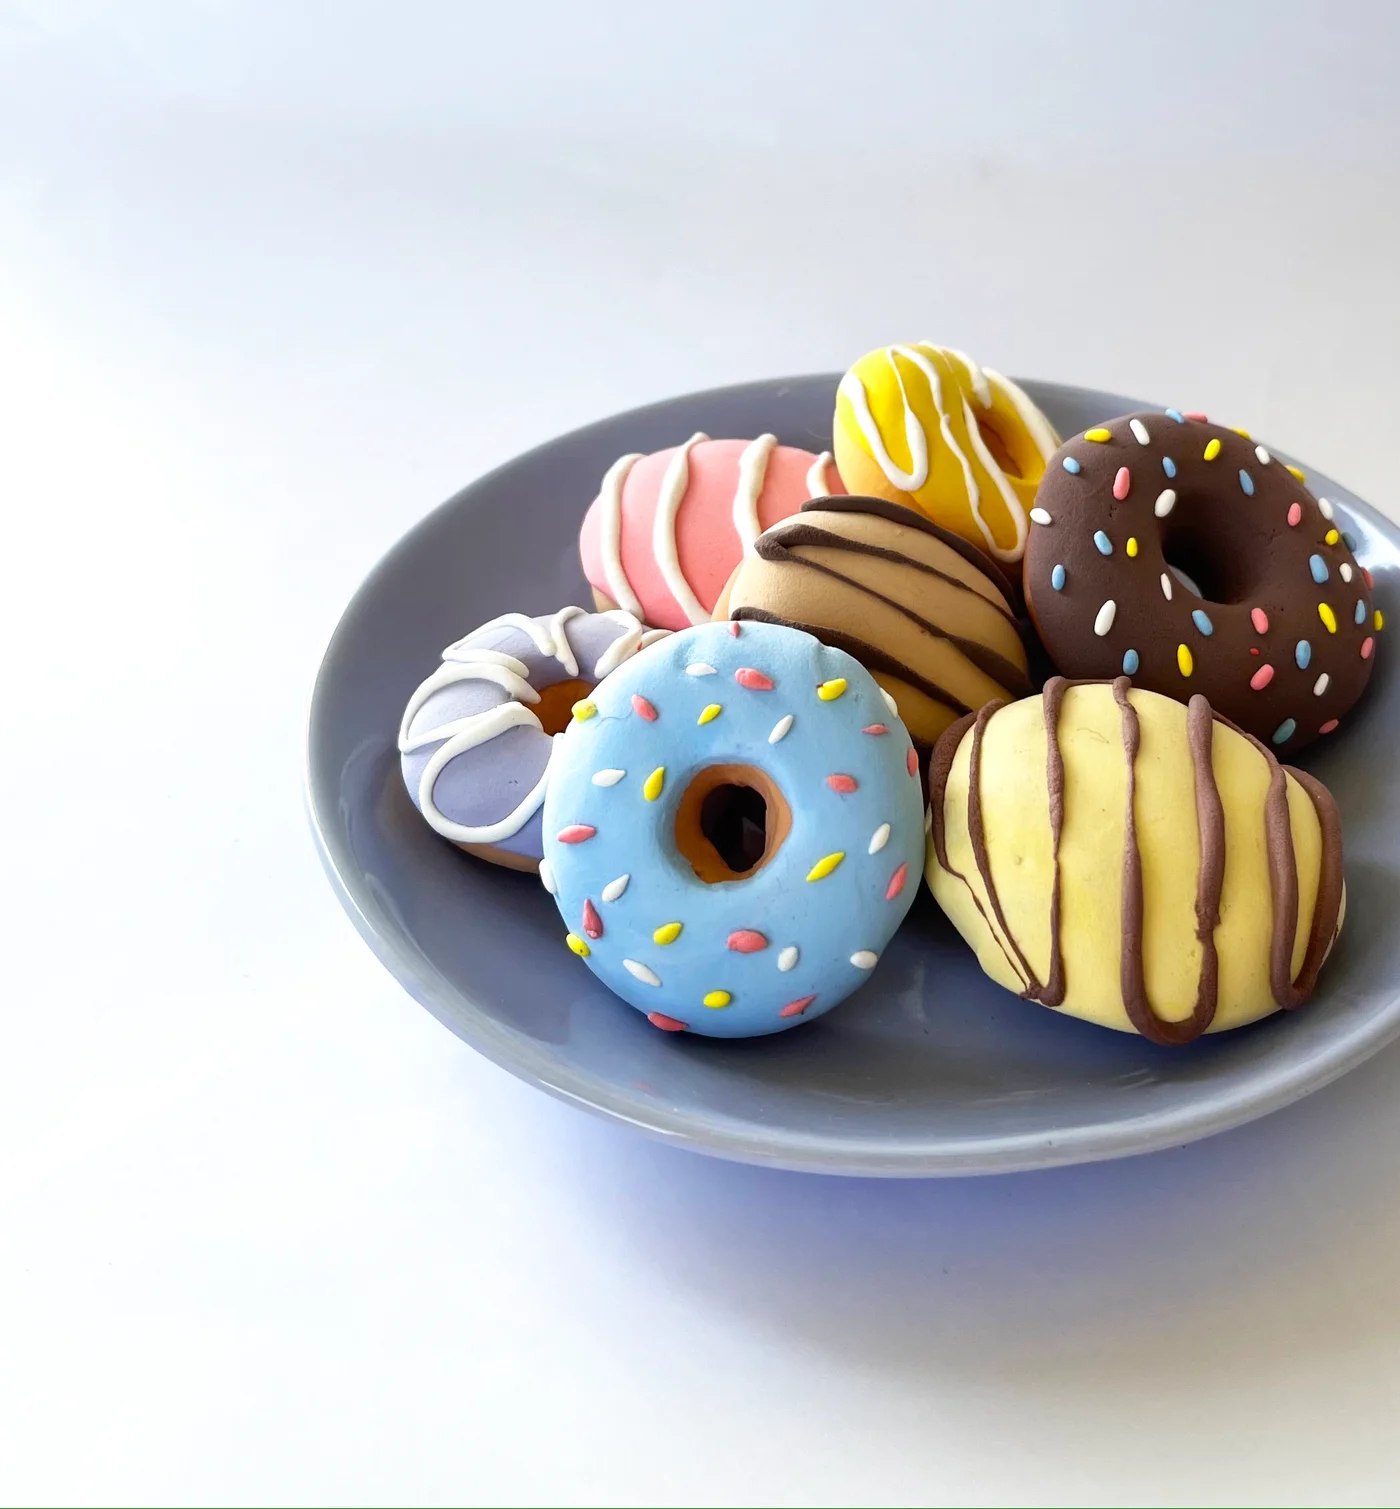
The trick that makes this one feel abundant: you only need five colors of clay, and you get six flavors of donut out of them. Mixing the colors is half the activity, and it is sneaky color theory the whole time.
What you need
Air dry clay in red, yellow, blue, white, and a little black, all in one air dry clay kit (or this rainbow set). Sculpting tools, or honestly a butter knife and a pencil. Something circular to cut around, and anything that can poke a donut hole. Baking paper for the table.
One honest note about the links above: since my last clay post, the clay I used to use has changed hands, and the other shop stopped selling the tool set I liked at the right price. These are fun new sets I am suggesting instead. Great ratings, and the clay comes in a boatload of colors, which makes the mixing even more fun.
Start with the dough
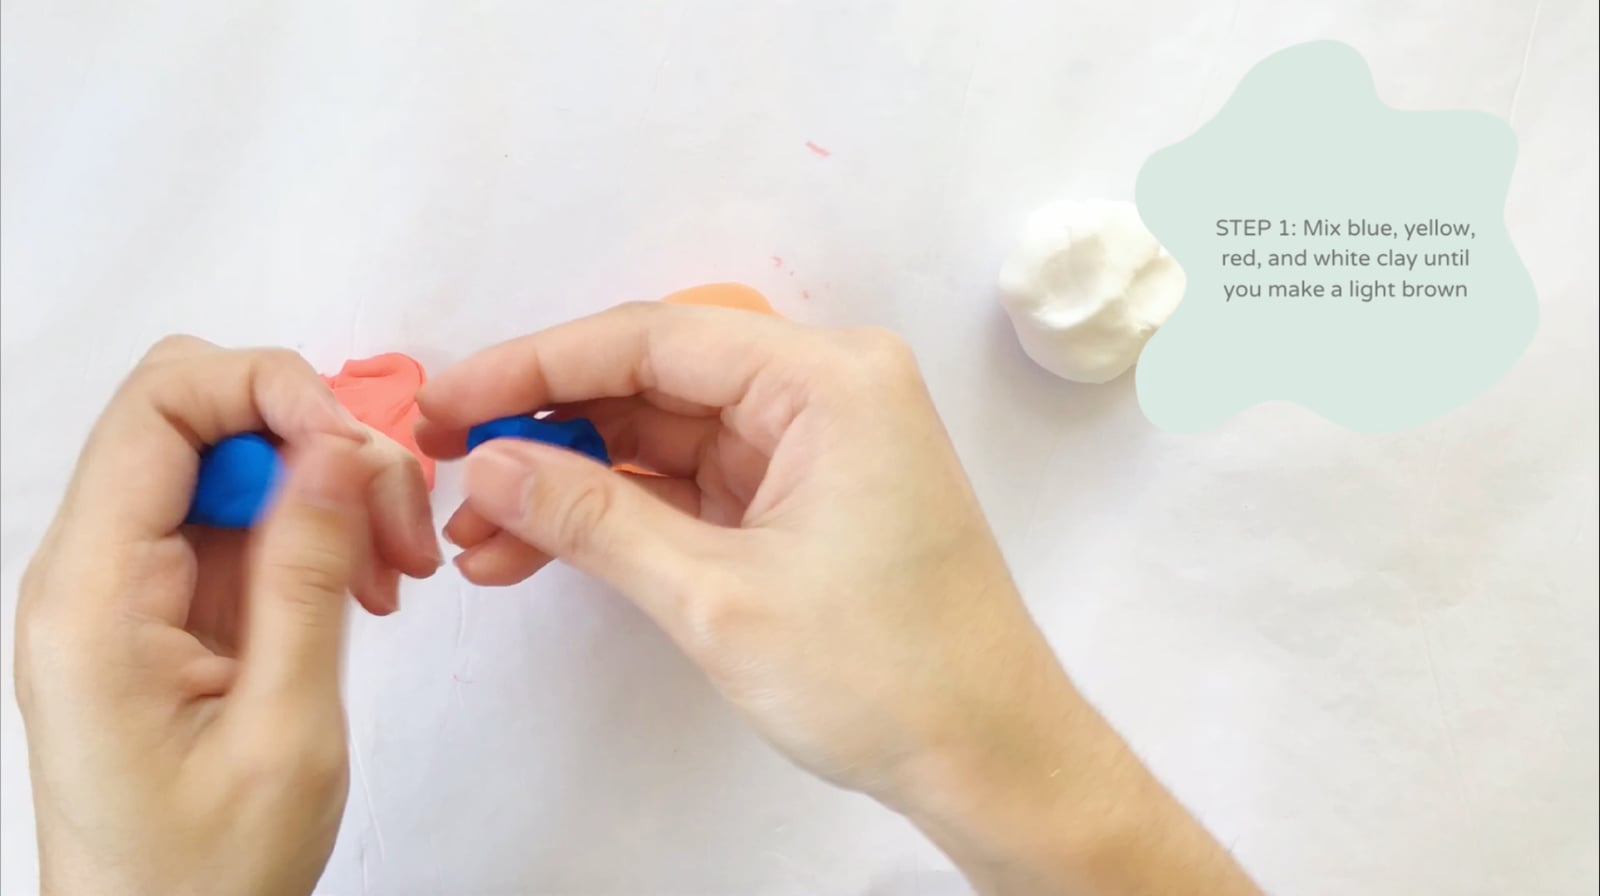
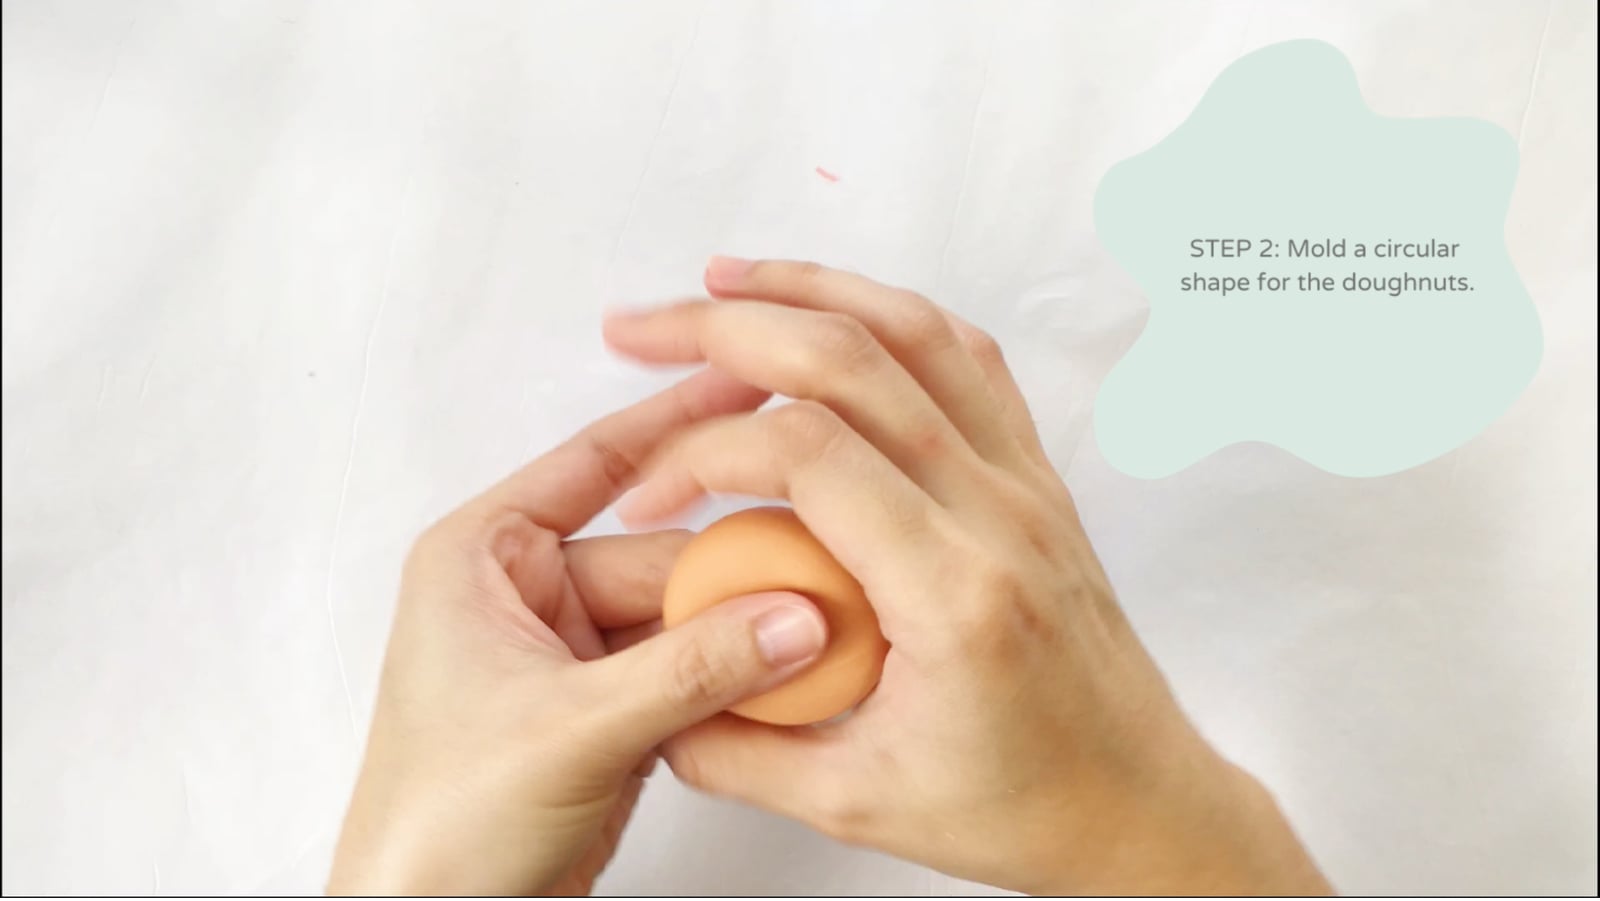
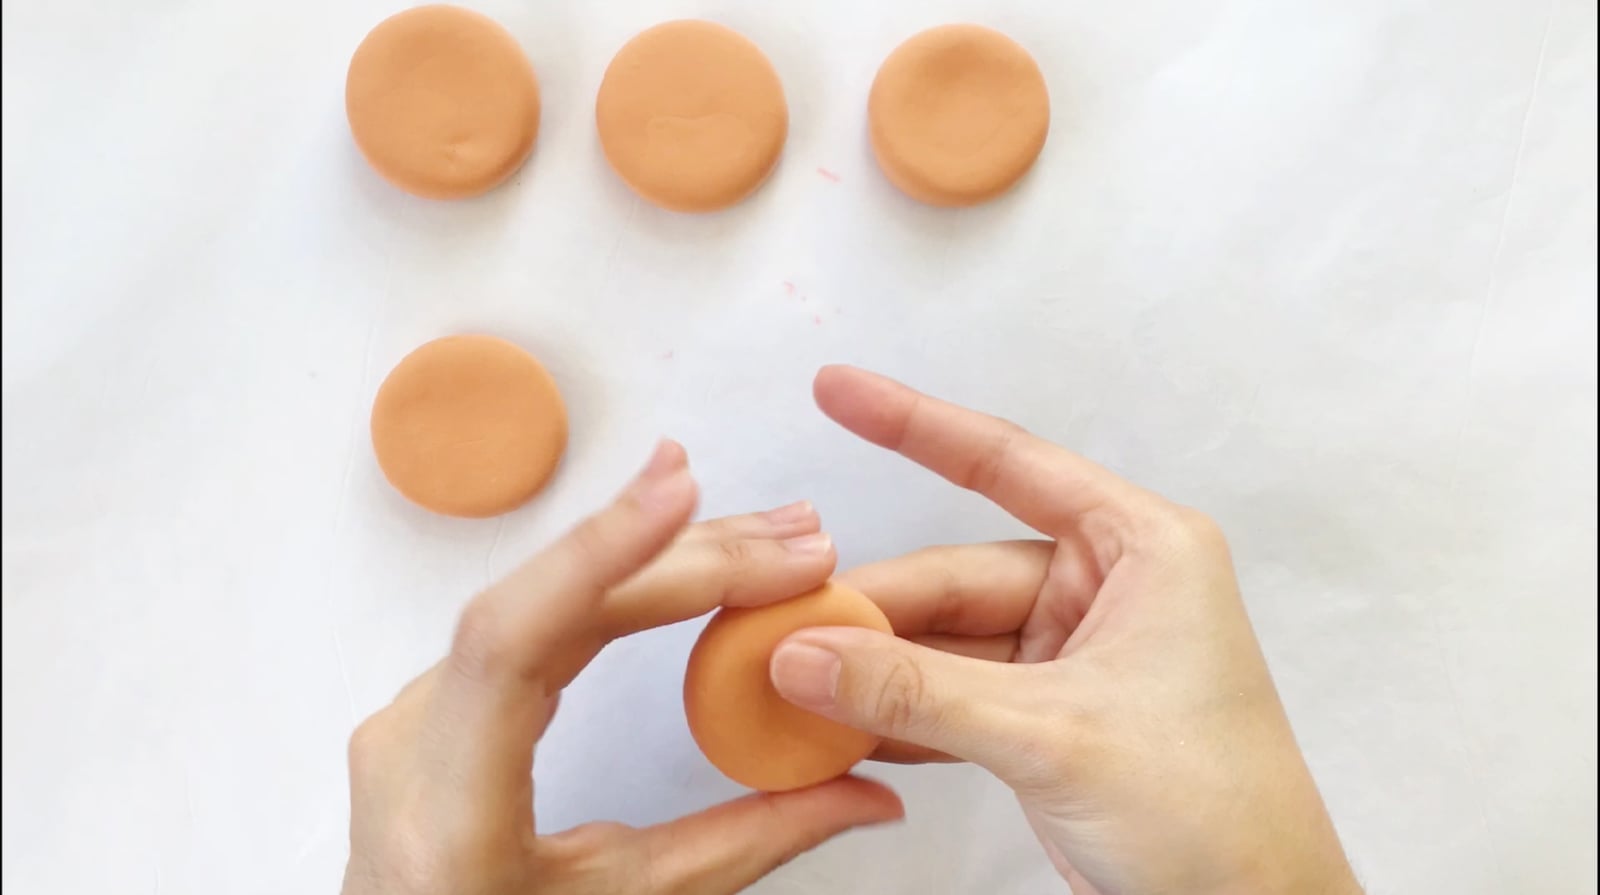
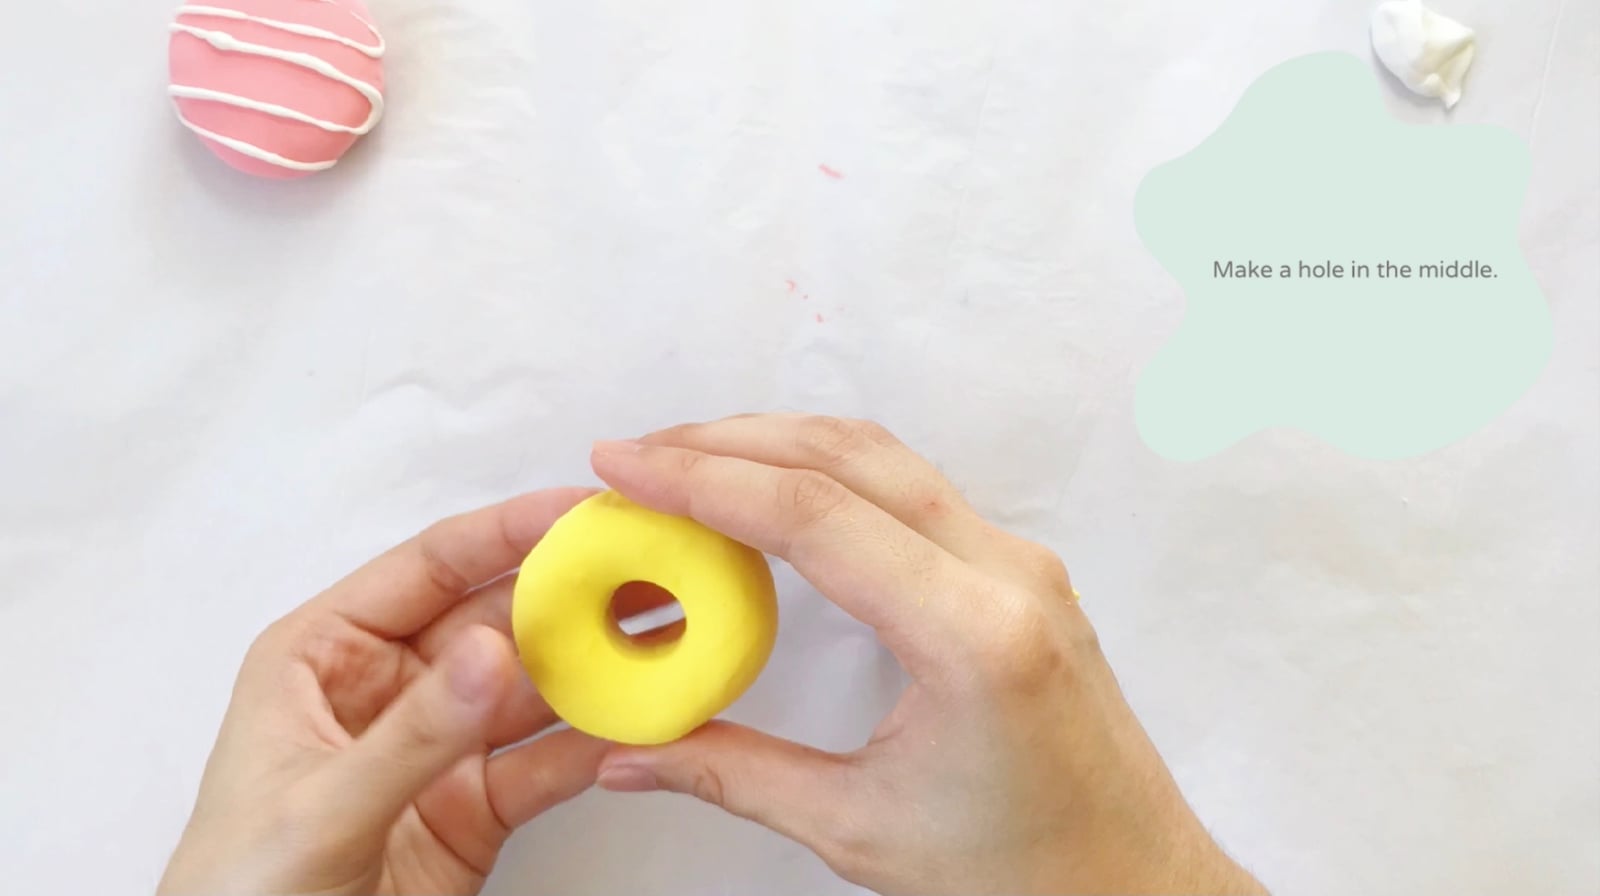
Mix blue, yellow, red, and white together until you land on a light dough brown. It feels wrong to mash all those colors together and it comes out exactly right. Mold your circles, poke the holes, and you have a tray of plain donuts waiting for a glaze.
Then run the flavors
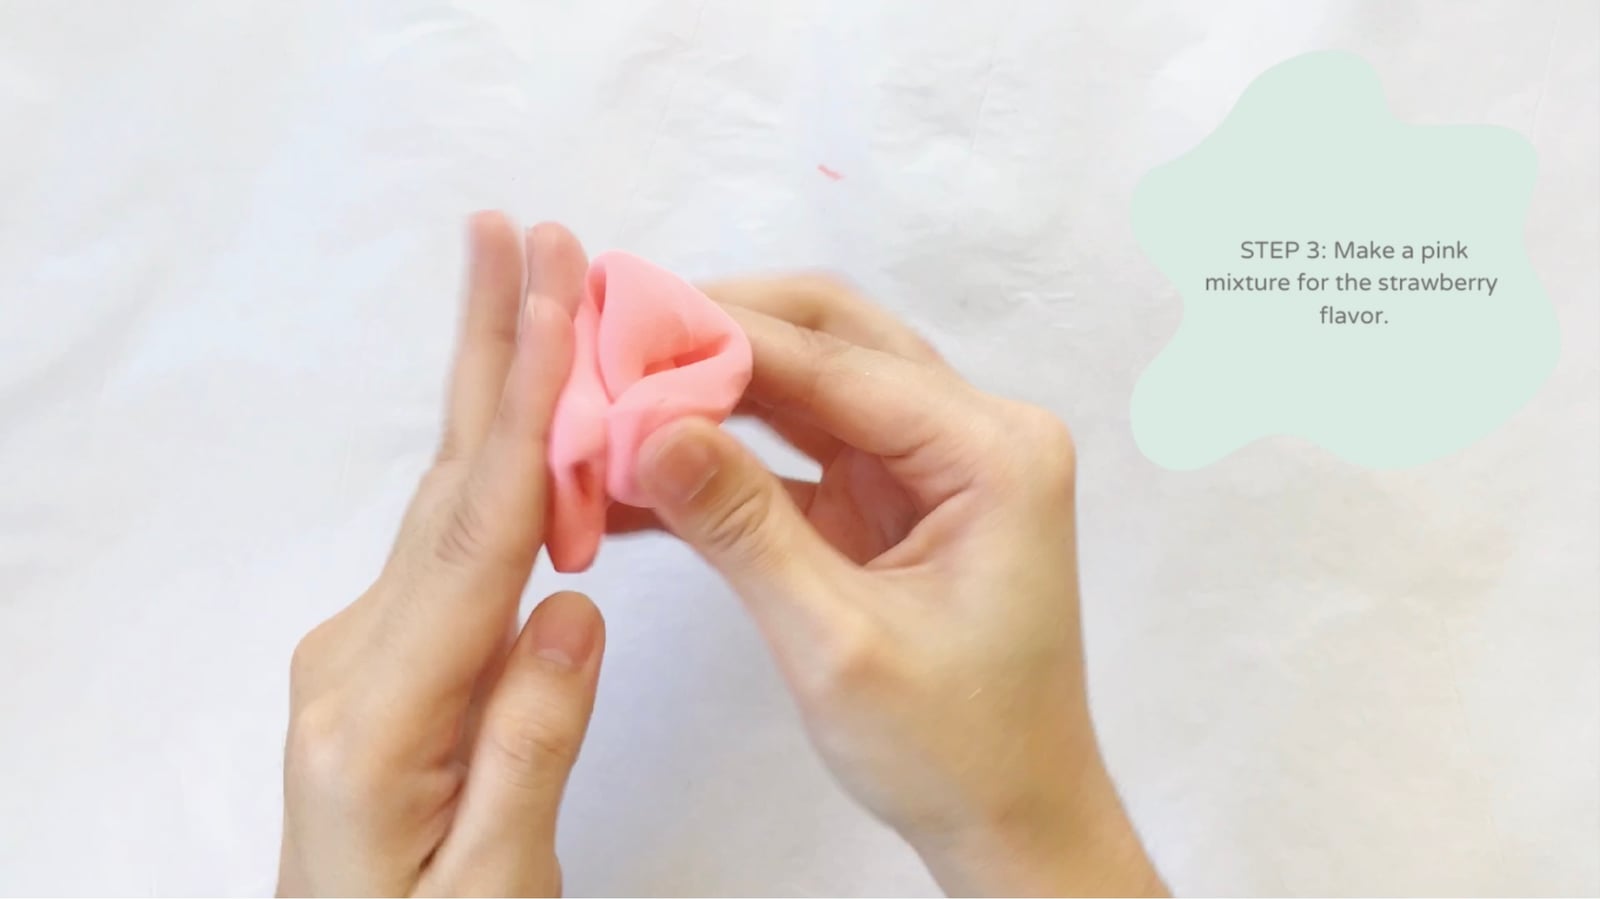
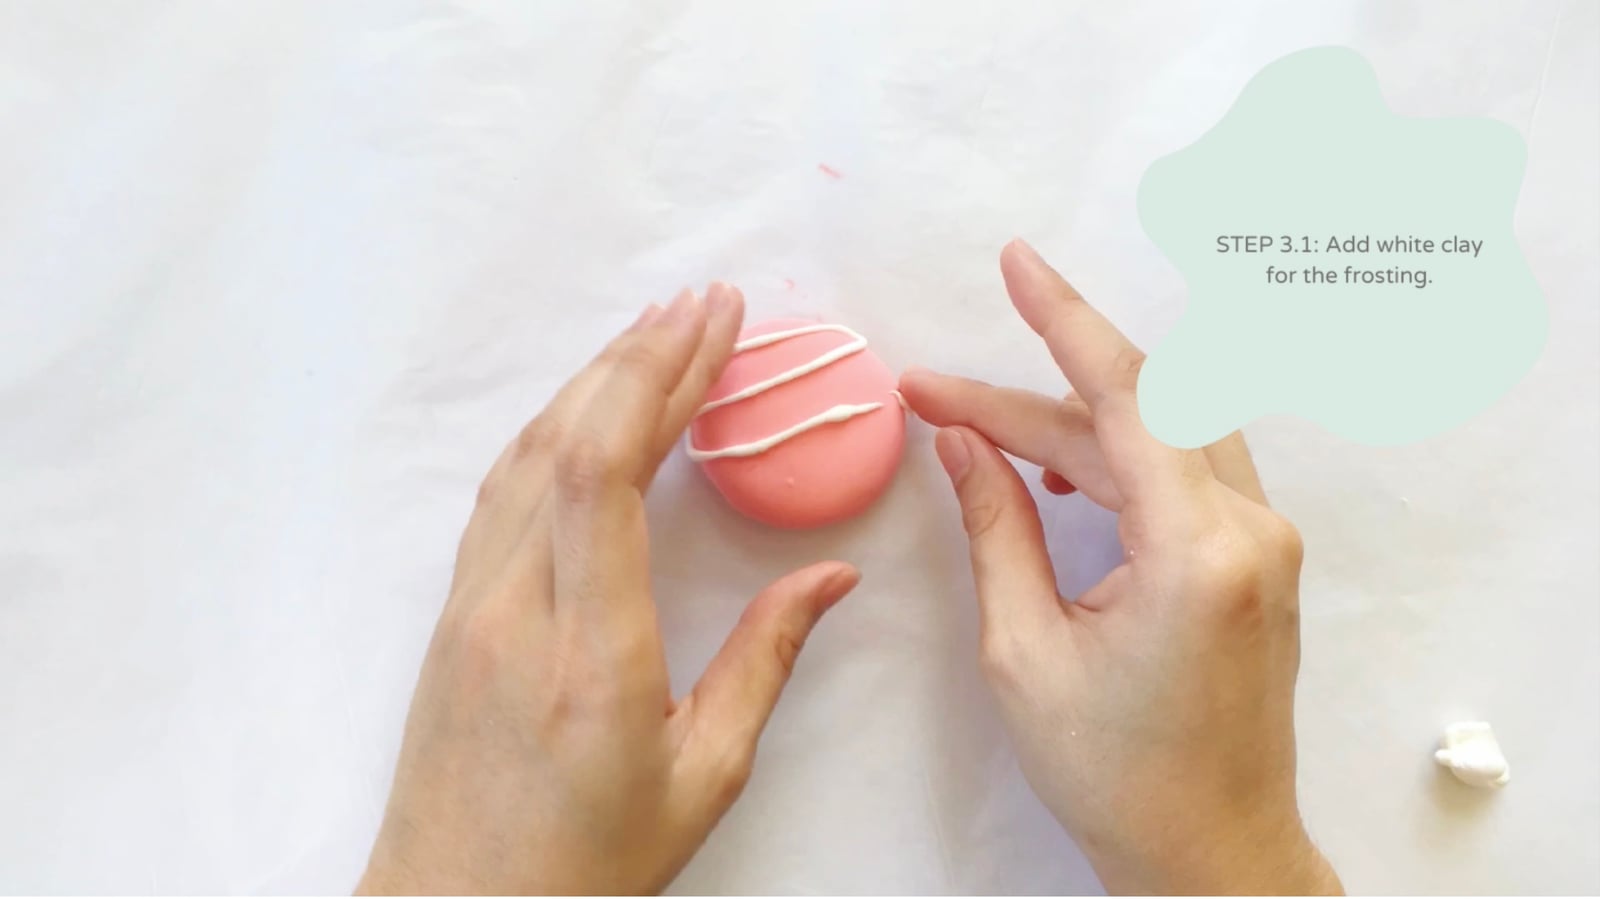
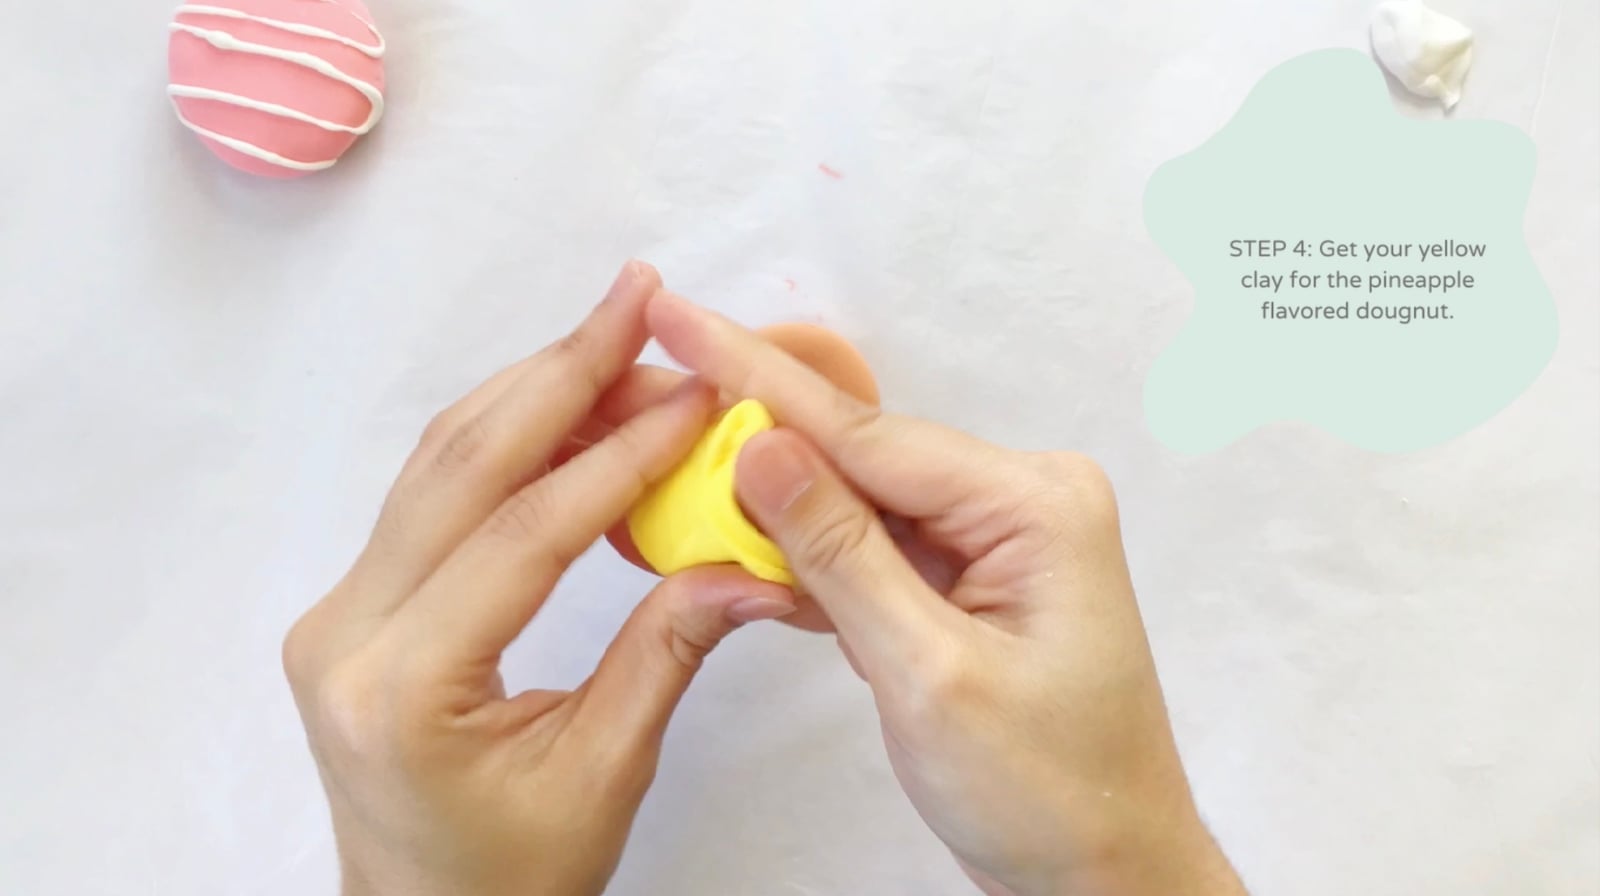
Strawberry: mix a pink, drape it on, then add white frosting drizzle. Pineapple: yellow glaze, white frosting on top. Blueberry: mix blue and white for a milky blue glaze, then press in sprinkles rolled from whatever colors are left over. Grape: a purple glaze with little white clay flowers, which is the fancy one. Cream with chocolate frosting: mix the softest beige you can and top it dark. And a chocolate donut with rainbow sprinkles, because there had to be one.
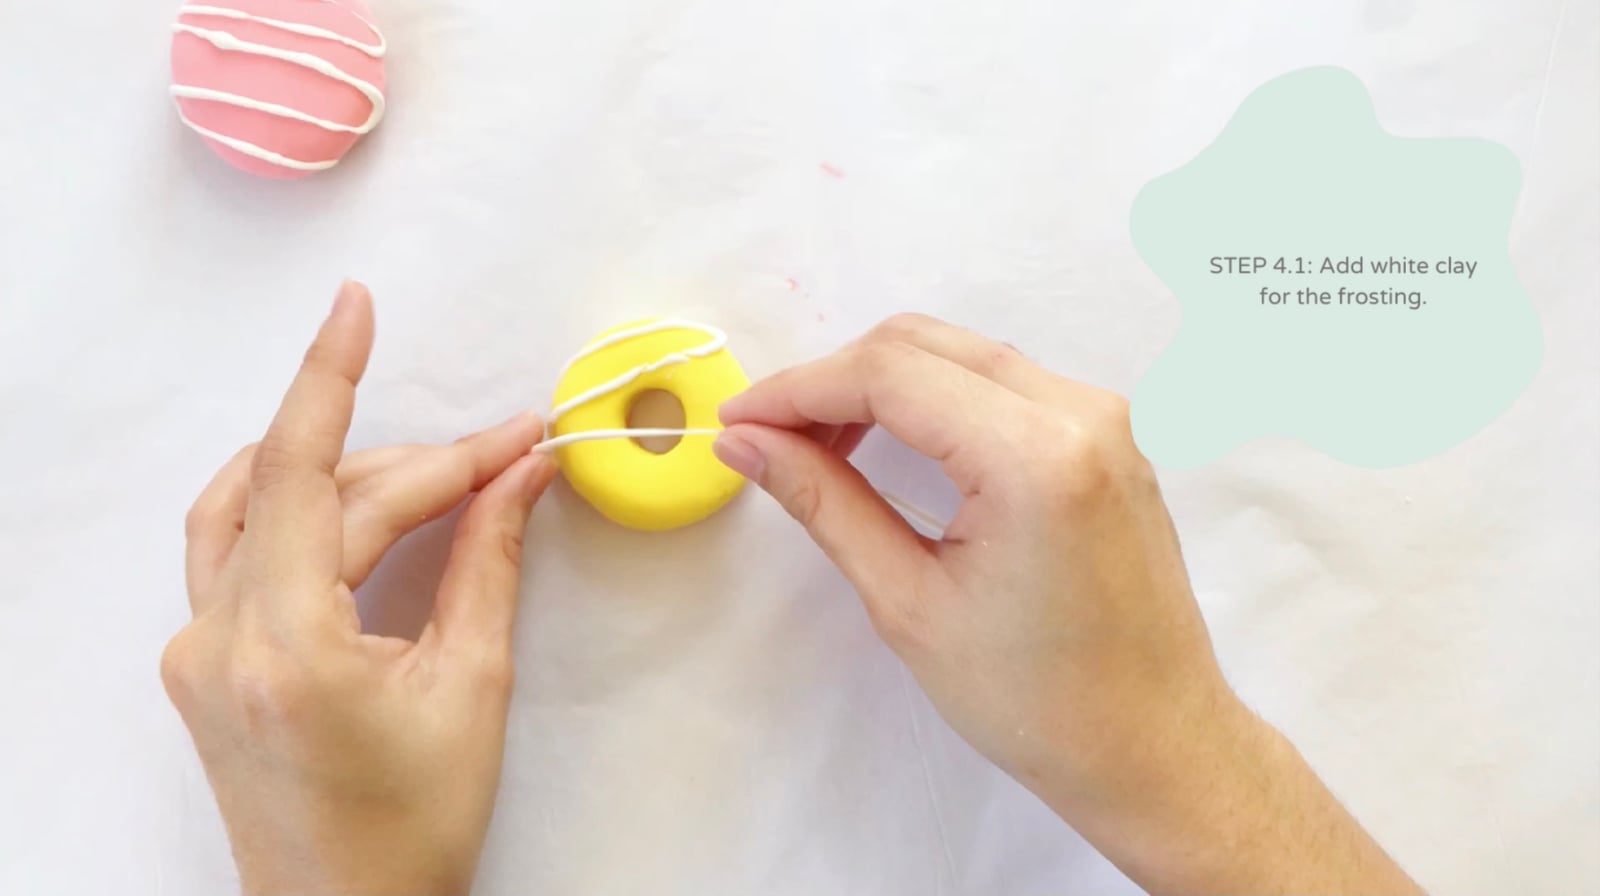
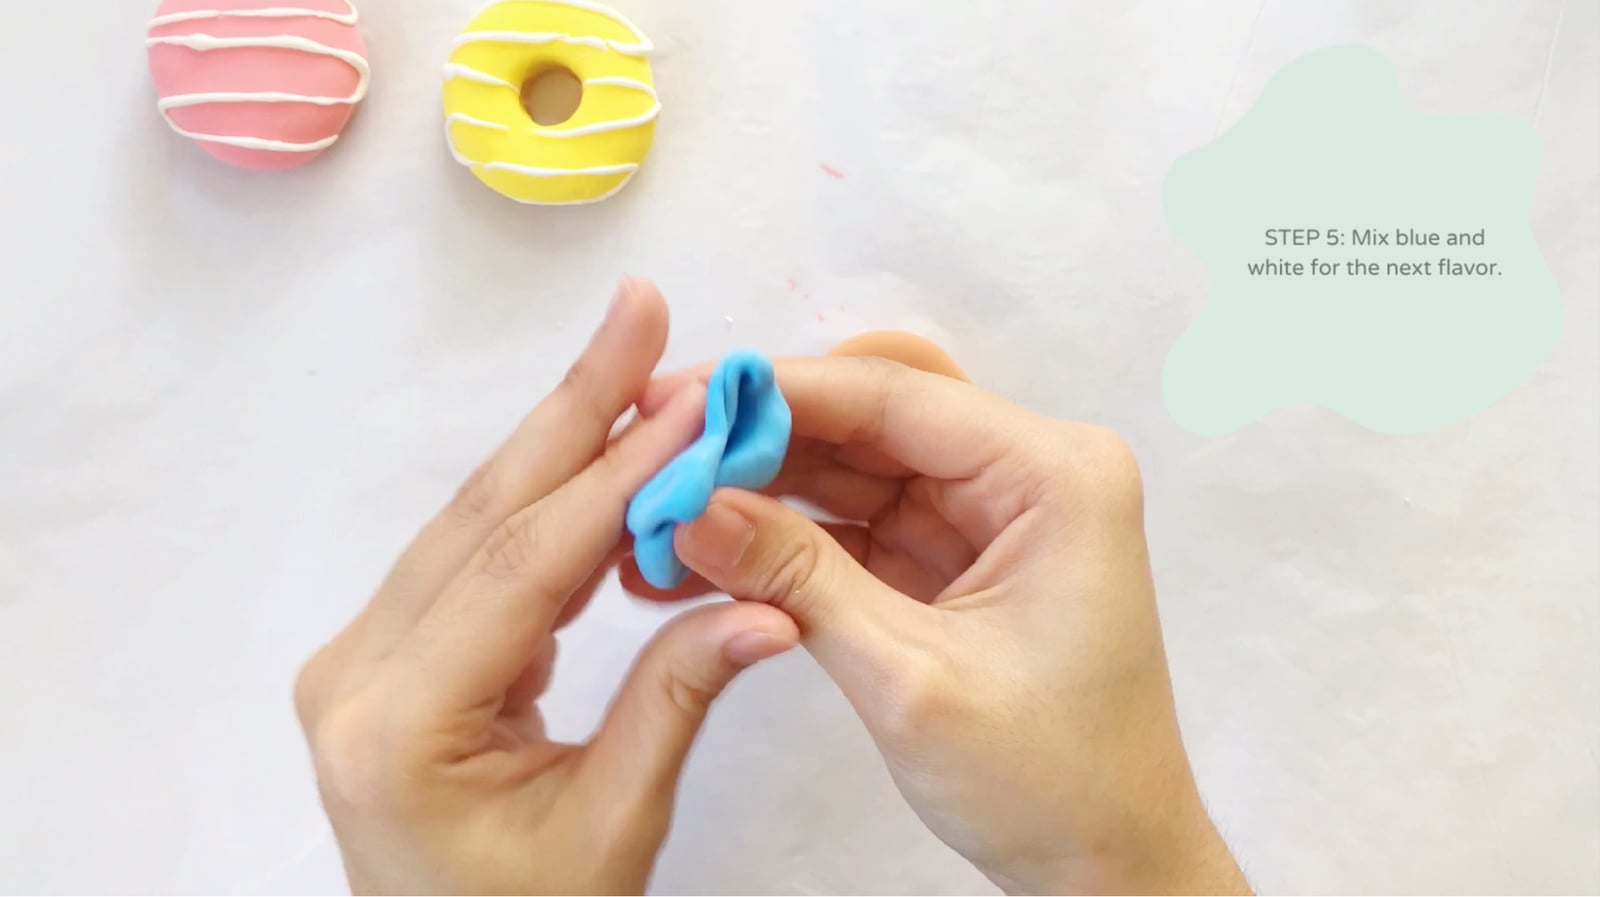
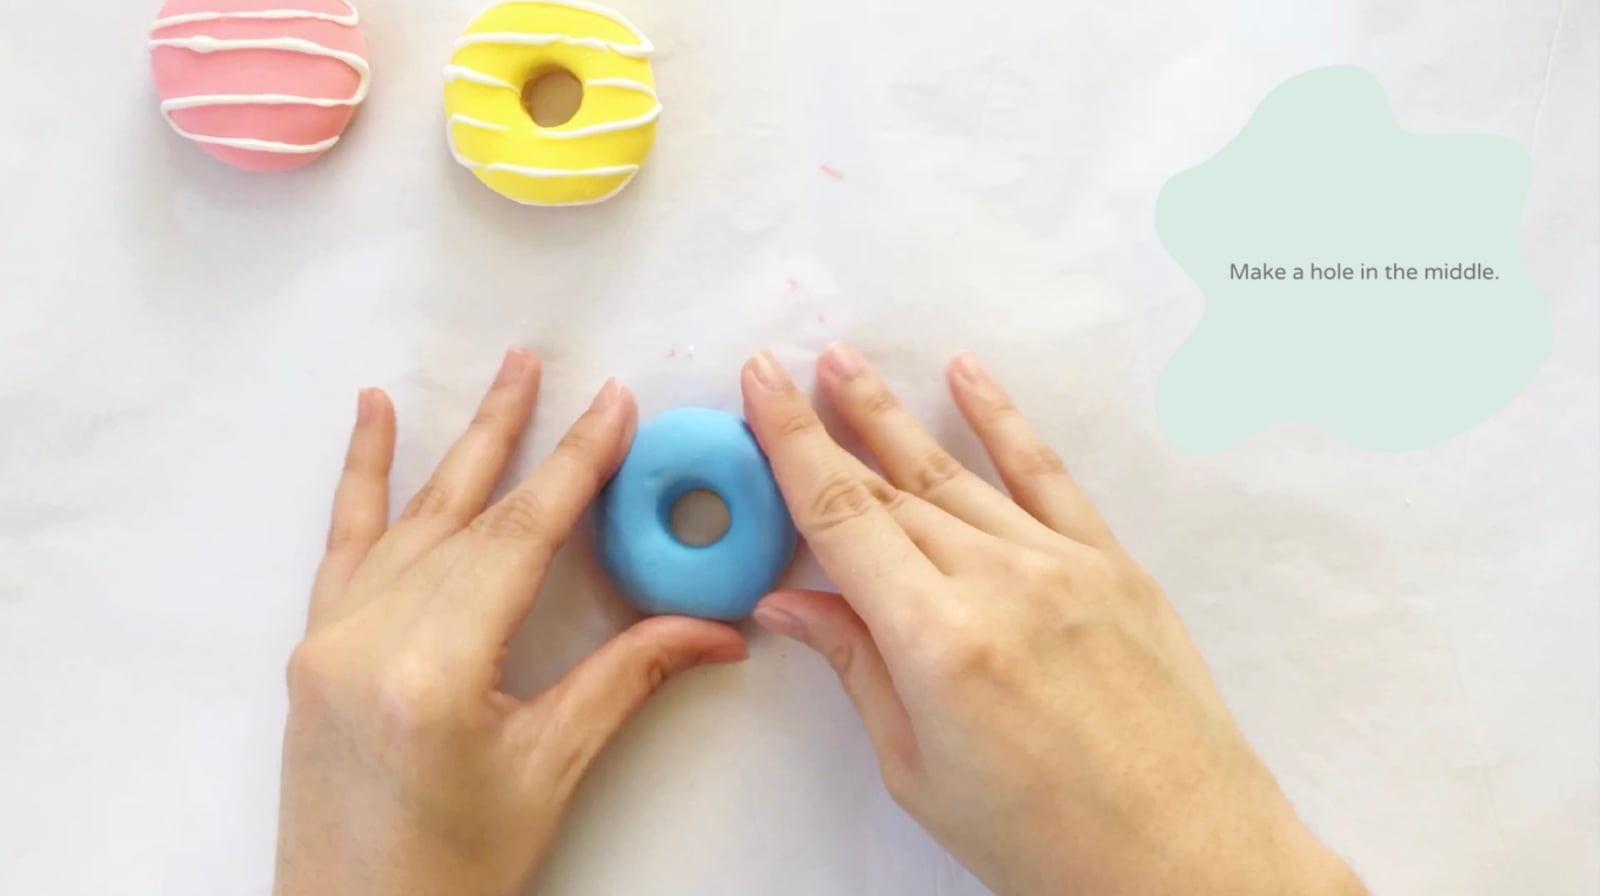
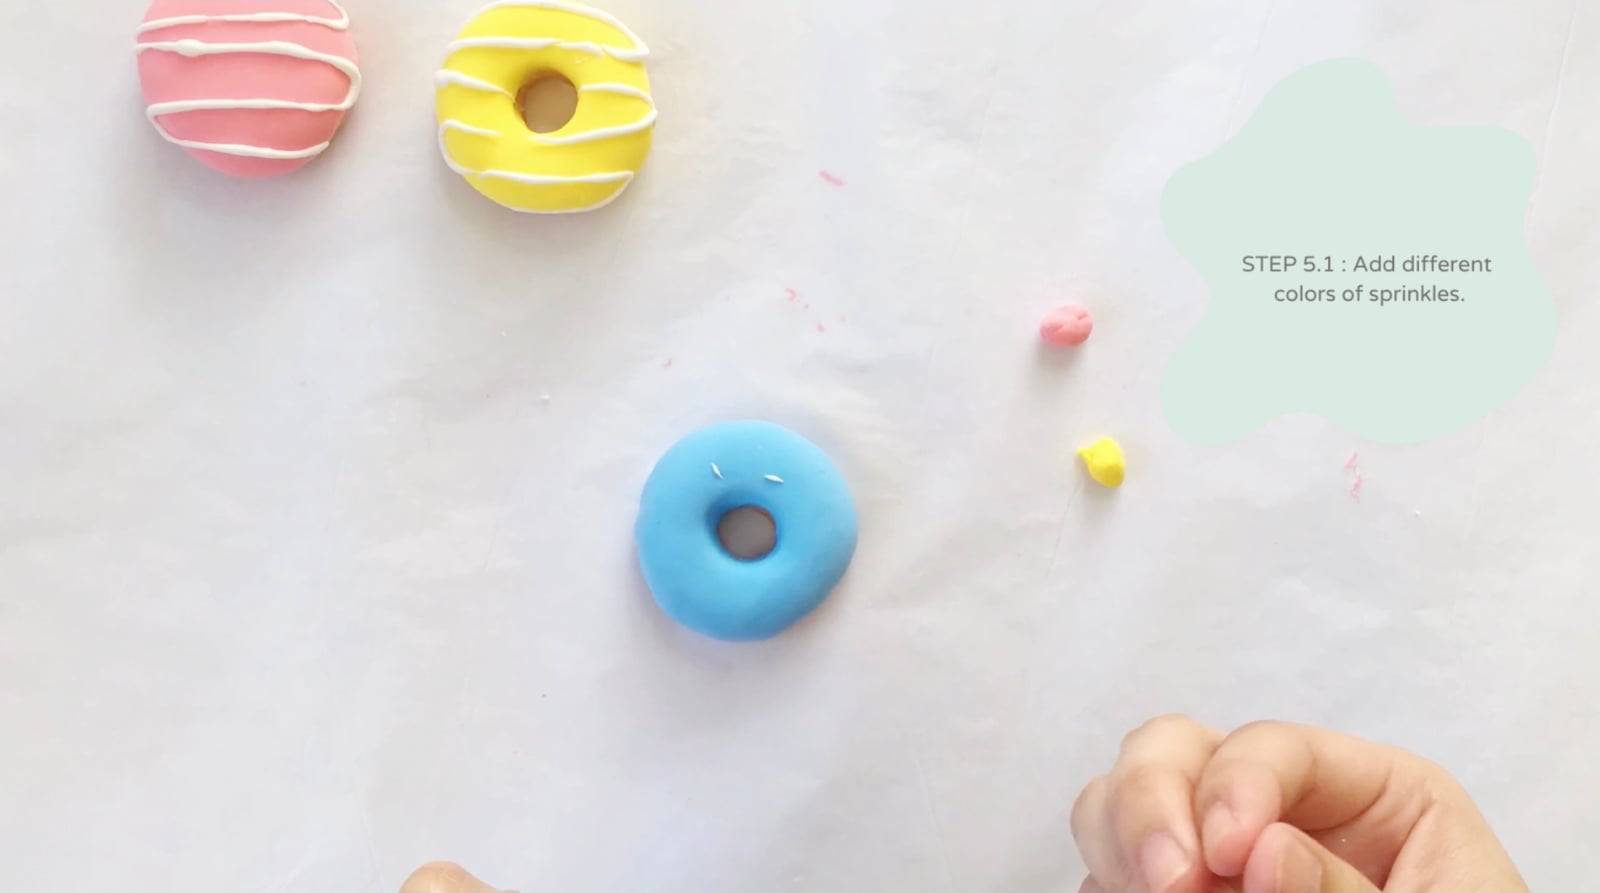
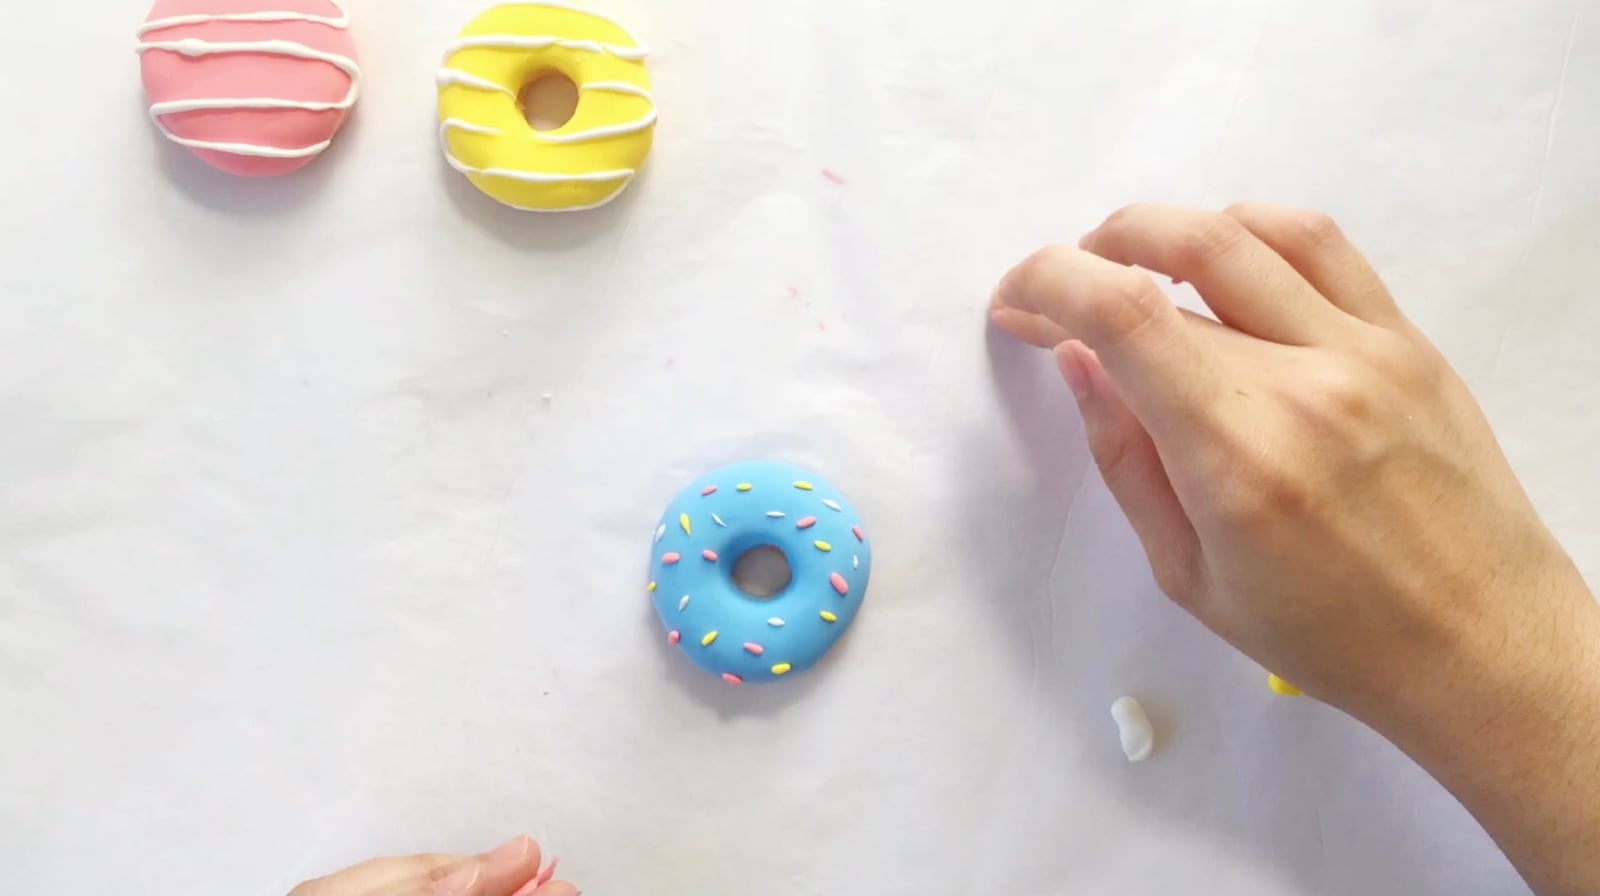
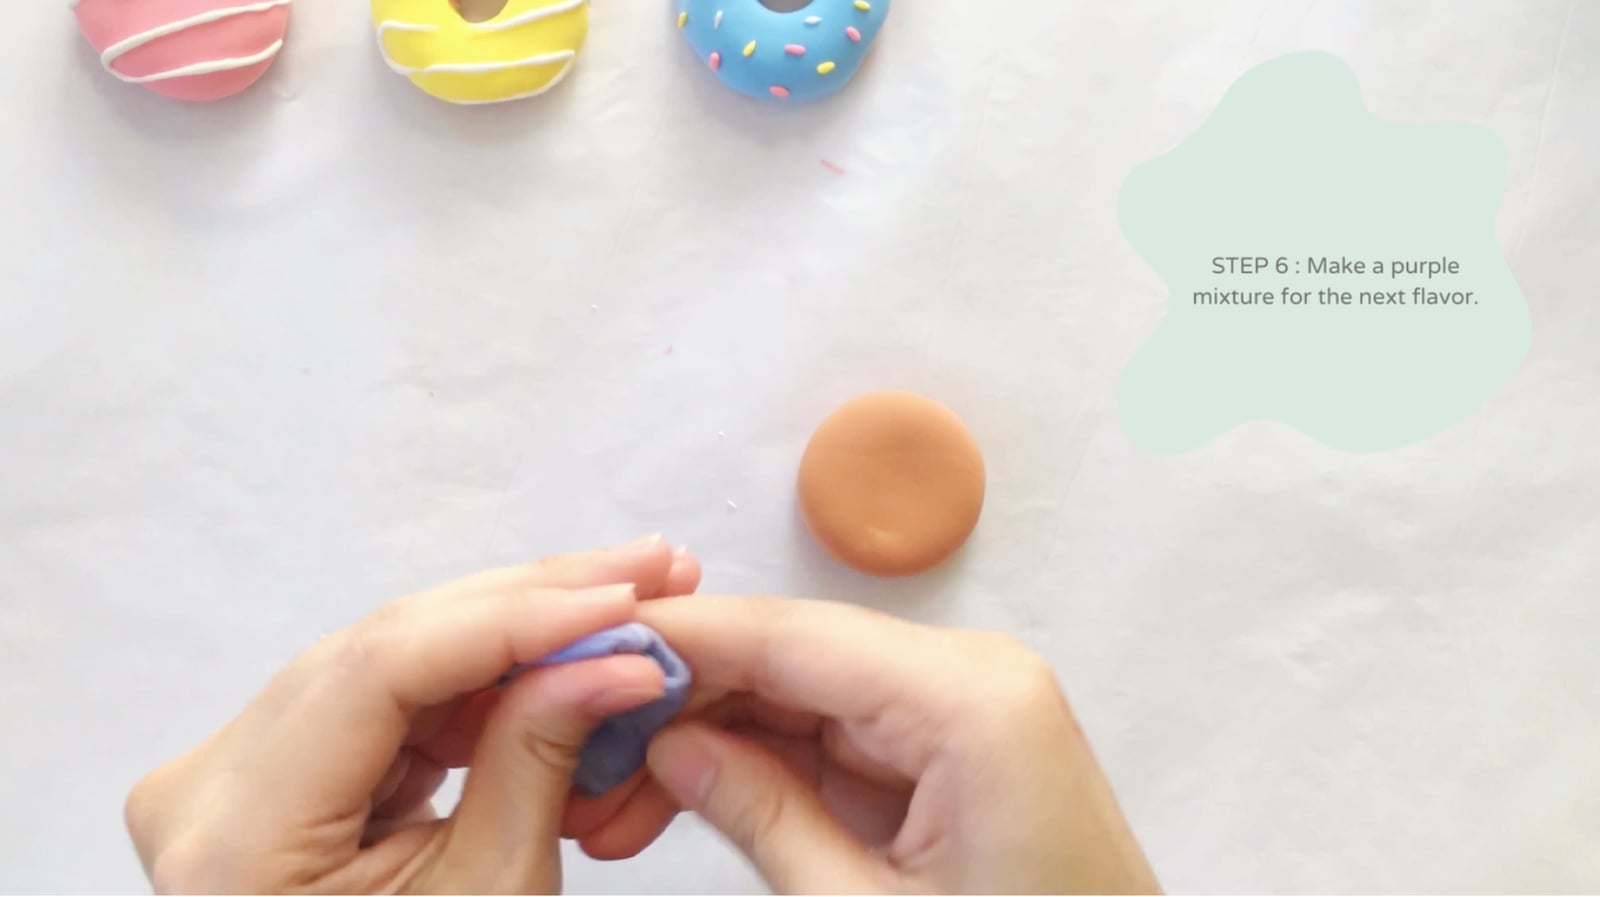
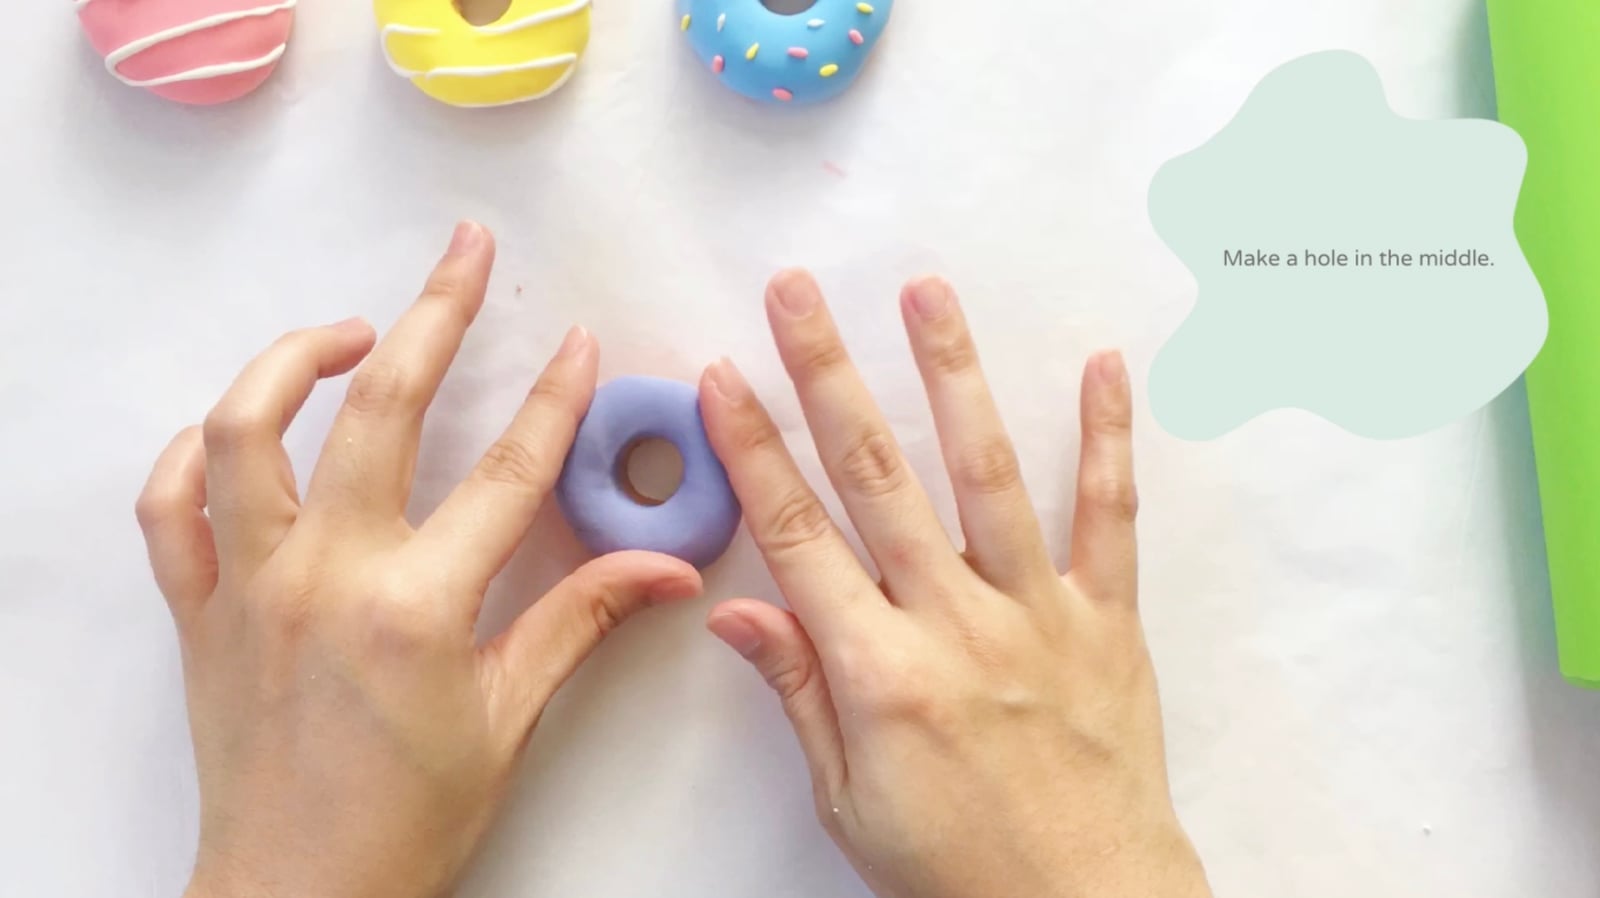
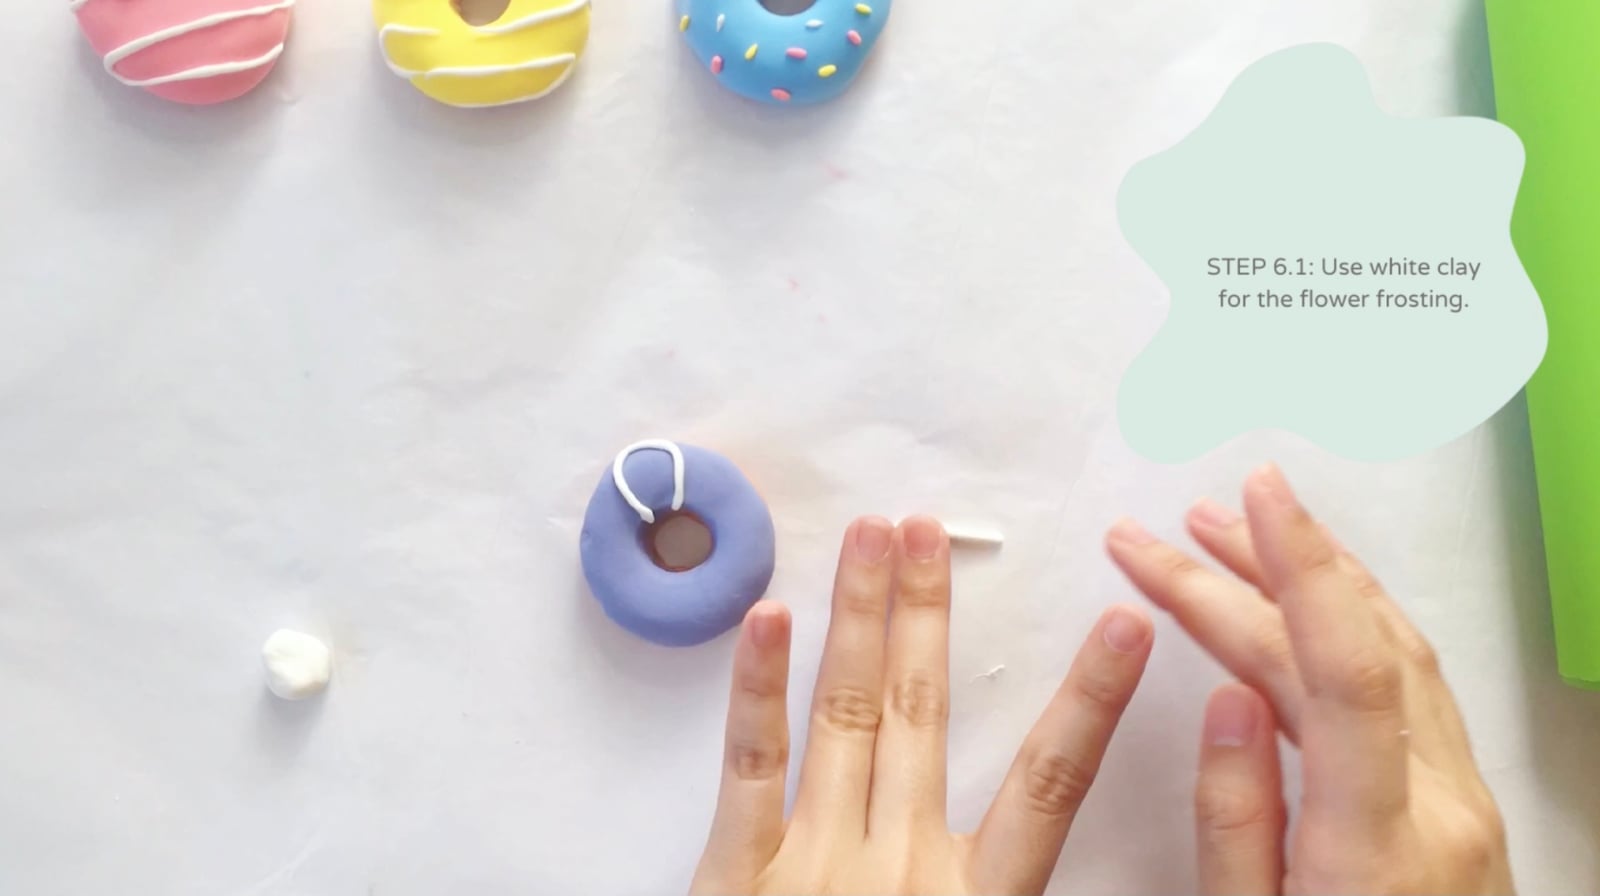
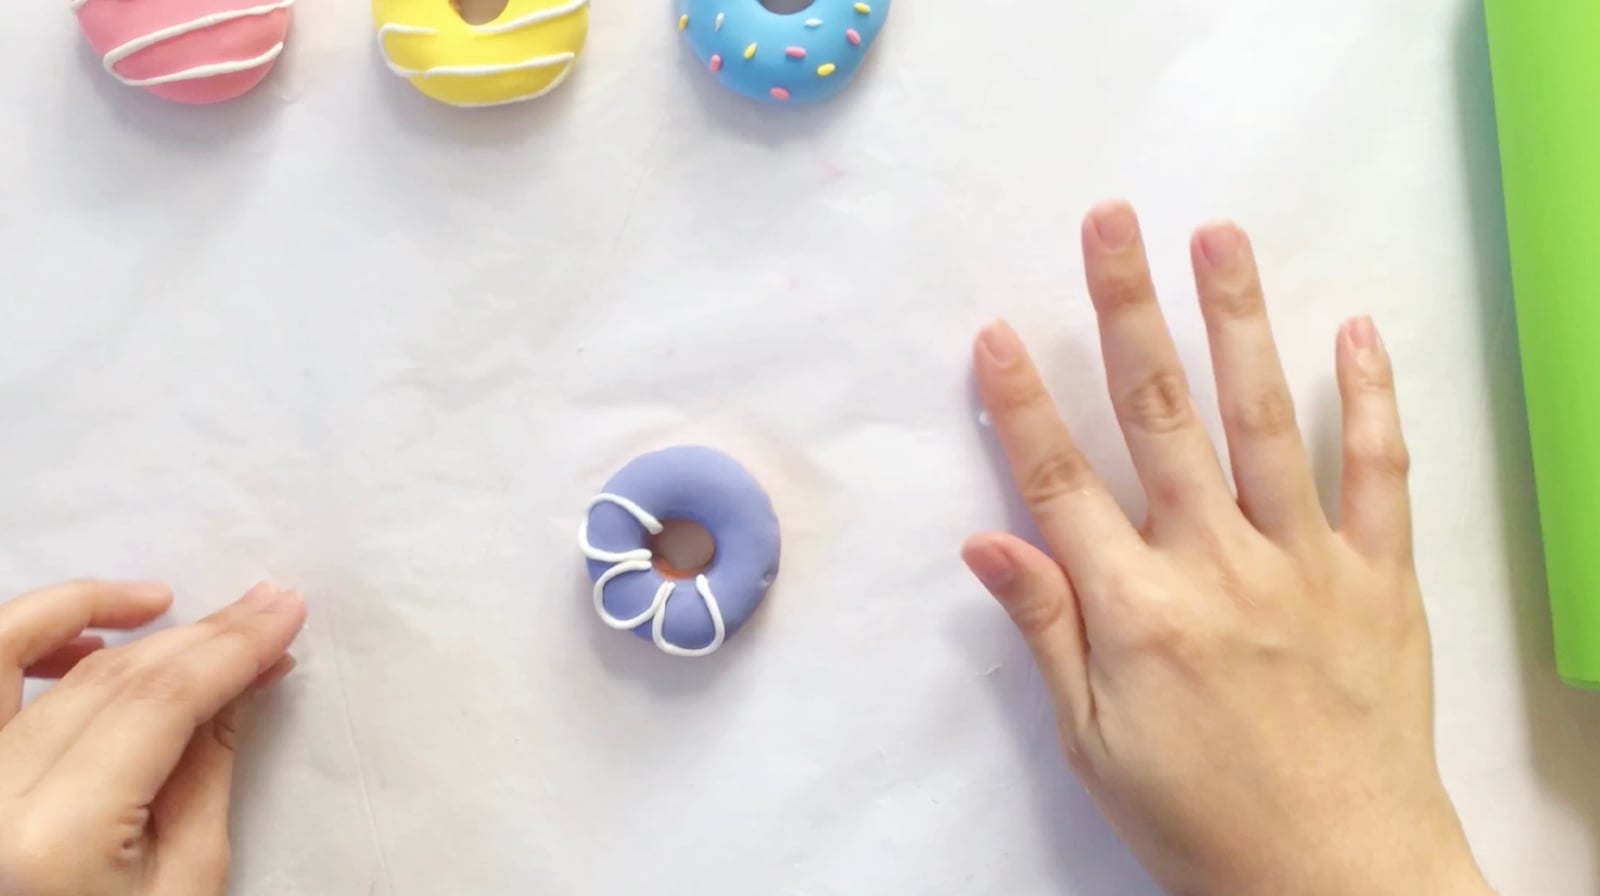
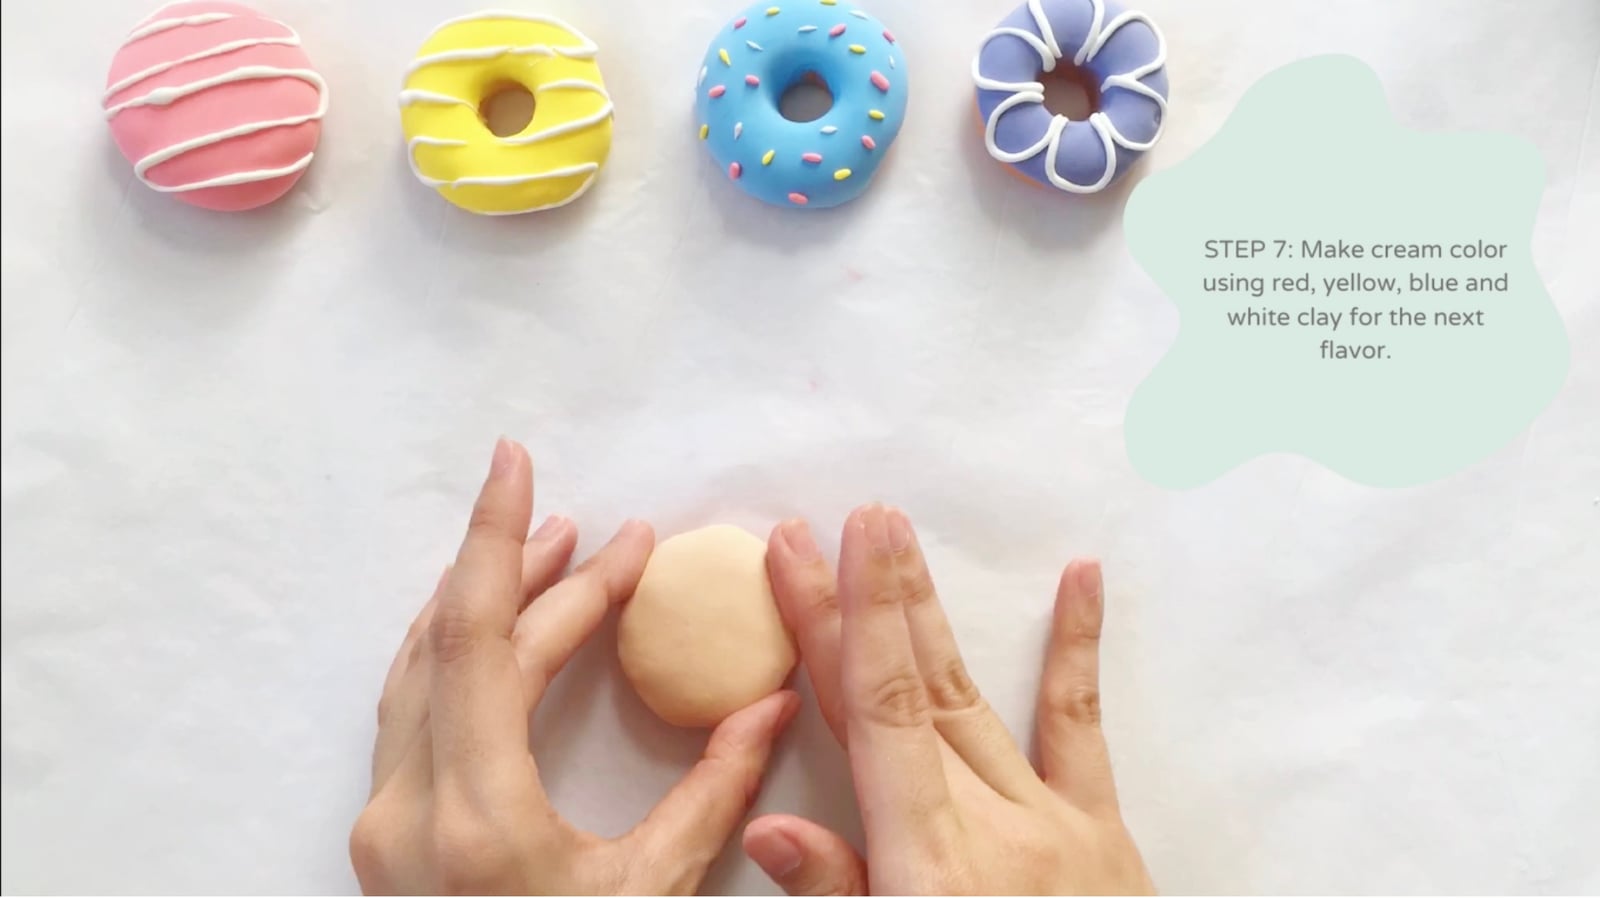
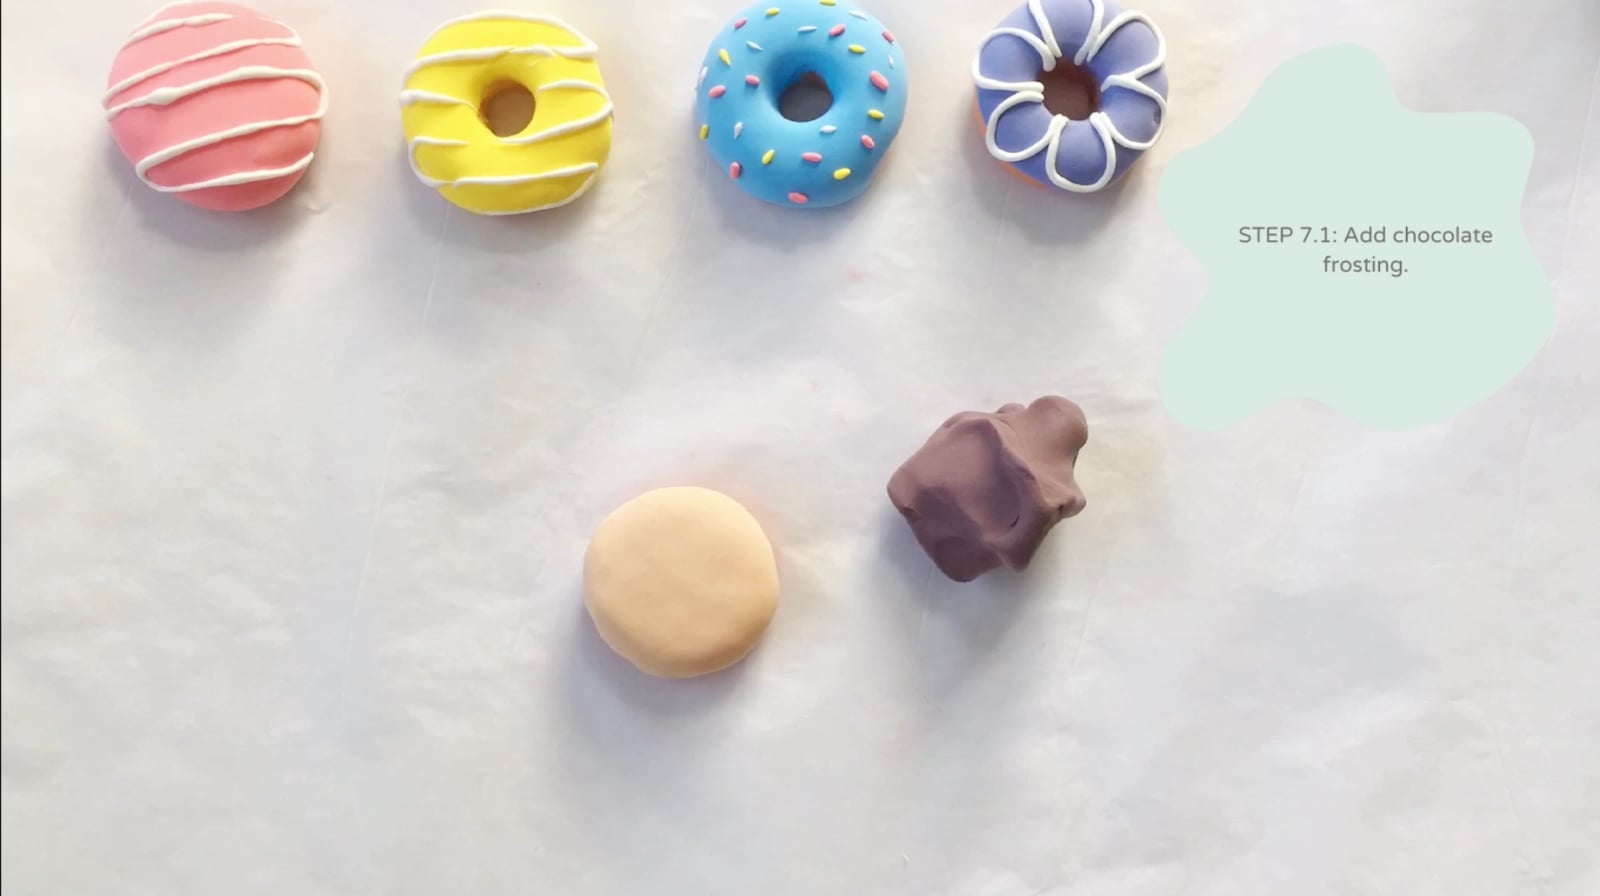
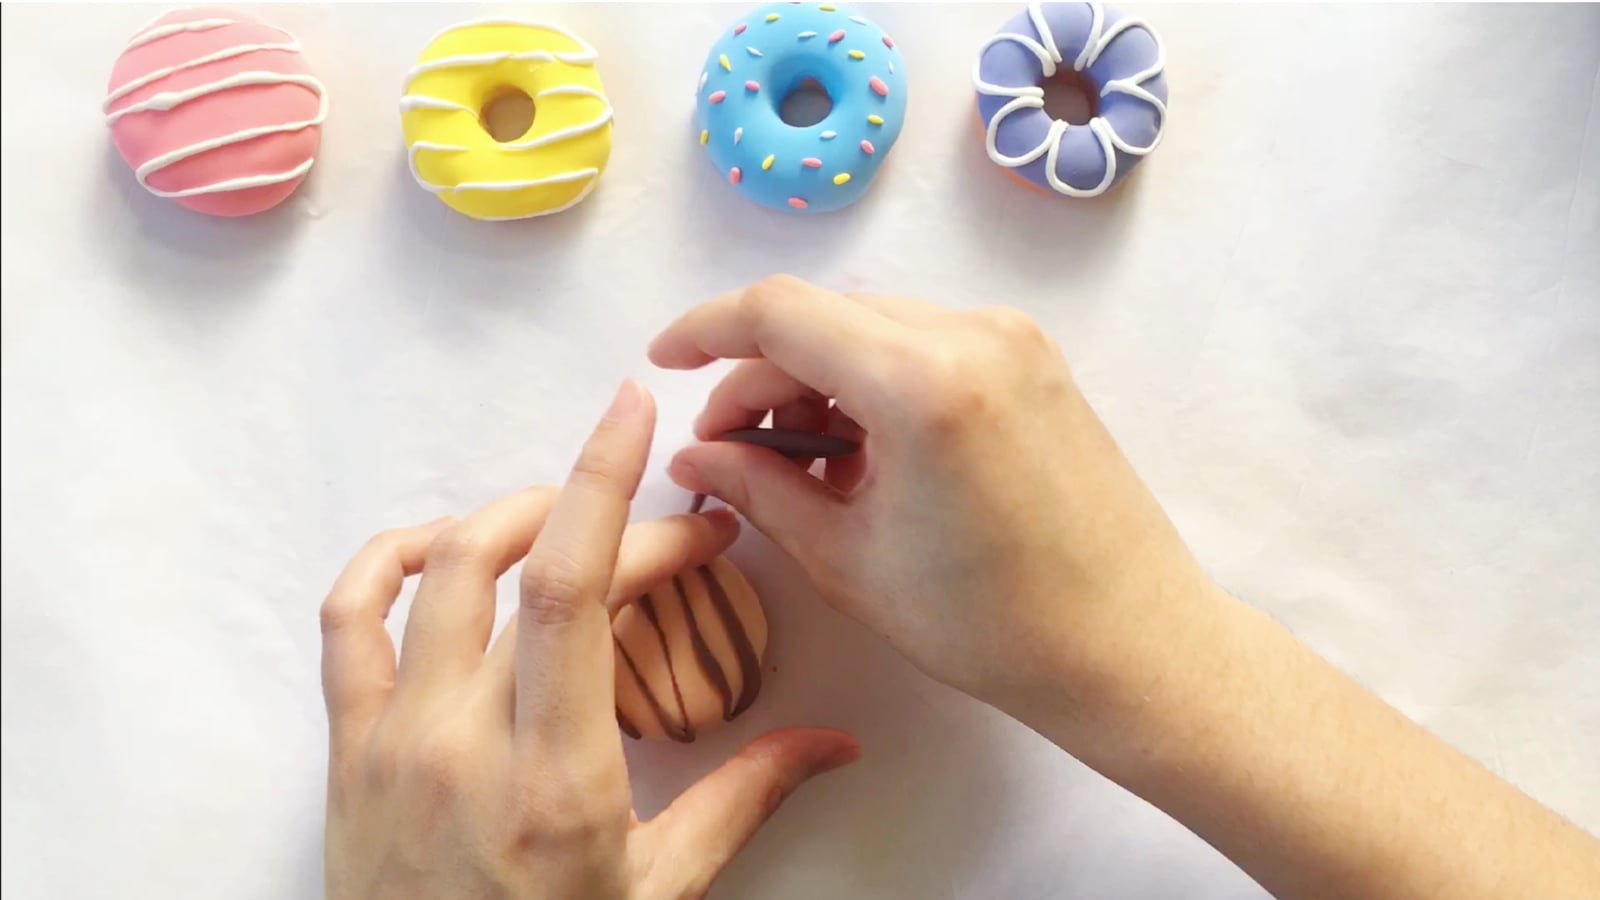
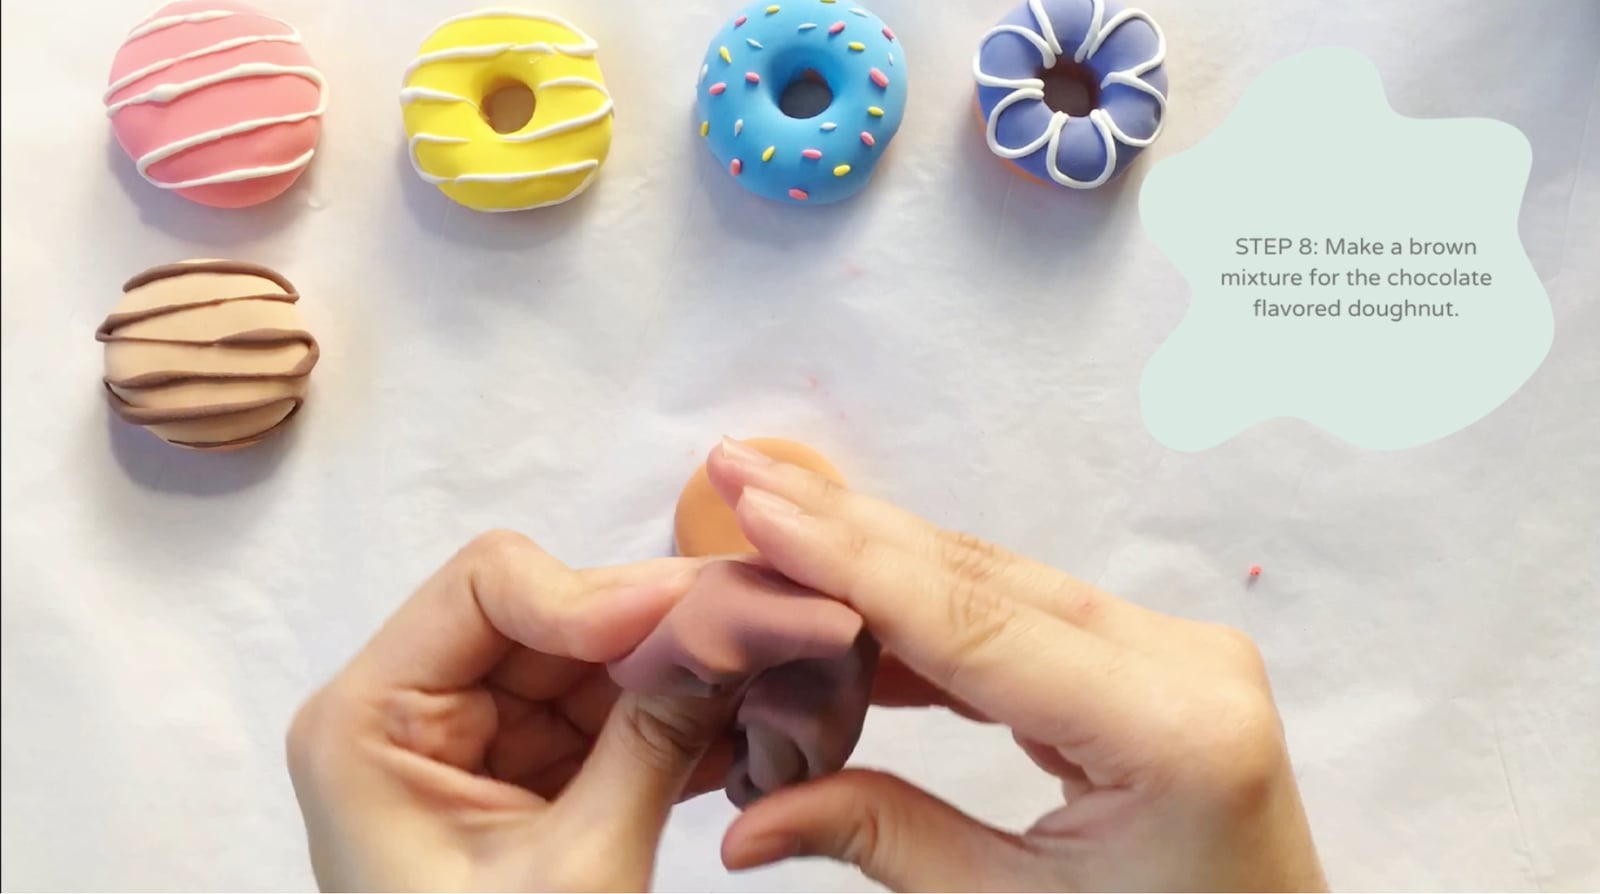
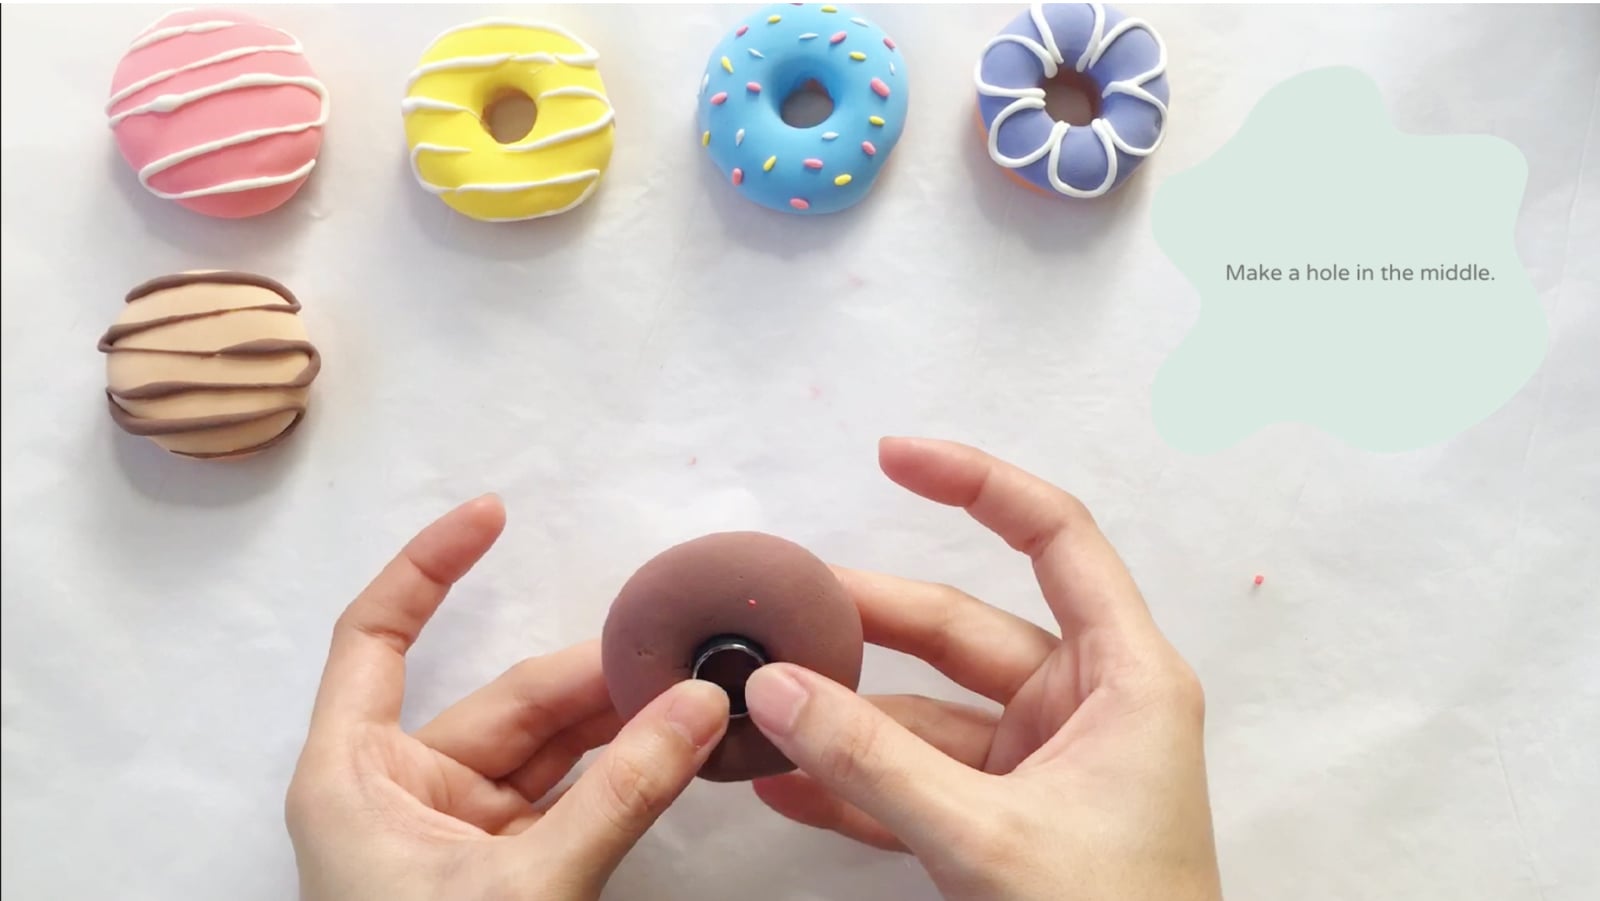
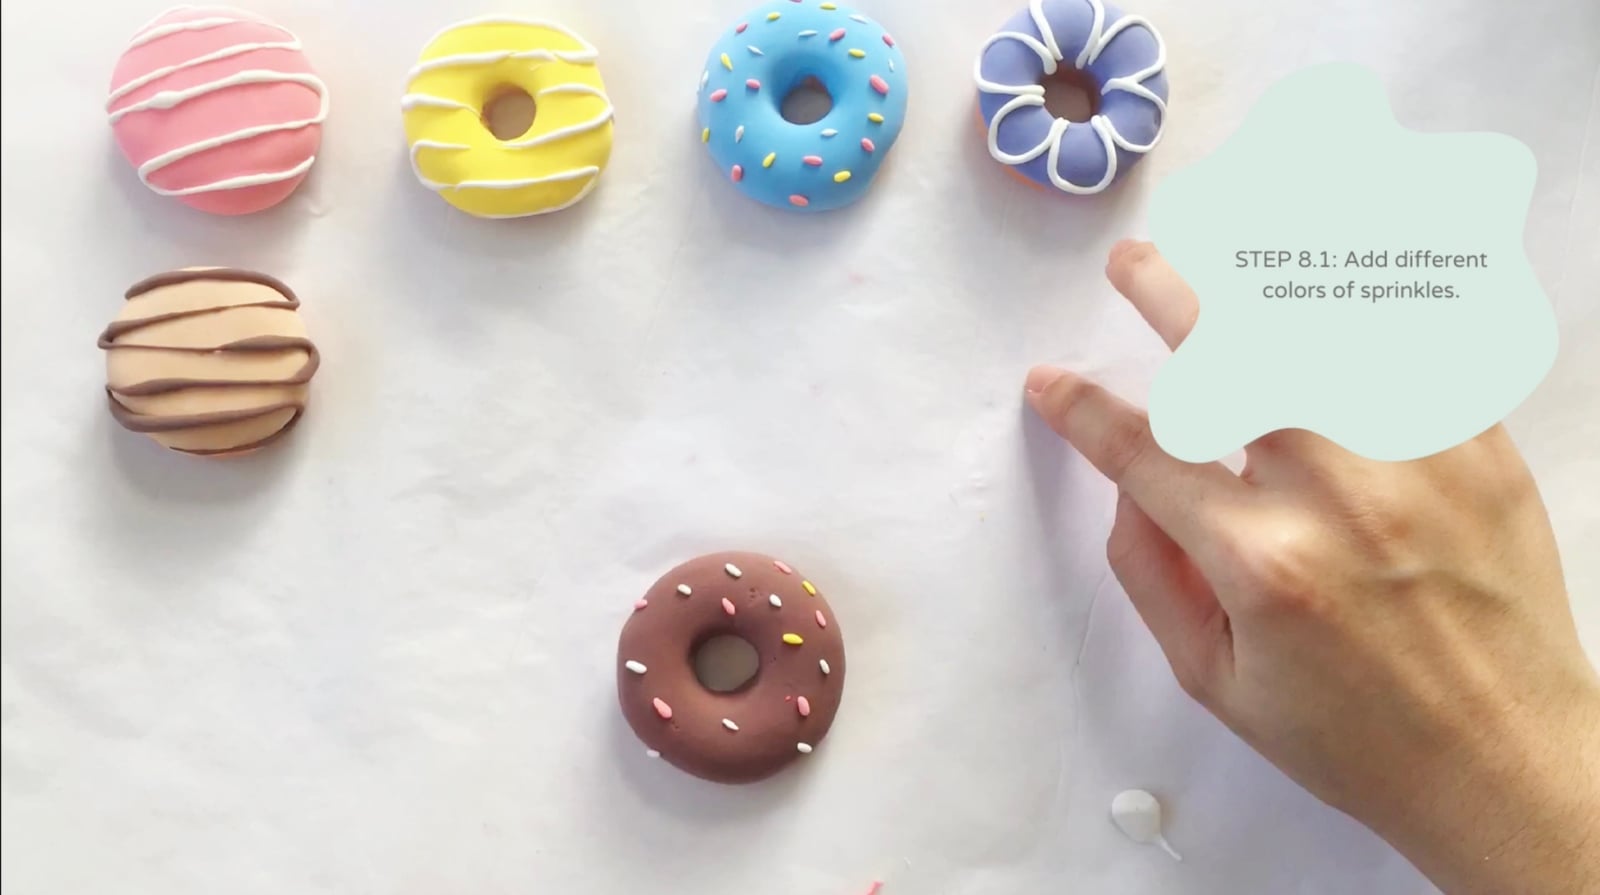
Sprinkles are the best job on the table. Roll the thinnest snakes of clay you can manage and chop them into confetti. Assign it to the kid who needs a task with no way to fail.
The waiting
Half an hour to an hour and they are set enough to handle, a full day to properly cure. They keep their color as they dry. A dozen of these in a little bakery box is a genuinely good handmade gift, and yes, they work as fridge magnets with a dot of glue.
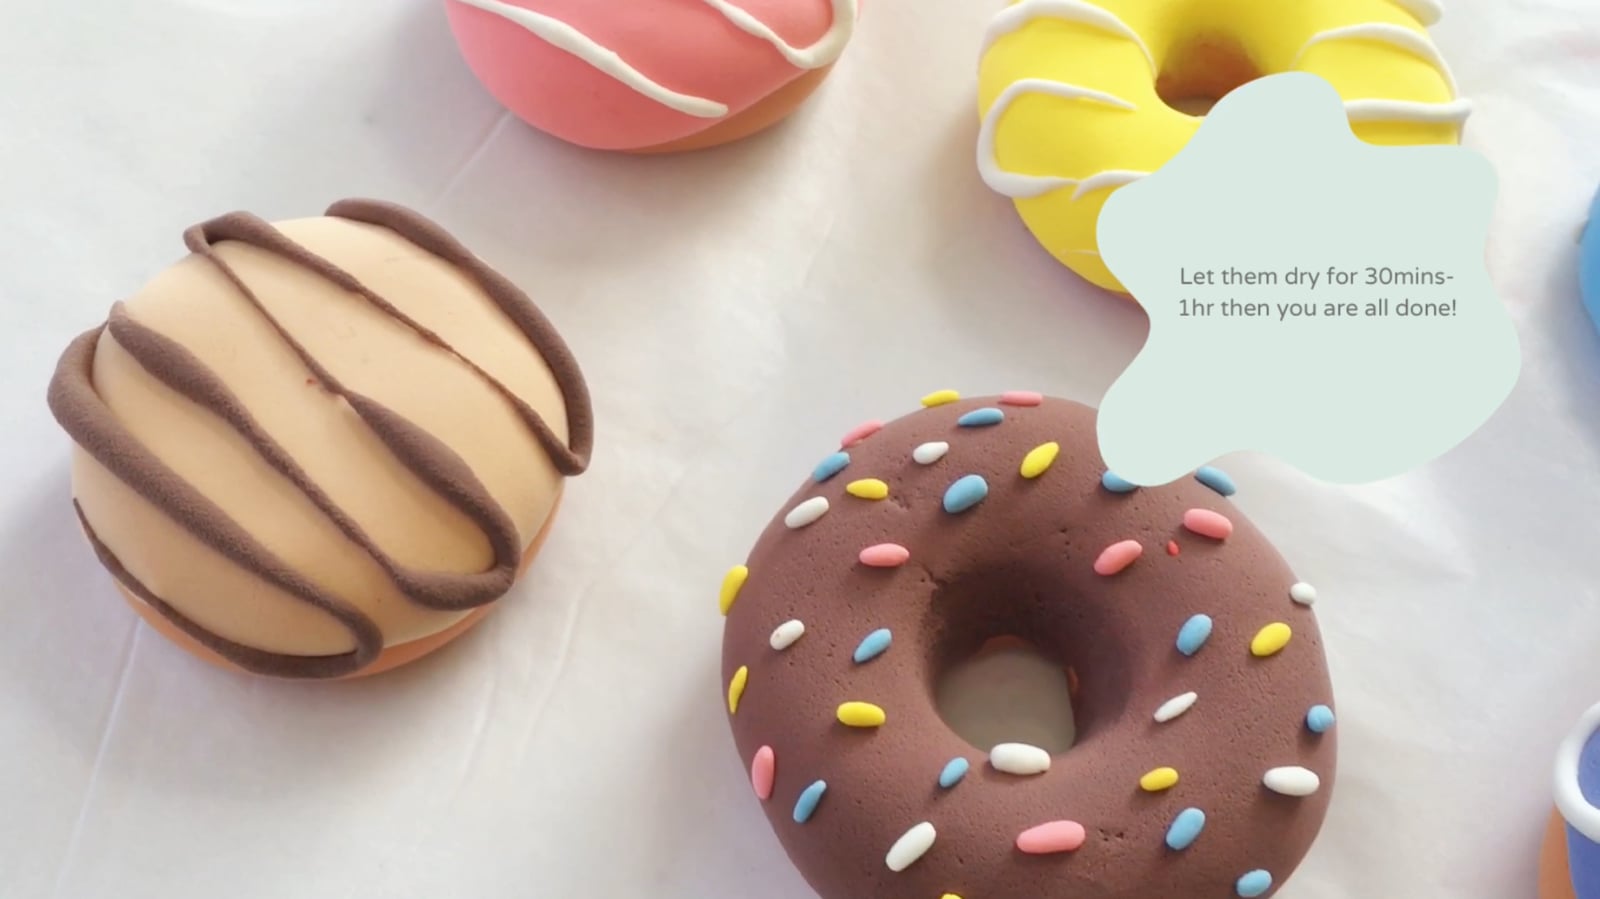
The step photography for this project was shot for Craft & Bond by Pauline Gamboa, whose very steady hands you will see throughout.
What flavor would you add to the case? I am taking requests for the next batch.
Next in the clay kitchen: cupcakes with a trick ending.
If this gave you an idea worth trying, there's more where it came from. Follow along on Pinterest (@CraftandBondCo) and Instagram (@craftandbondco) for new projects, recipes, and the occasional honest mess, and save this post so you can find your way back to it.