DIY Clay Chocolate Chip Cookies for Absolute Beginners
This post contains affiliate links. If you purchase something through my links I may earn a small commission at no extra cost to you. I only share products I actually used and loved.
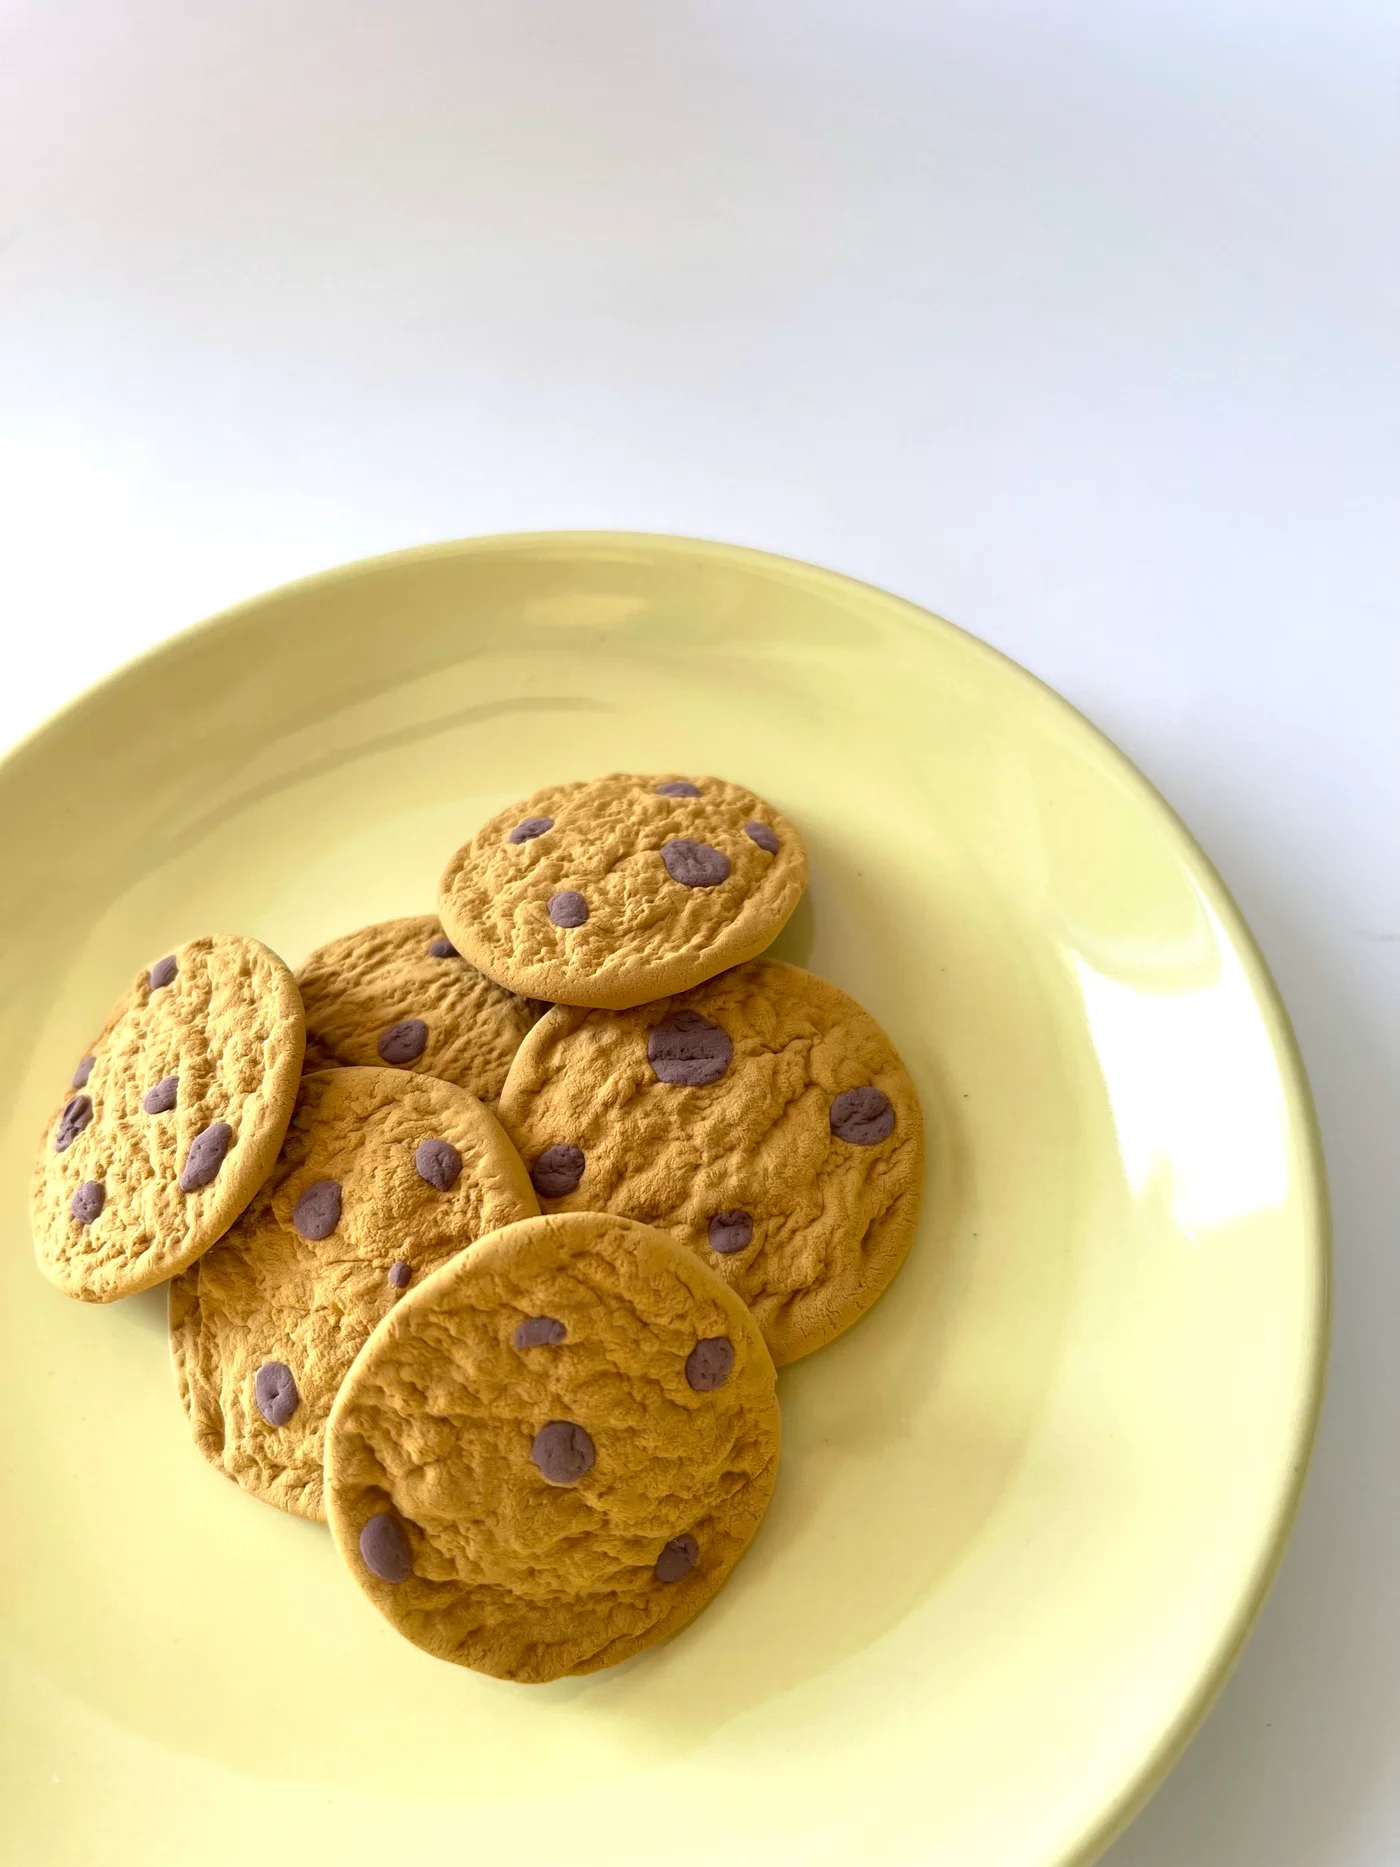
Every skill needs a first project, and in our clay kitchen this is it. Five steps. Four colors. A cookie is a lumpy circle with dots on it, which means a four year old's version and a forty year old's version come out equally charming, just differently.
What you need
Air dry clay in yellow, red, blue, and white, plus a scrap of dark brown or black, all in one air dry clay kit (or this rainbow set). An old paintbrush. That is genuinely the whole list, though a sculpting tool set earns its keep across the rest of the series.
One honest note about the links above: since my last clay post, the clay I used to use has changed hands, and the other shop stopped selling the tool set I liked at the right price. These are fun new sets I am suggesting instead. Great ratings, and the clay comes in a boatload of colors, which makes the mixing even more fun.
Make the dough
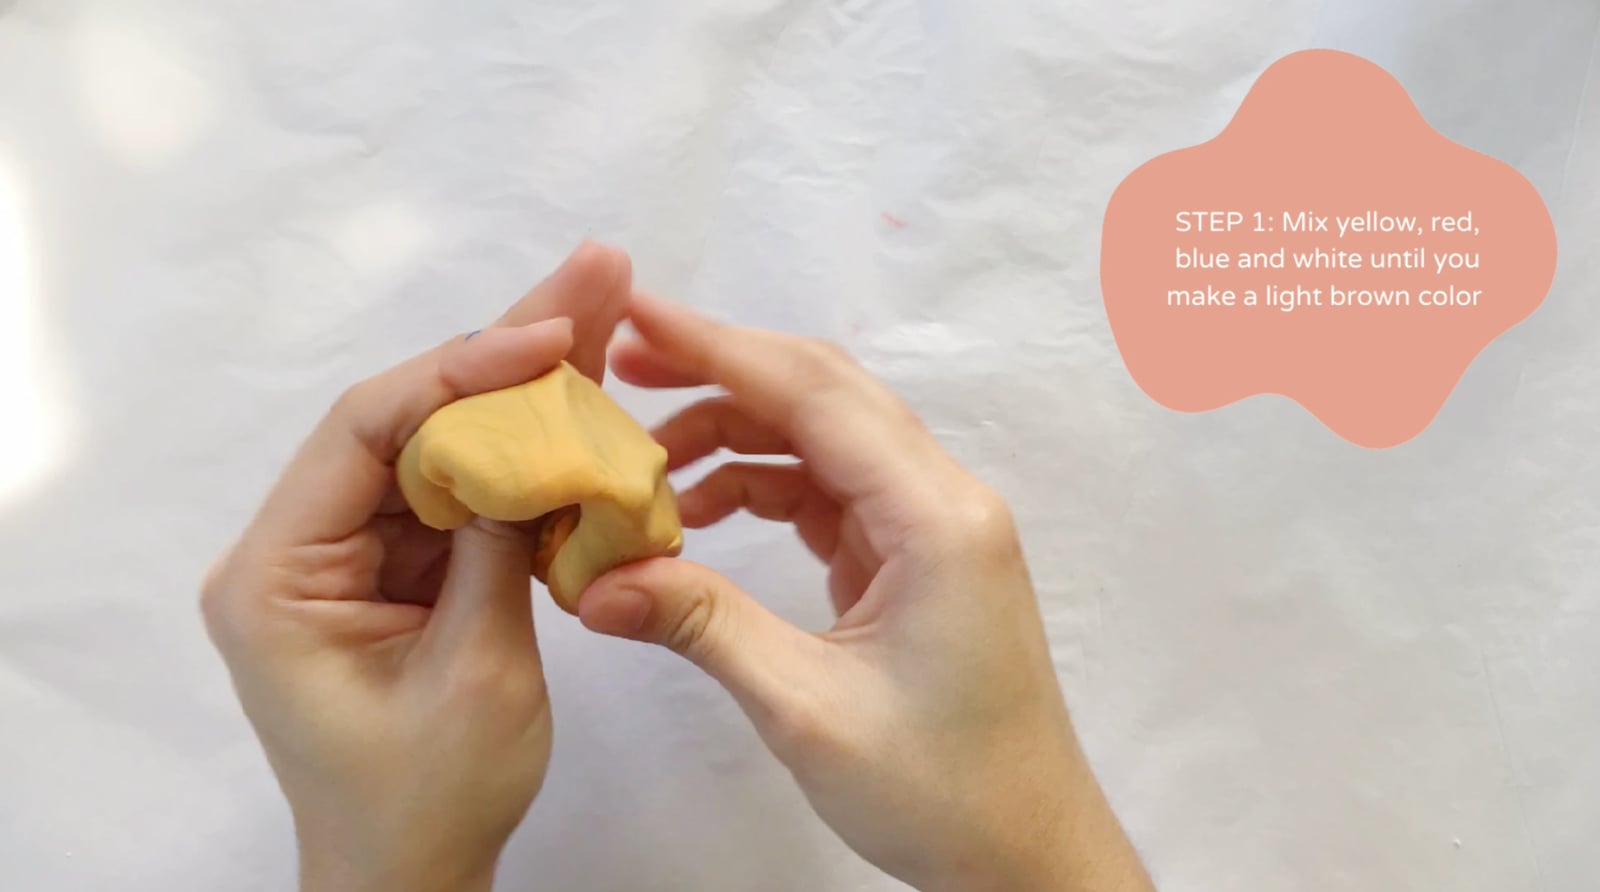
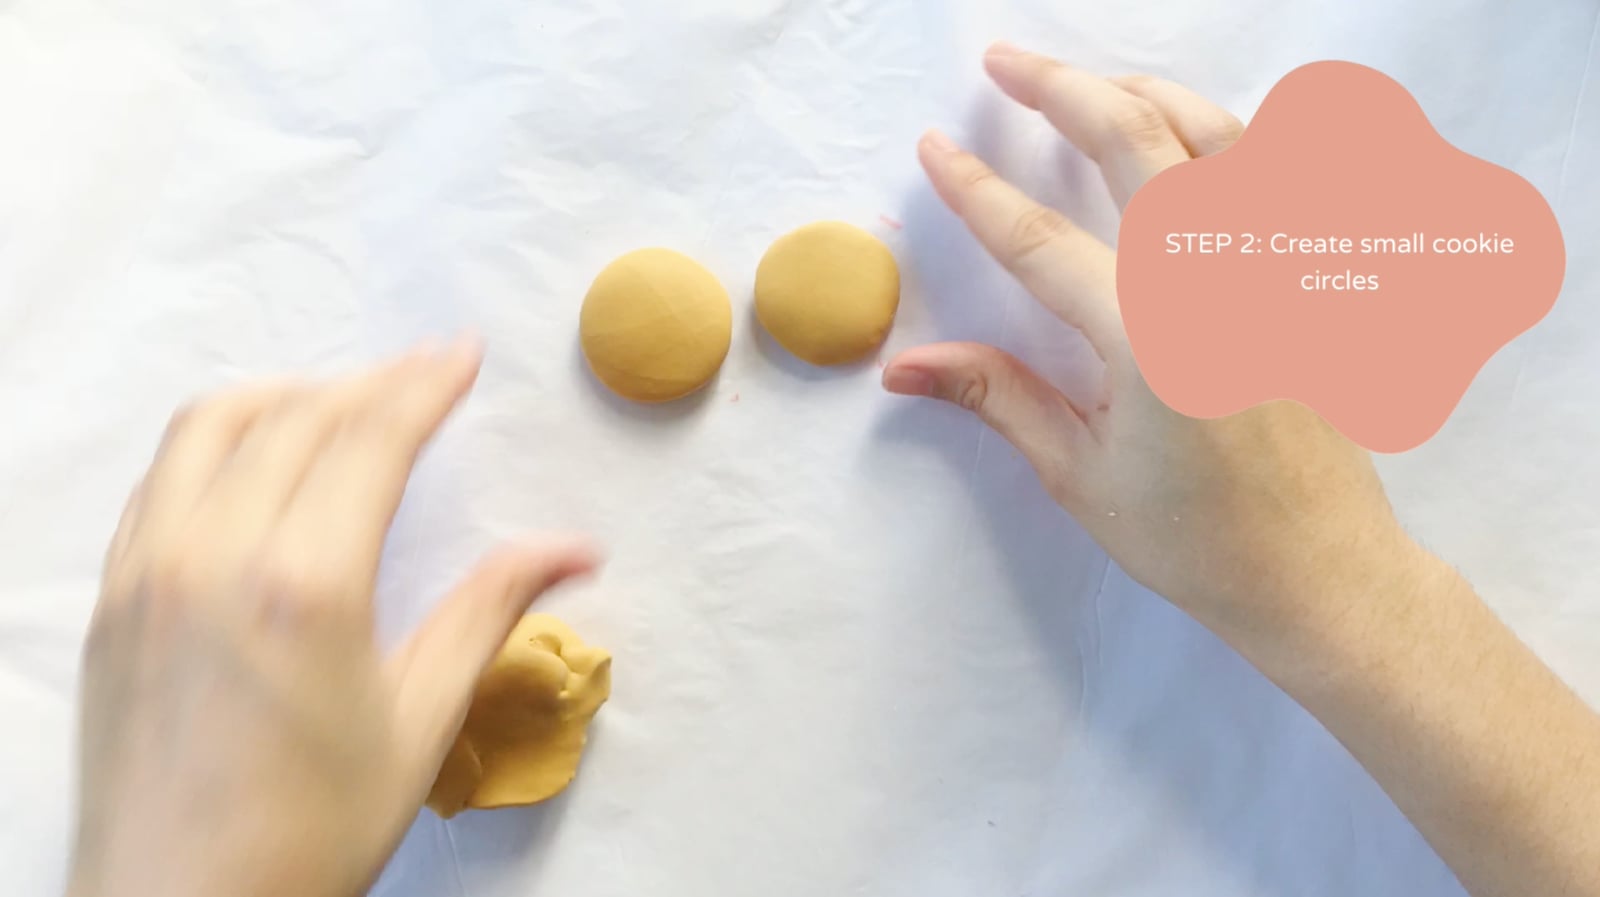
Mix yellow, red, blue, and white together until you reach a light cookie-dough brown. This is the same mix that starts our donuts, so if you have made those, small hands already know the drill. Roll it out and make small cookie circles, and resist the urge to make them neat. Real cookies are not neat.
The texture step
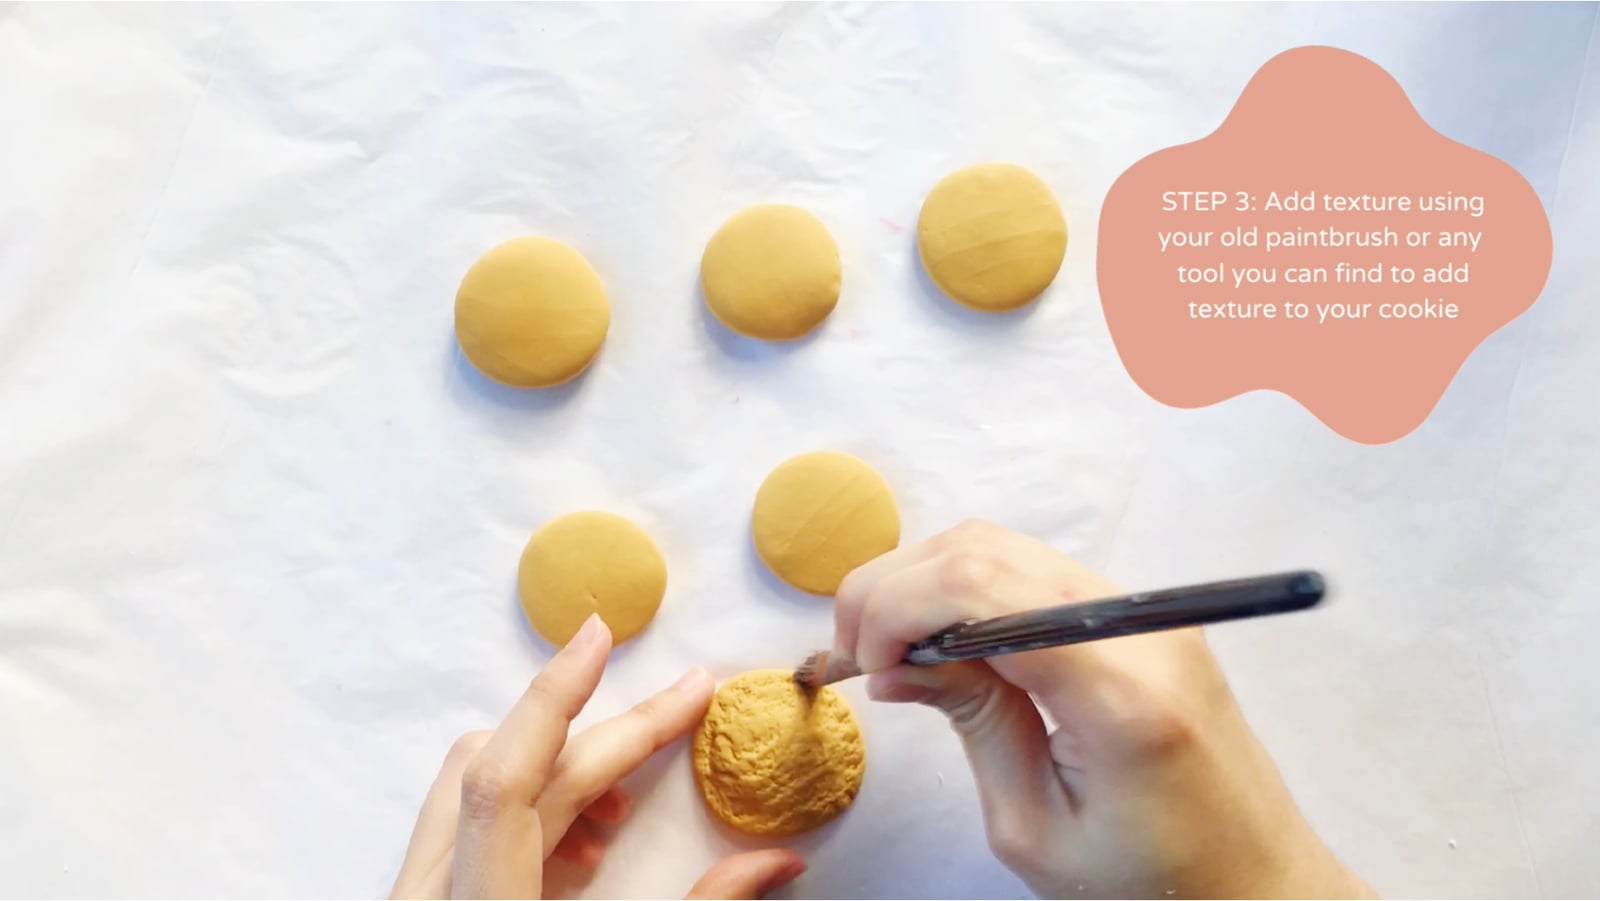
Here is the one move that separates a clay cookie from a brown clay circle: stipple the whole surface with the dry bristles of an old paintbrush, or poke it with anything rough you can find. That crumbly texture is what makes it read as baked.
Chips, then patience
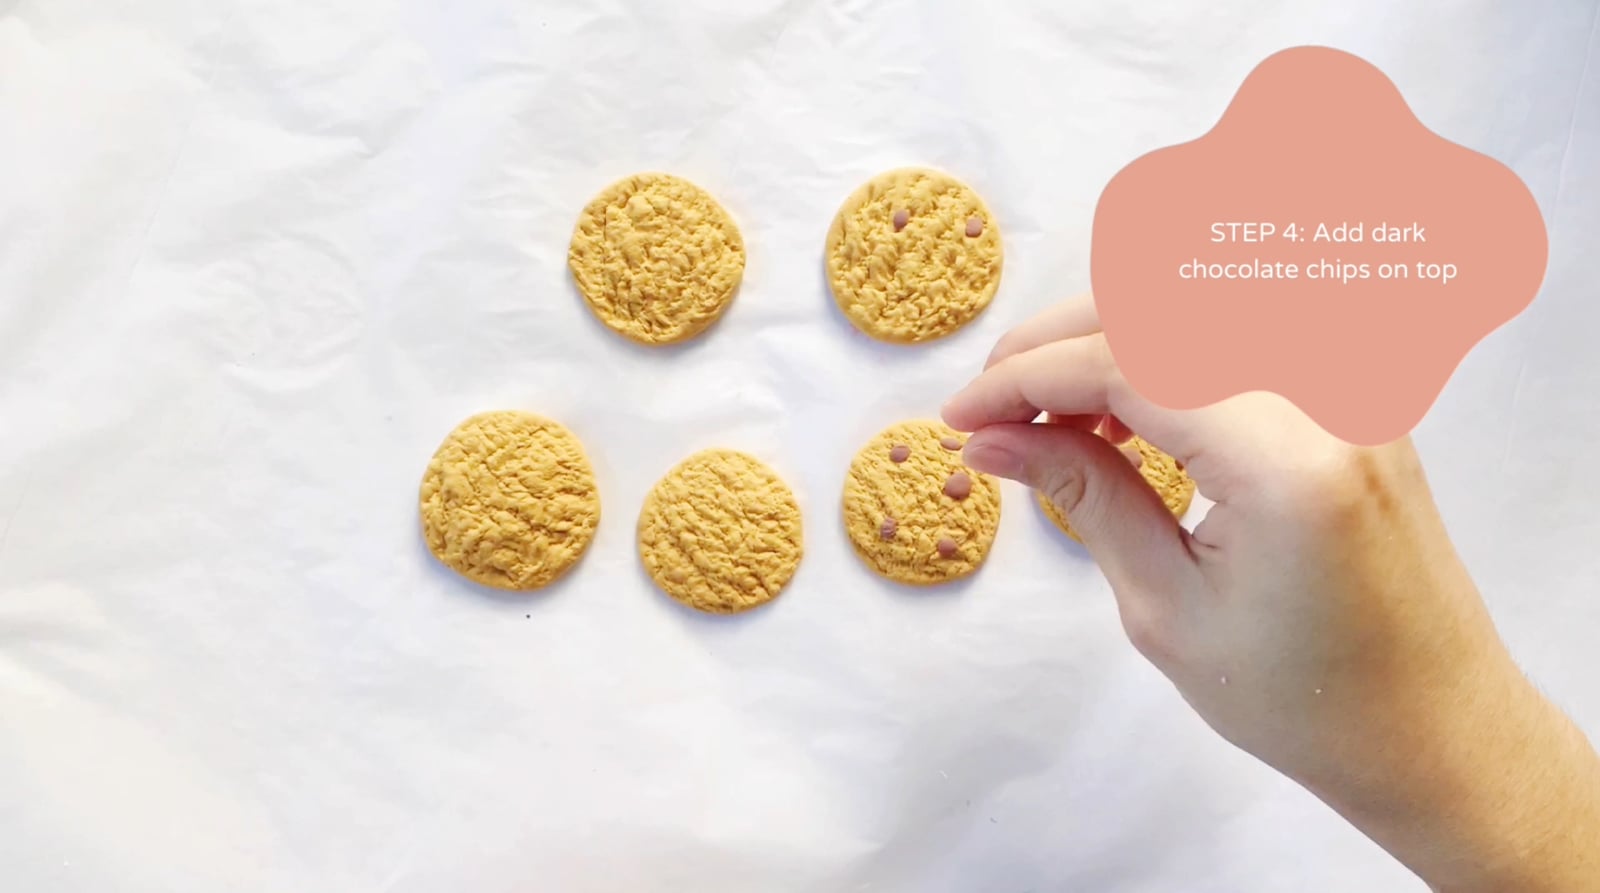
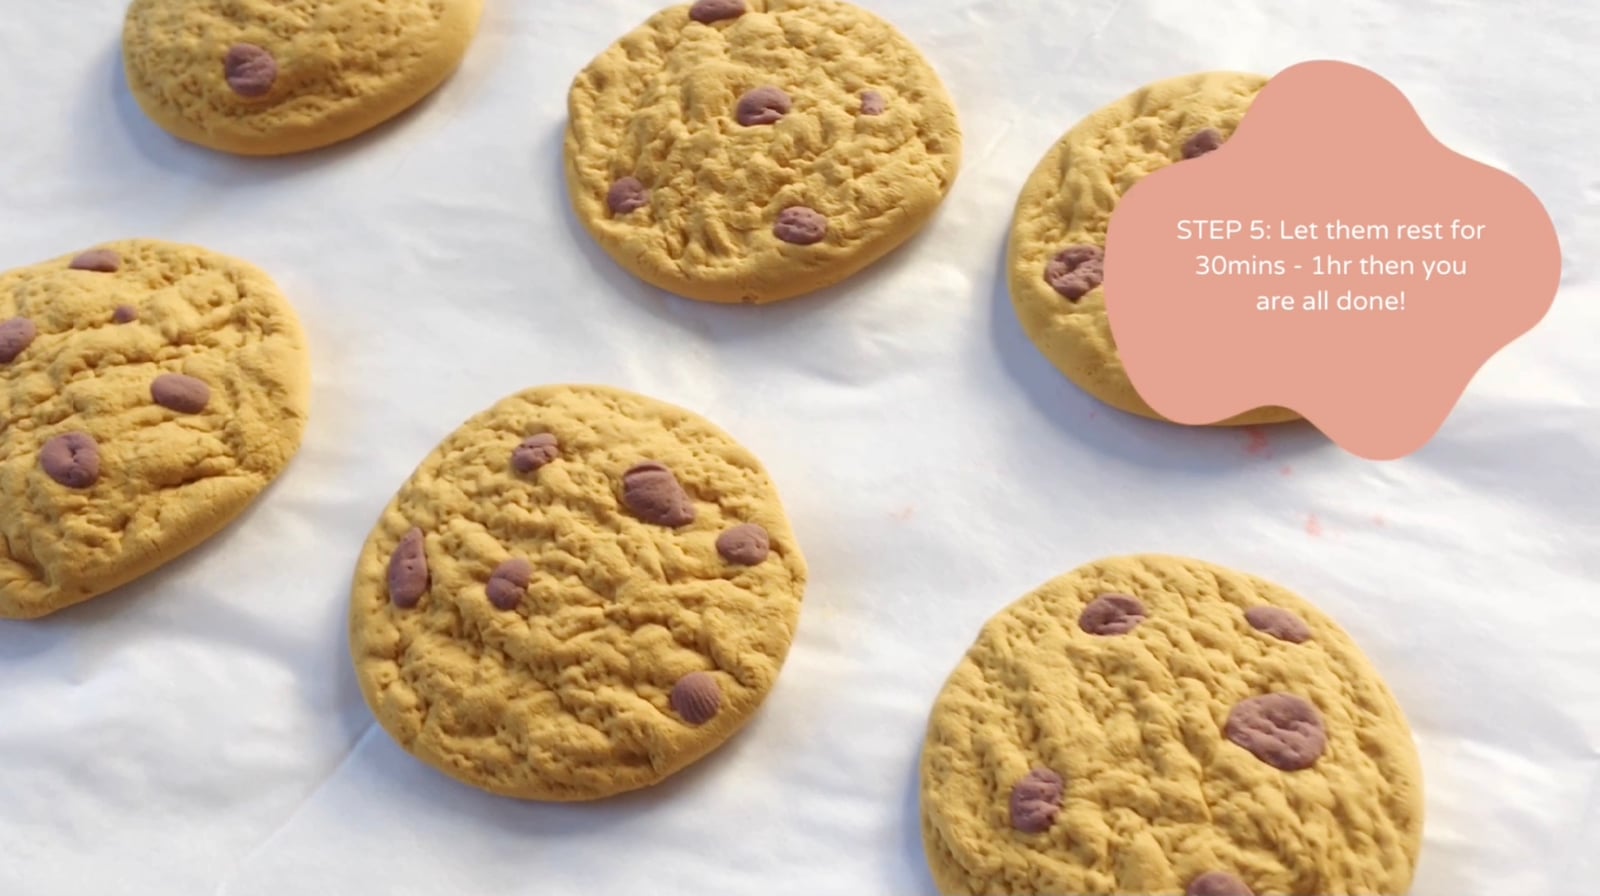
Roll tiny balls of dark clay and press them in as chocolate chips. Some on top, some half buried, like a real bake. Then let them rest for thirty minutes to an hour before anyone handles them, and a full day before they go into service as pretend bakery stock, fridge magnets, or the world's most durable tea party snack.
If this one lands well at your table, the whole clay bakery is waiting: donuts in six flavors, cupcakes with a powdered finish, and a sushi board for the ambitious.
The step photography for this project was shot for Craft & Bond by Pauline Gamboa, whose very steady hands you will see throughout.
What did your first ever clay project look like? Mine did not look like a cookie, I will say that much.
Next in the clay kitchen: macarons, and yes, we will settle the macaron versus macaroon thing.
If this gave you an idea worth trying, there's more where it came from. Follow along on Pinterest (@CraftandBondCo) and Instagram (@craftandbondco) for new projects, recipes, and the occasional honest mess, and save this post so you can find your way back to it.