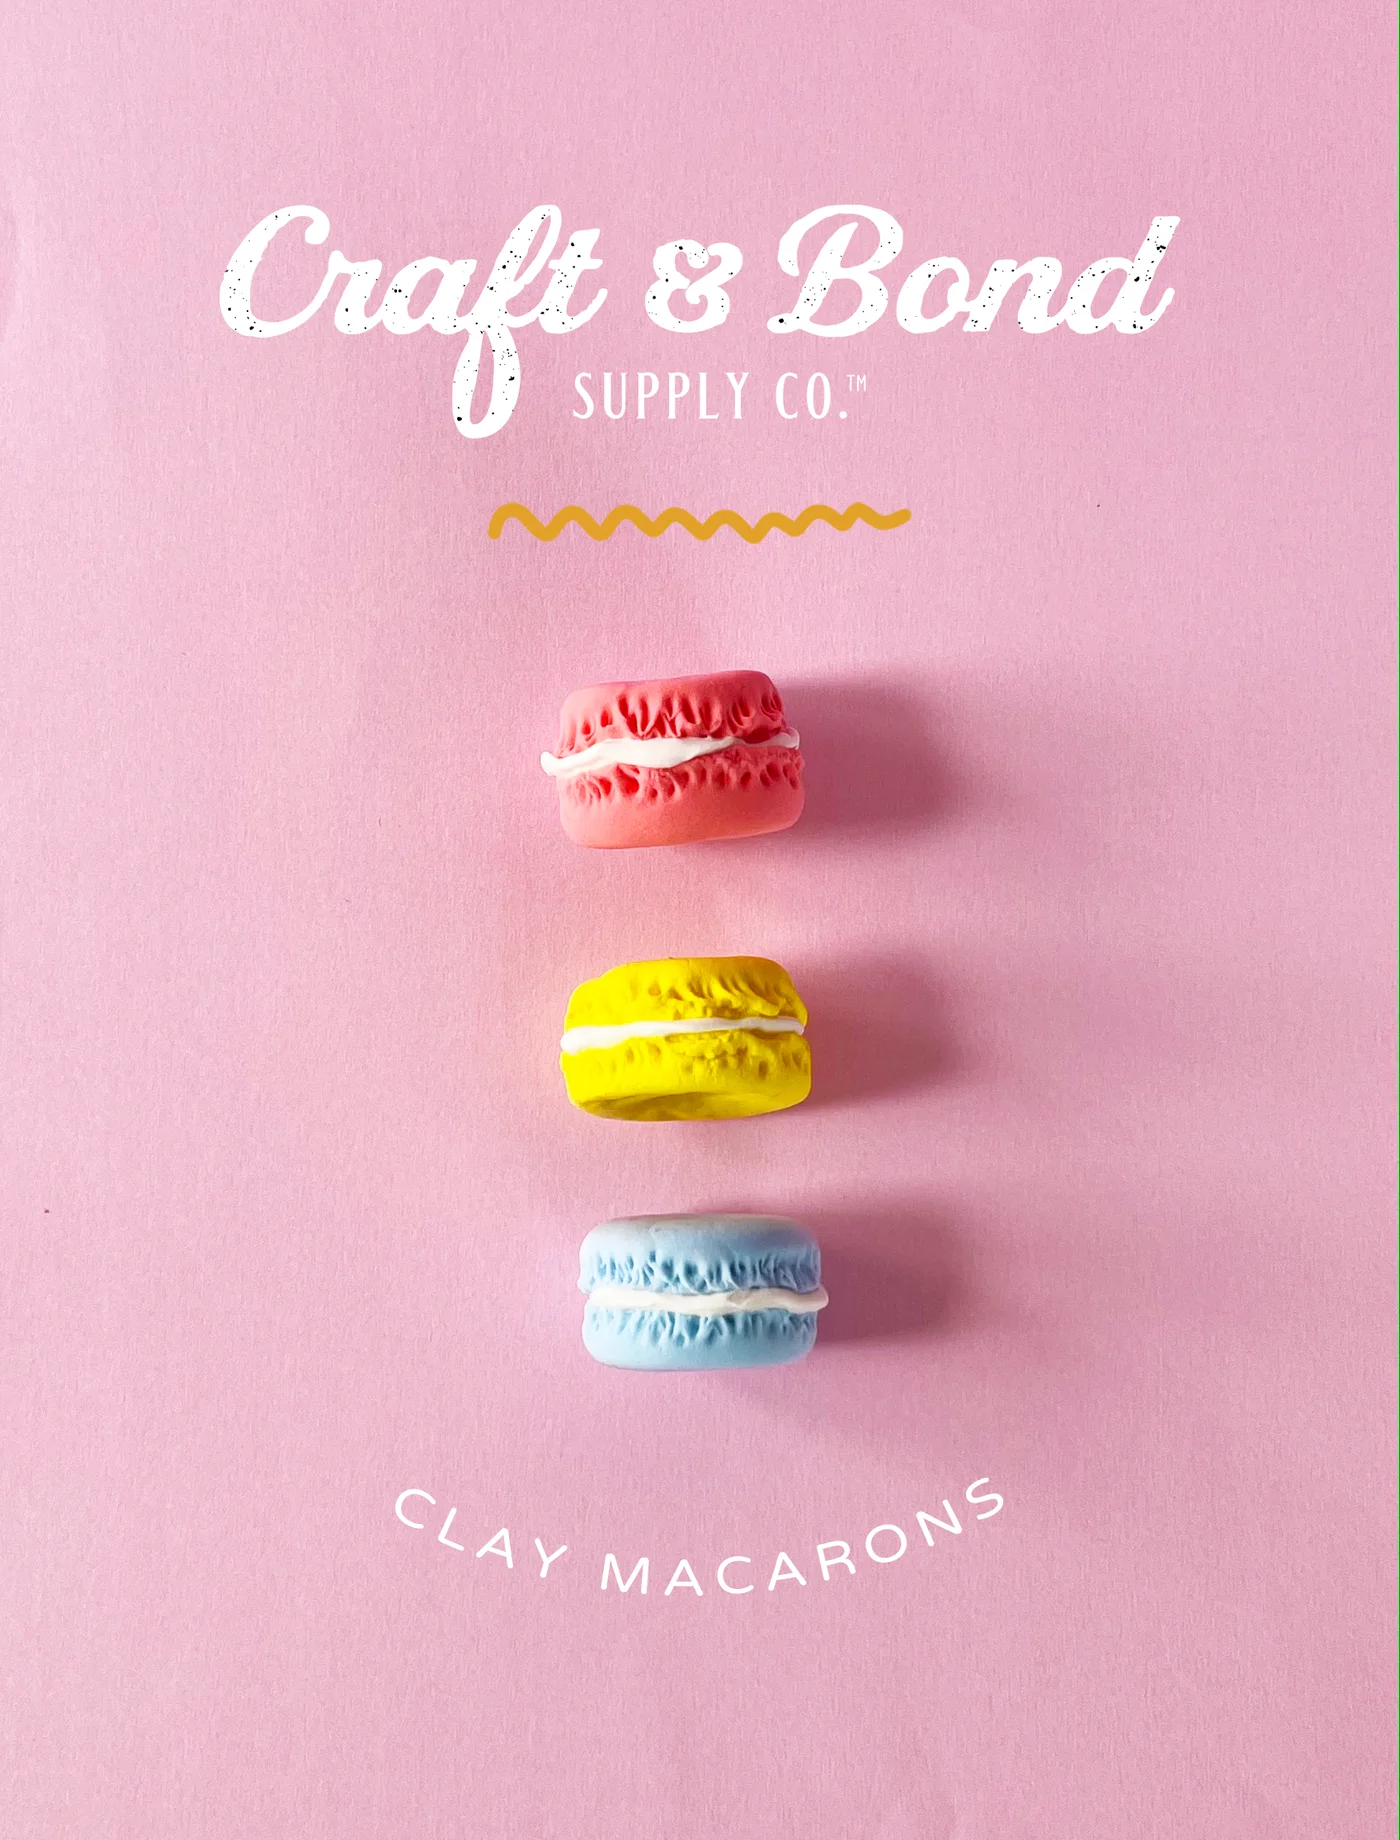
DIY Clay Macarons in Five Pastel Colors
This post contains affiliate links. If you purchase something through my links I may earn a small commission at no extra cost to you. I only share products I actually used and loved.
First, the argument you did not know you were having: a macaron is the French almond sandwich cookie, the pastel one with the smooth domed top. A macaroon is the shaggy coconut mound. They are both wonderful and they are not the same thing, and what we are making today, in clay, is very firmly the French one.
This is the shortest tutorial in our clay bakery, three steps, and it produces the prettiest results per minute of any project in the series. If the cookies are the beginner project, this is the one you make when you want a whole pastel shelf by dinnertime.
What you need
Air dry clay in pink, blue, yellow, purple, and green, all in one air dry clay kit (or this rainbow set), or white clay plus food-adjacent patience, since every pastel here can be mixed from primaries and white. An old paintbrush. Sculpting tools if you have them.
One honest note about the links above: since my last clay post, the clay I used to use has changed hands, and the other shop stopped selling the tool set I liked at the right price. These are fun new sets I am suggesting instead. Great ratings, and the clay comes in a boatload of colors, which makes the mixing even more fun.
Three steps, honestly
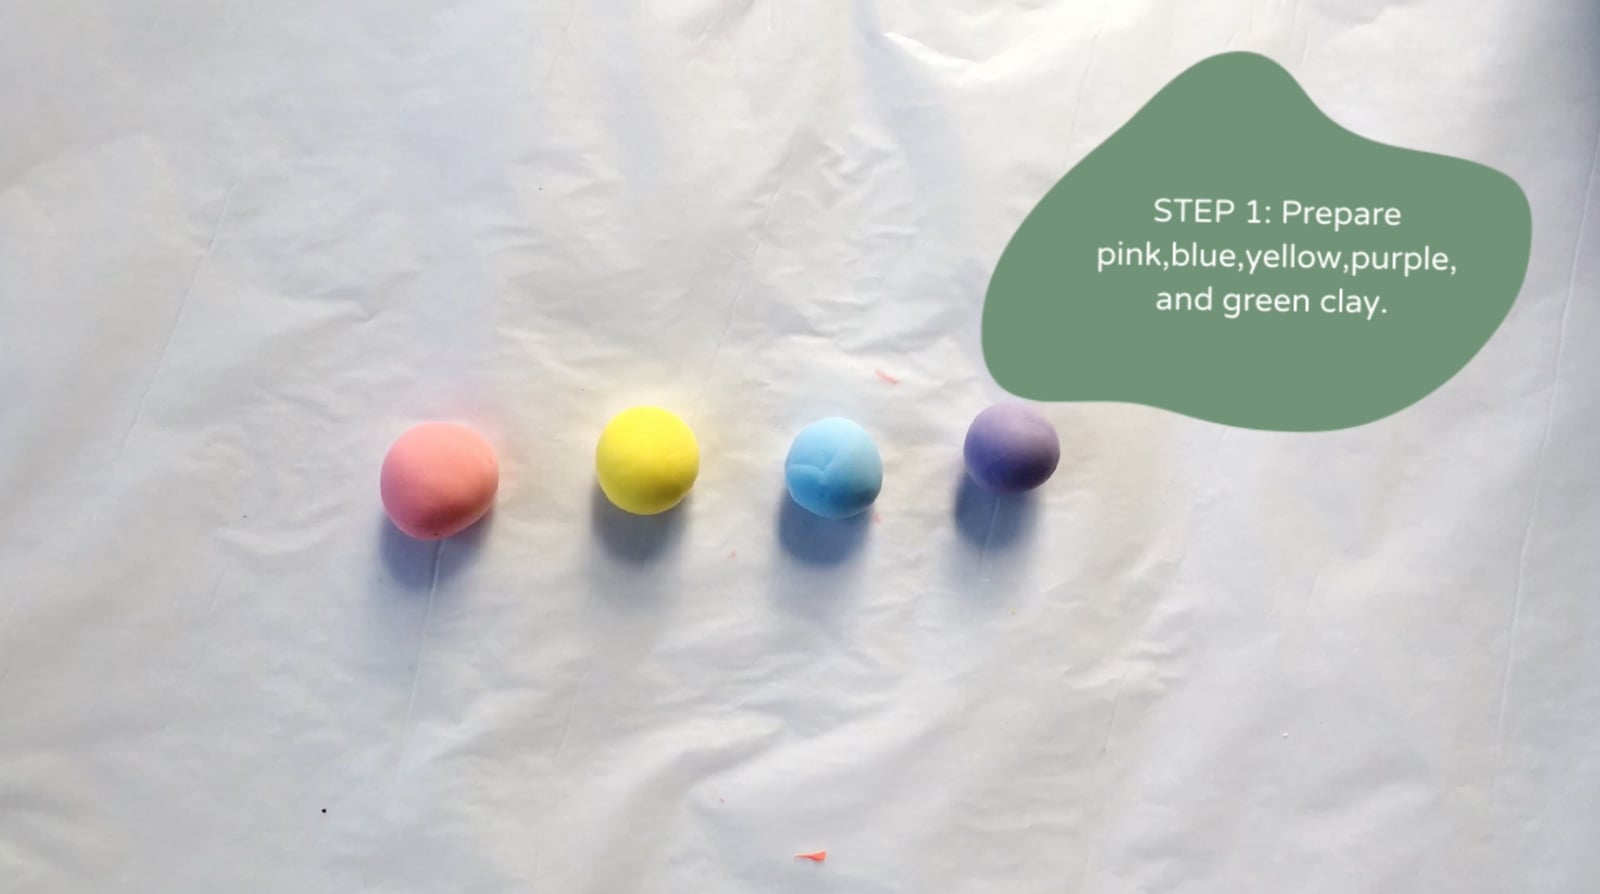
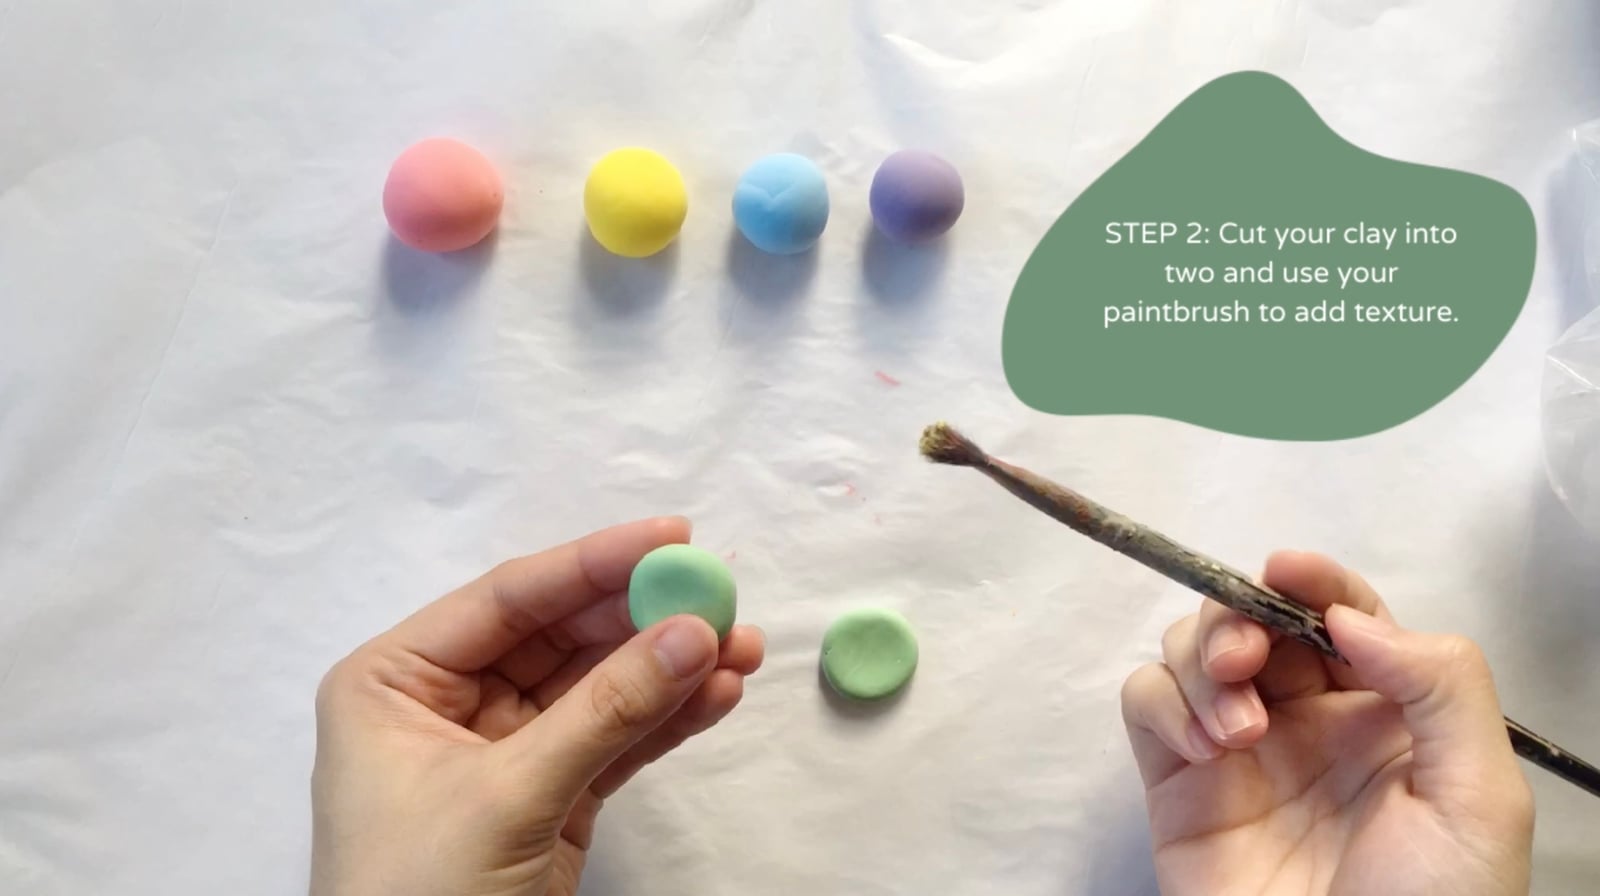
Prepare your five colors, rolling each into smooth balls, then gently flatten them into domes. Cut each one into two halves, and here is the single detail that makes the whole thing work: rough up the cut edges with your paintbrush bristles. On a real macaron that ruffled edge is called the foot, and texture there is what makes a clay one read as baked rather than molded.
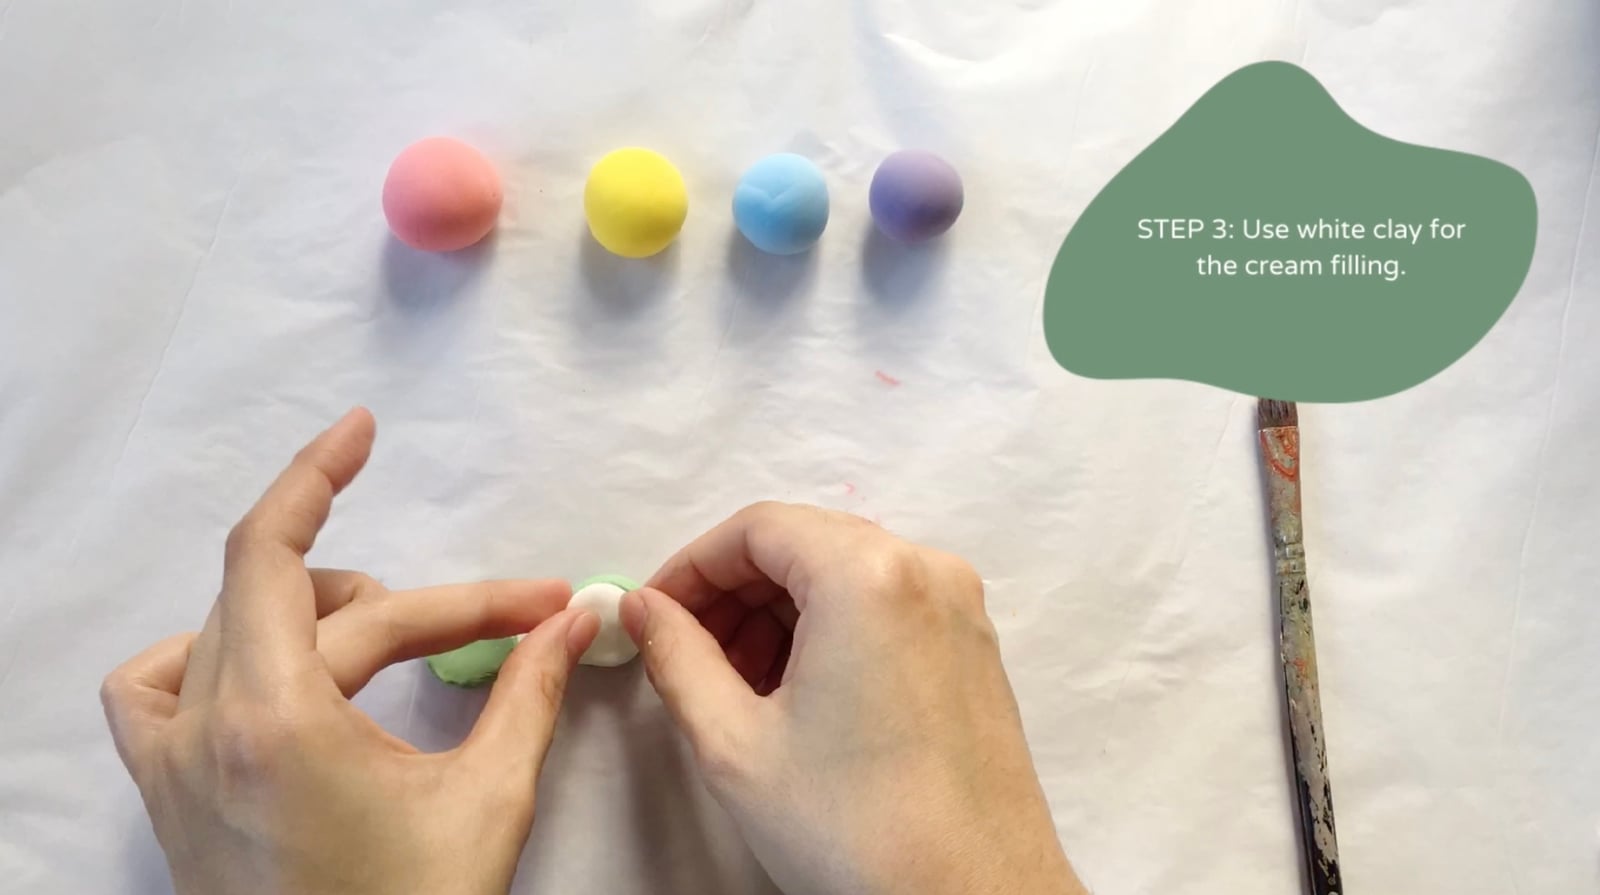
Then roll white clay into the cream filling, sandwich the halves back together, and let a little filling squeeze proud of the edge. Done. Repeat in every color until the clay runs out, which is how it always ends.
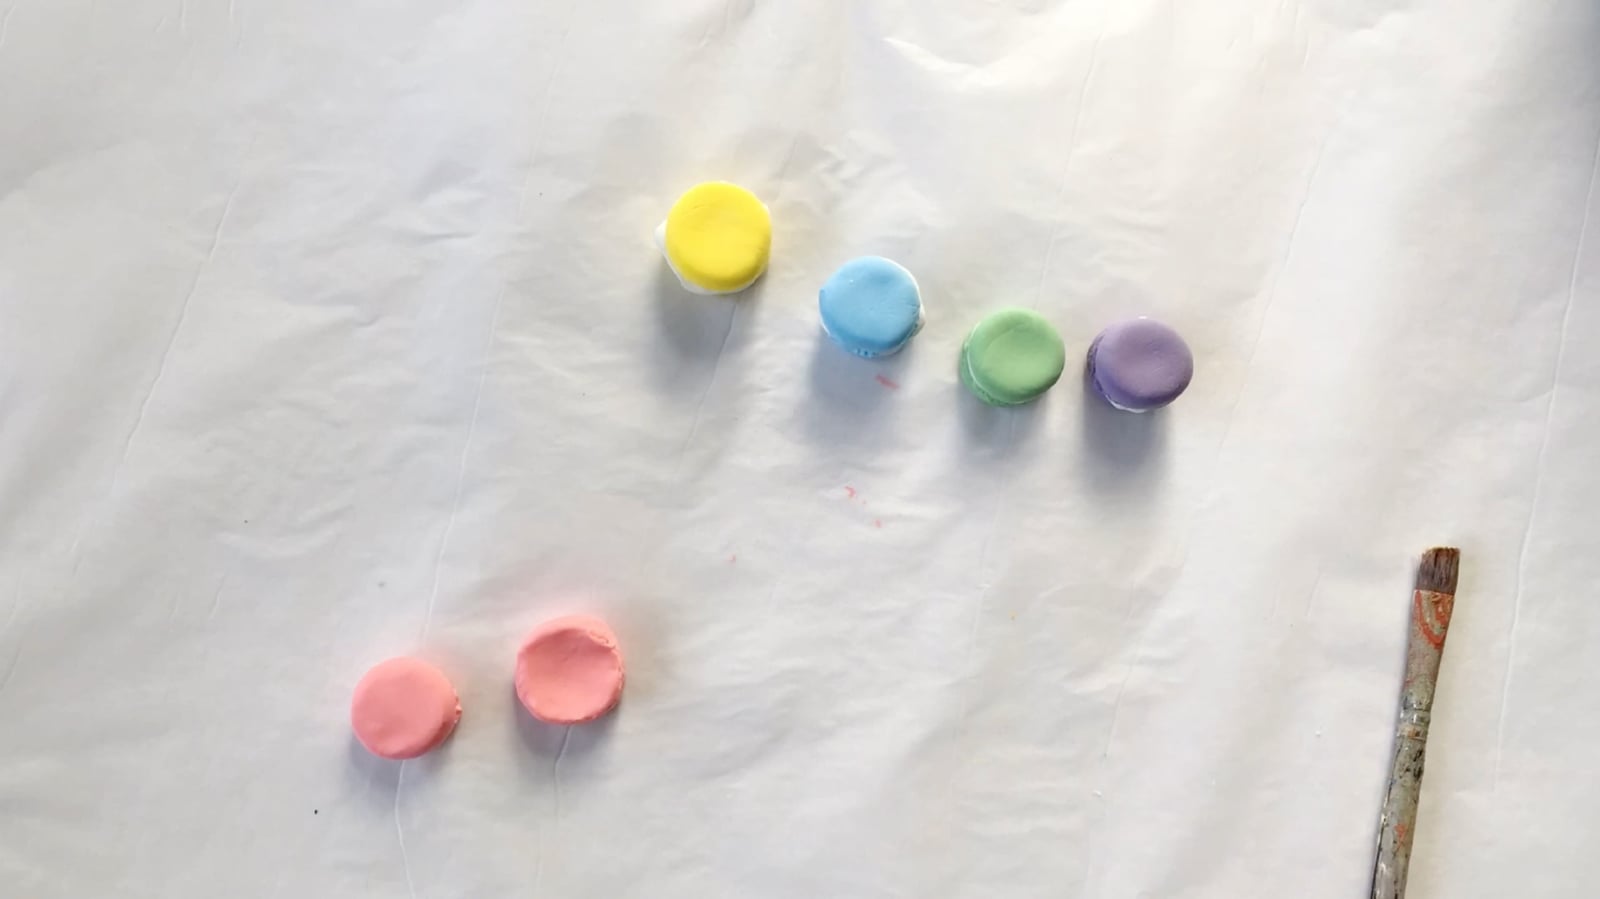
Line them up in a gradient and take the photo before anyone rearranges them. These are the ones that look best boxed as a gift, six in a row in a little kraft box with a ribbon, and nobody will believe they came from a kitchen table.
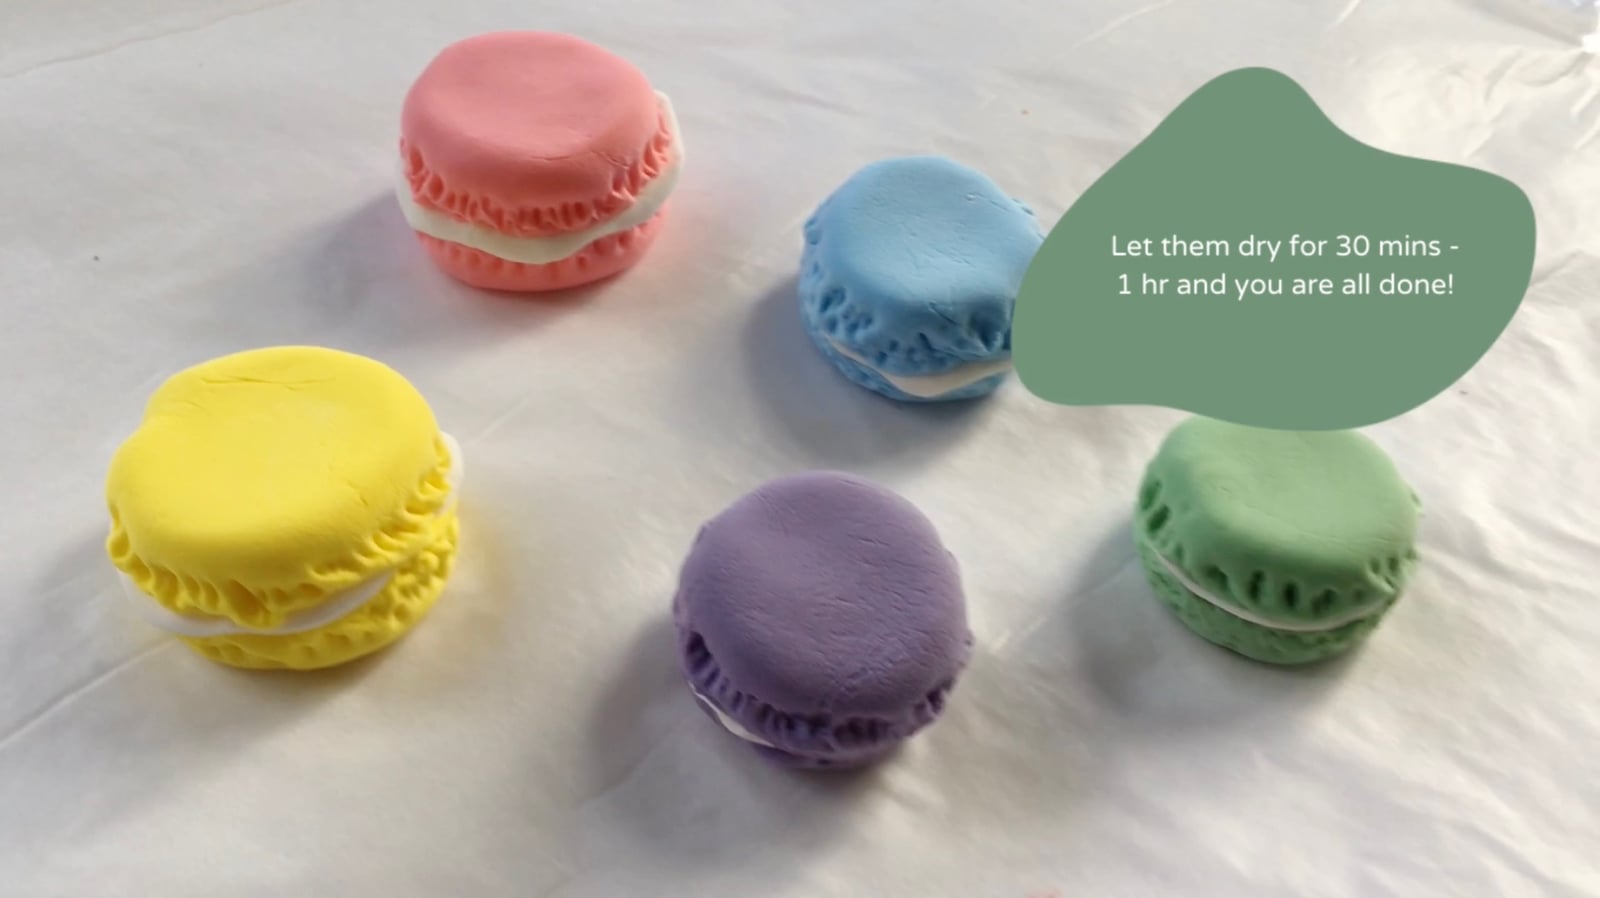
The step photography for this project was shot for Craft & Bond by Pauline Gamboa, whose very steady hands you will see throughout.
Team macaron or team macaroon? There is a correct answer and I would love to hear you defend the other one.
Next in the clay kitchen: the burger, built layer by layer.
If this gave you an idea worth trying, there's more where it came from. Follow along on Pinterest (@CraftandBondCo) and Instagram (@craftandbondco) for new projects, recipes, and the occasional honest mess, and save this post so you can find your way back to it.