DIY Clay Burger, Built Layer by Layer
This post contains affiliate links. If you purchase something through my links I may earn a small commission at no extra cost to you. I only share products I actually used and loved.
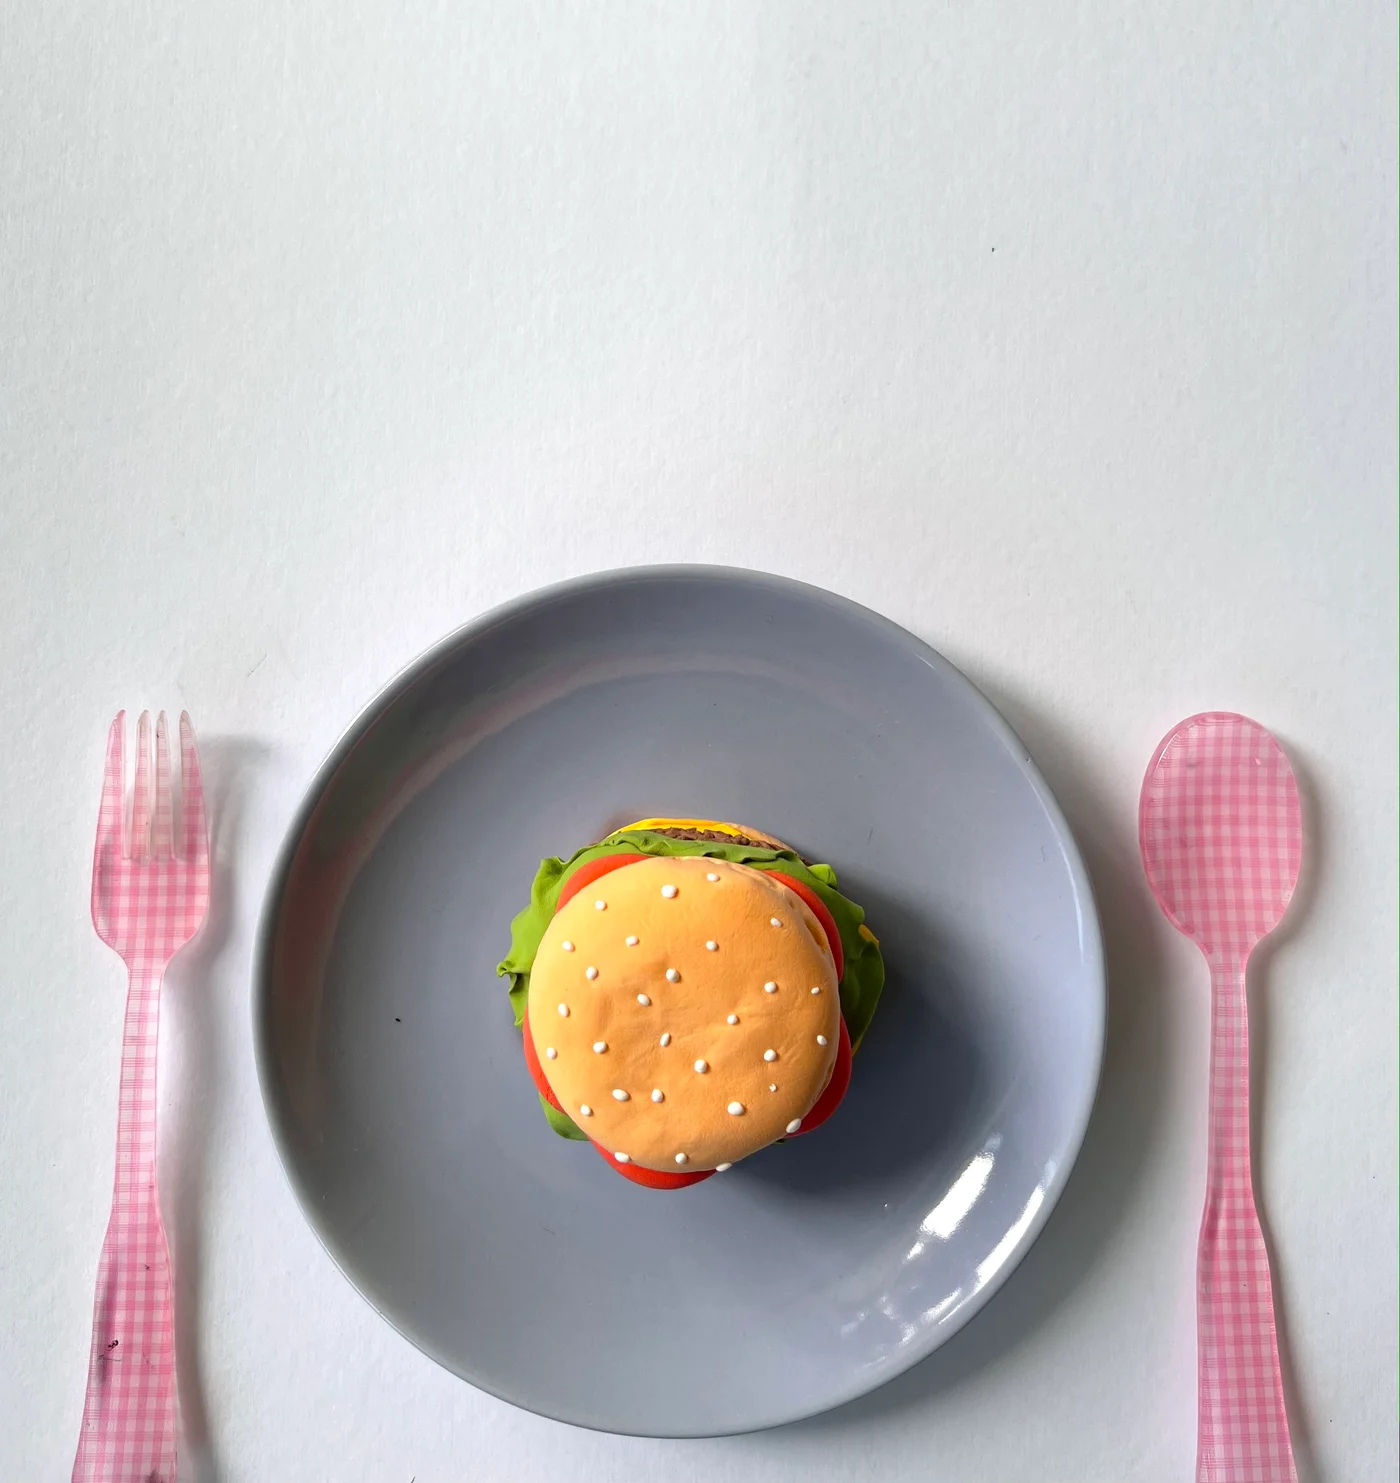
The burger is the group project of our clay kitchen. Every ingredient is its own small build, which means three kids at a table can each own a layer, and the youngest one can be in charge of sesame seeds, which is the best job anyway.
What you need
Air dry clay in yellow, red, blue, and white, all in one air dry clay kit (or this rainbow set). Sculpting tools or a butter knife. An old paintbrush for texture. Baking paper under everything.
One honest note about the links above: since my last clay post, the clay I used to use has changed hands, and the other shop stopped selling the tool set I liked at the right price. These are fun new sets I am suggesting instead. Great ratings, and the clay comes in a boatload of colors, which makes the mixing even more fun.
The buns
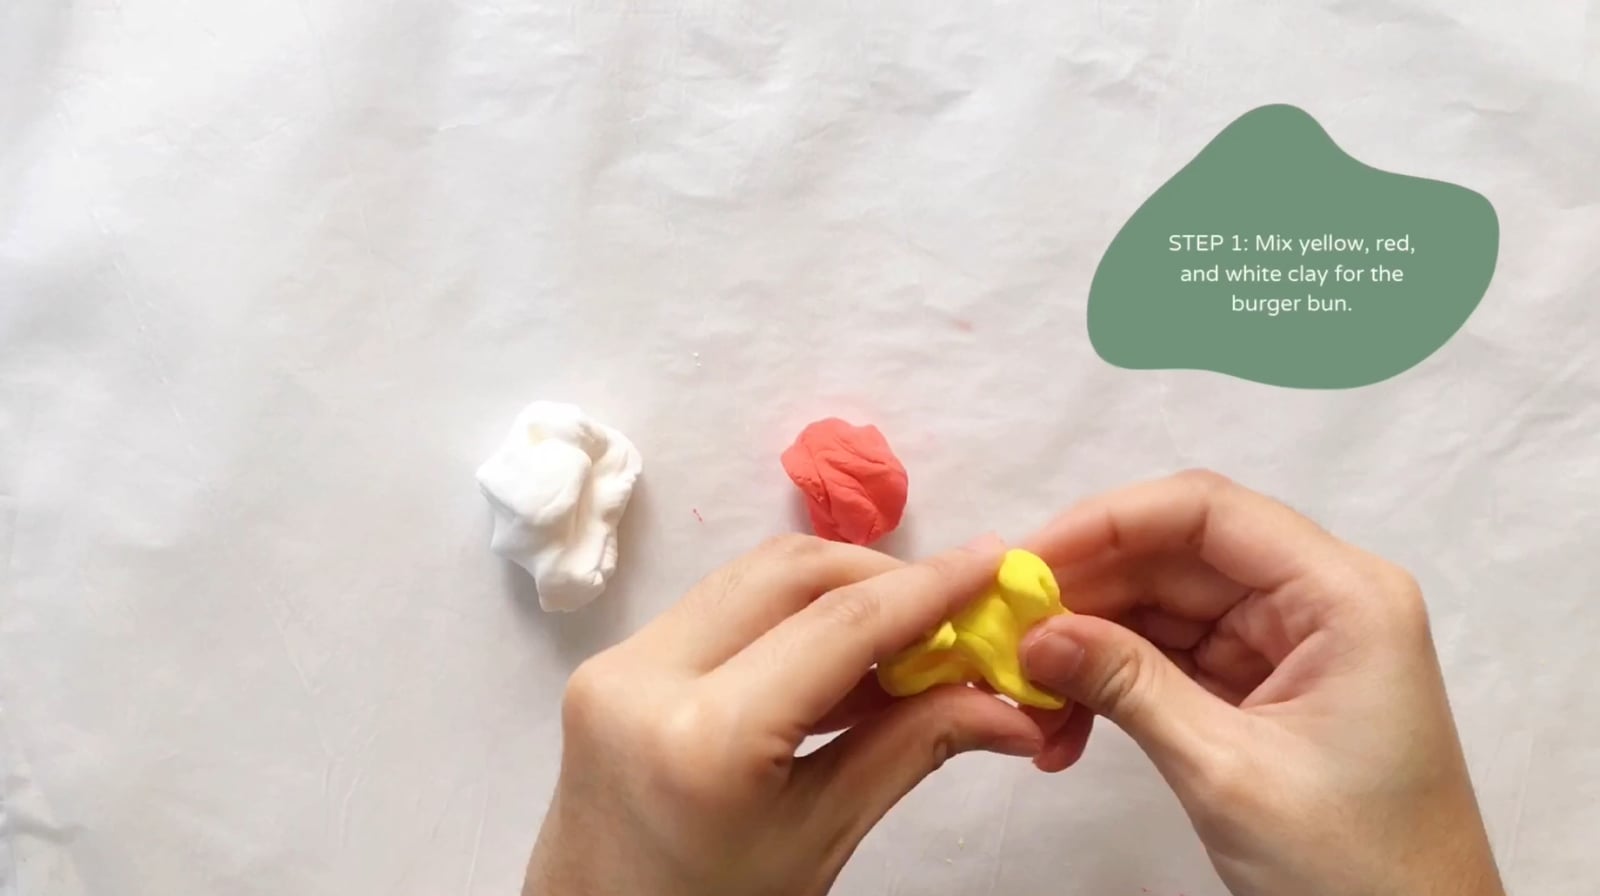
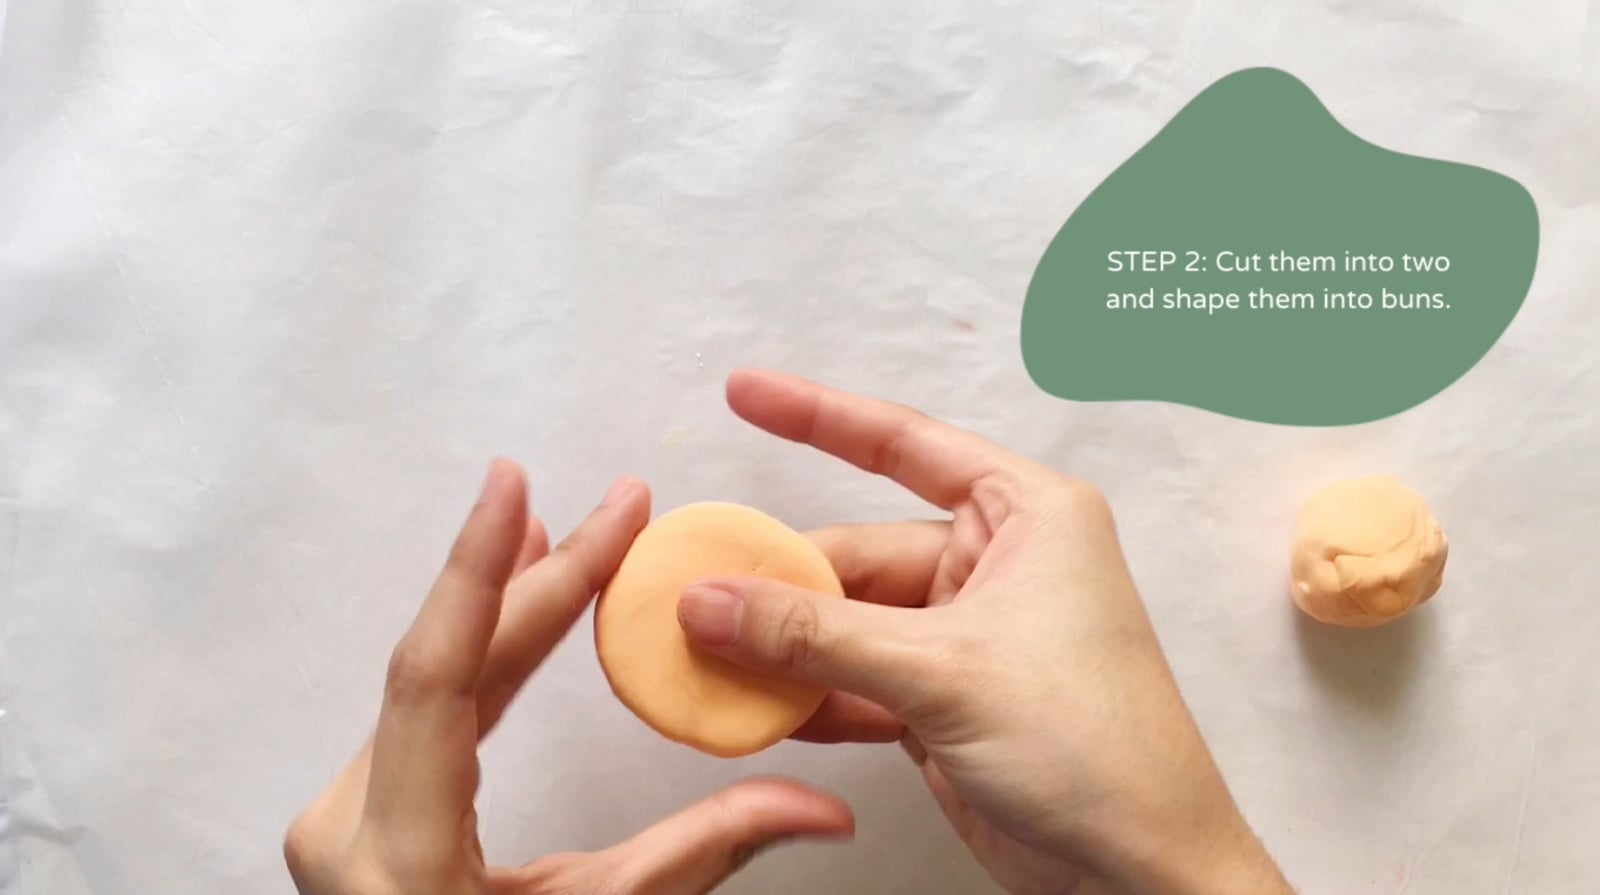
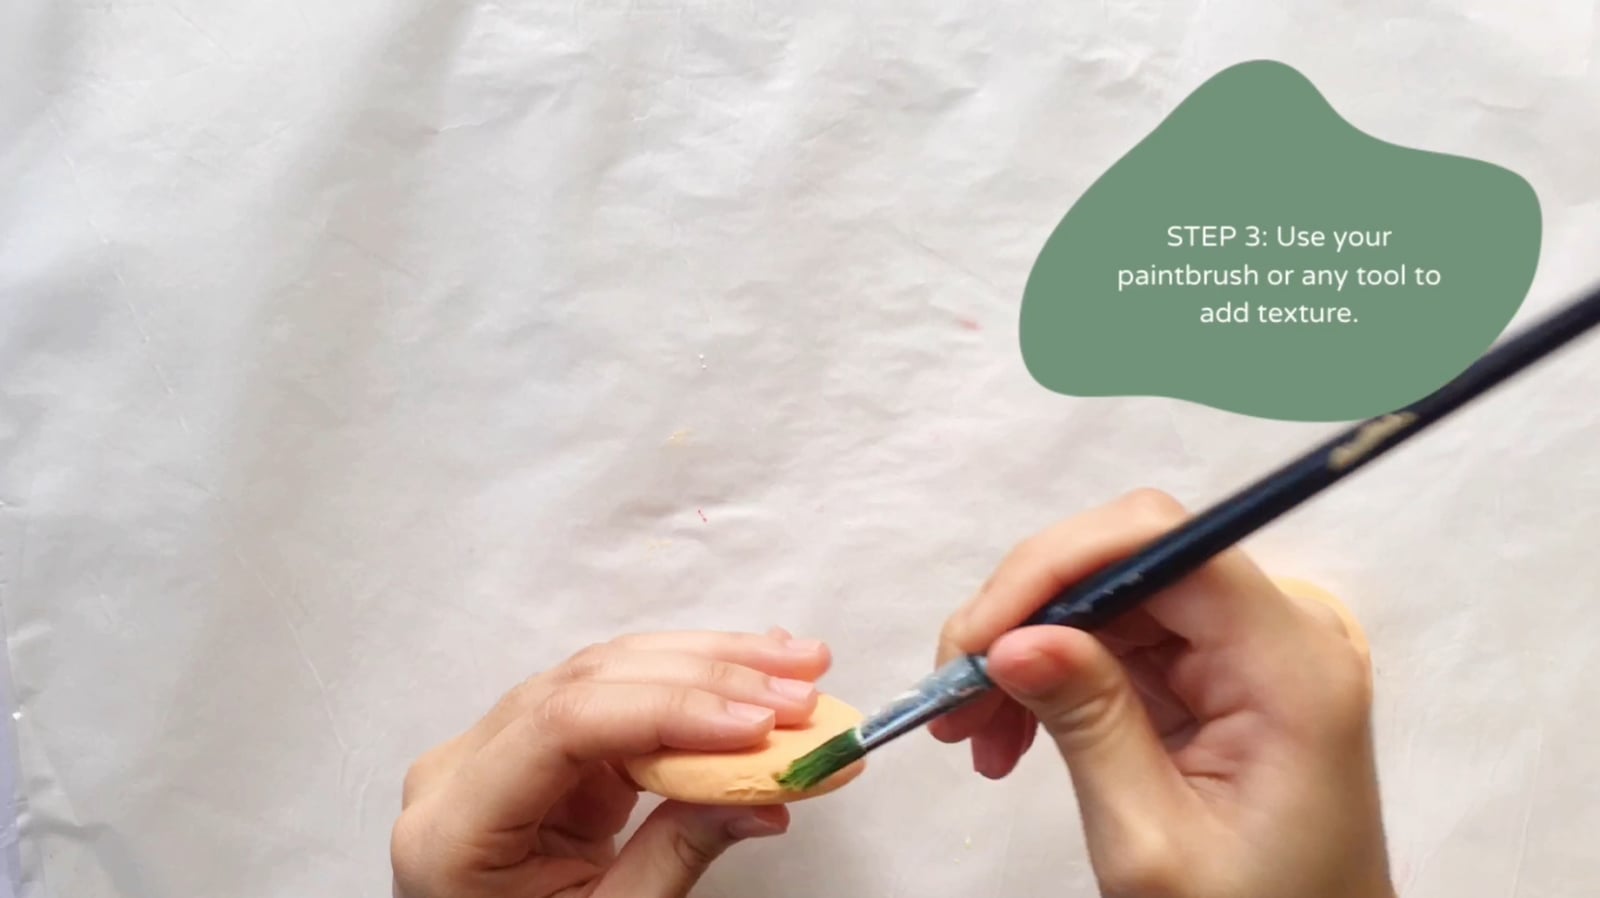
Mix yellow, red, and white until you get a golden bun color. Cut the ball in two and shape your top and bottom buns, then drag the dry paintbrush over them so they take on that baked texture instead of staying glossy. Dot the top bun with the tiniest white clay sesame seeds you can roll. There is no such thing as too many.
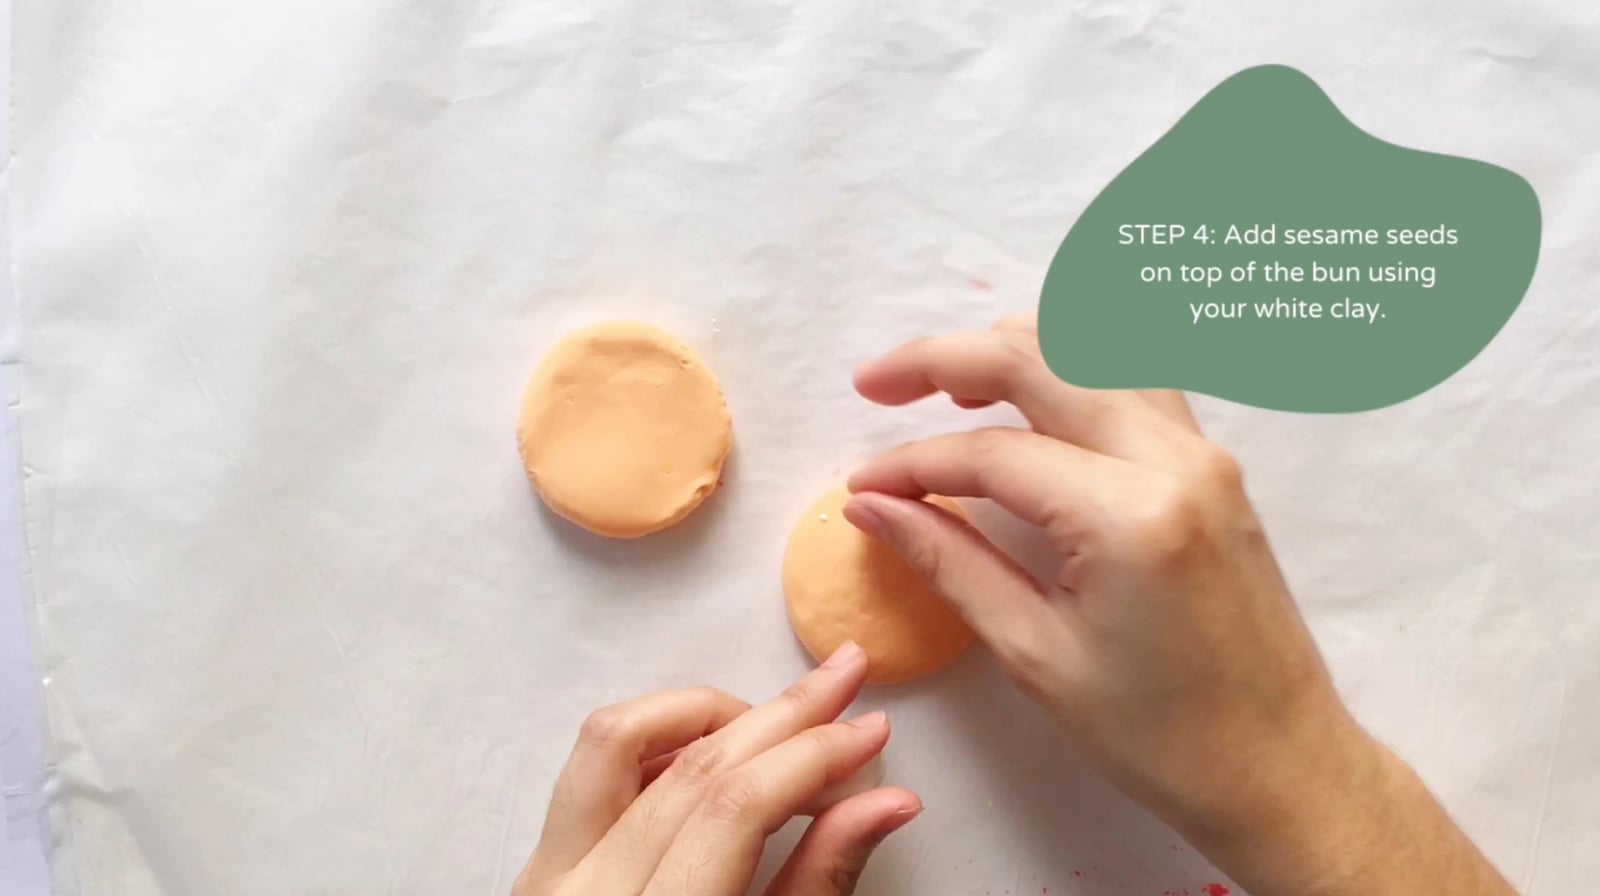
The patty
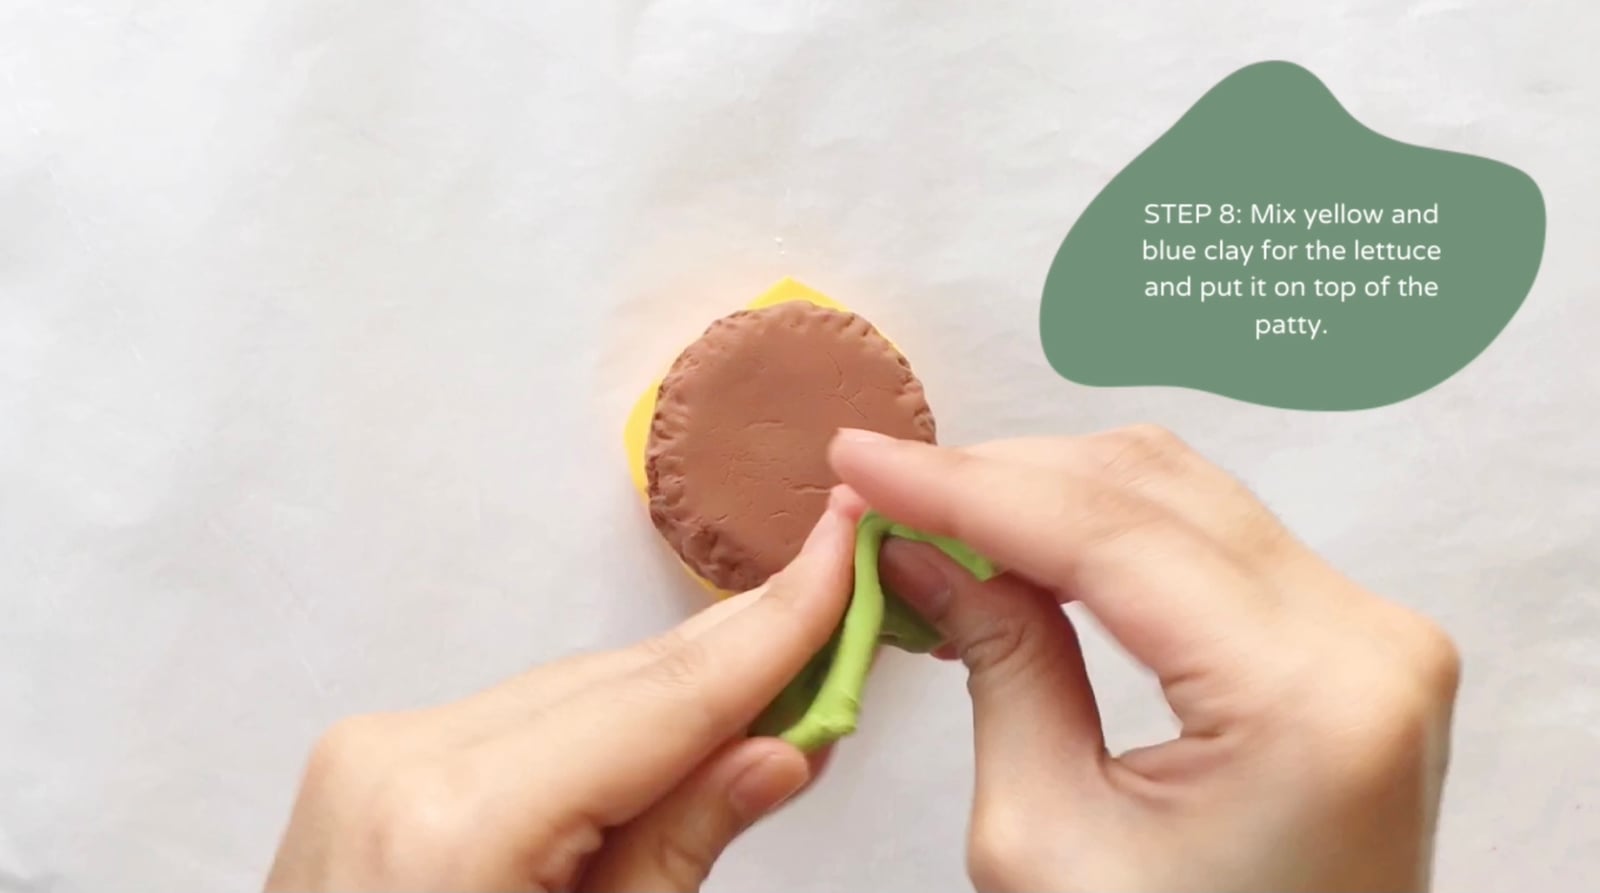
Mix yellow, red, and blue into a proper patty brown. Flatten it, then texture it hard with the brush or a rough tool, because a smooth patty looks like a hockey puck and a rough one looks char-grilled. It goes on top of the cheese, so first:
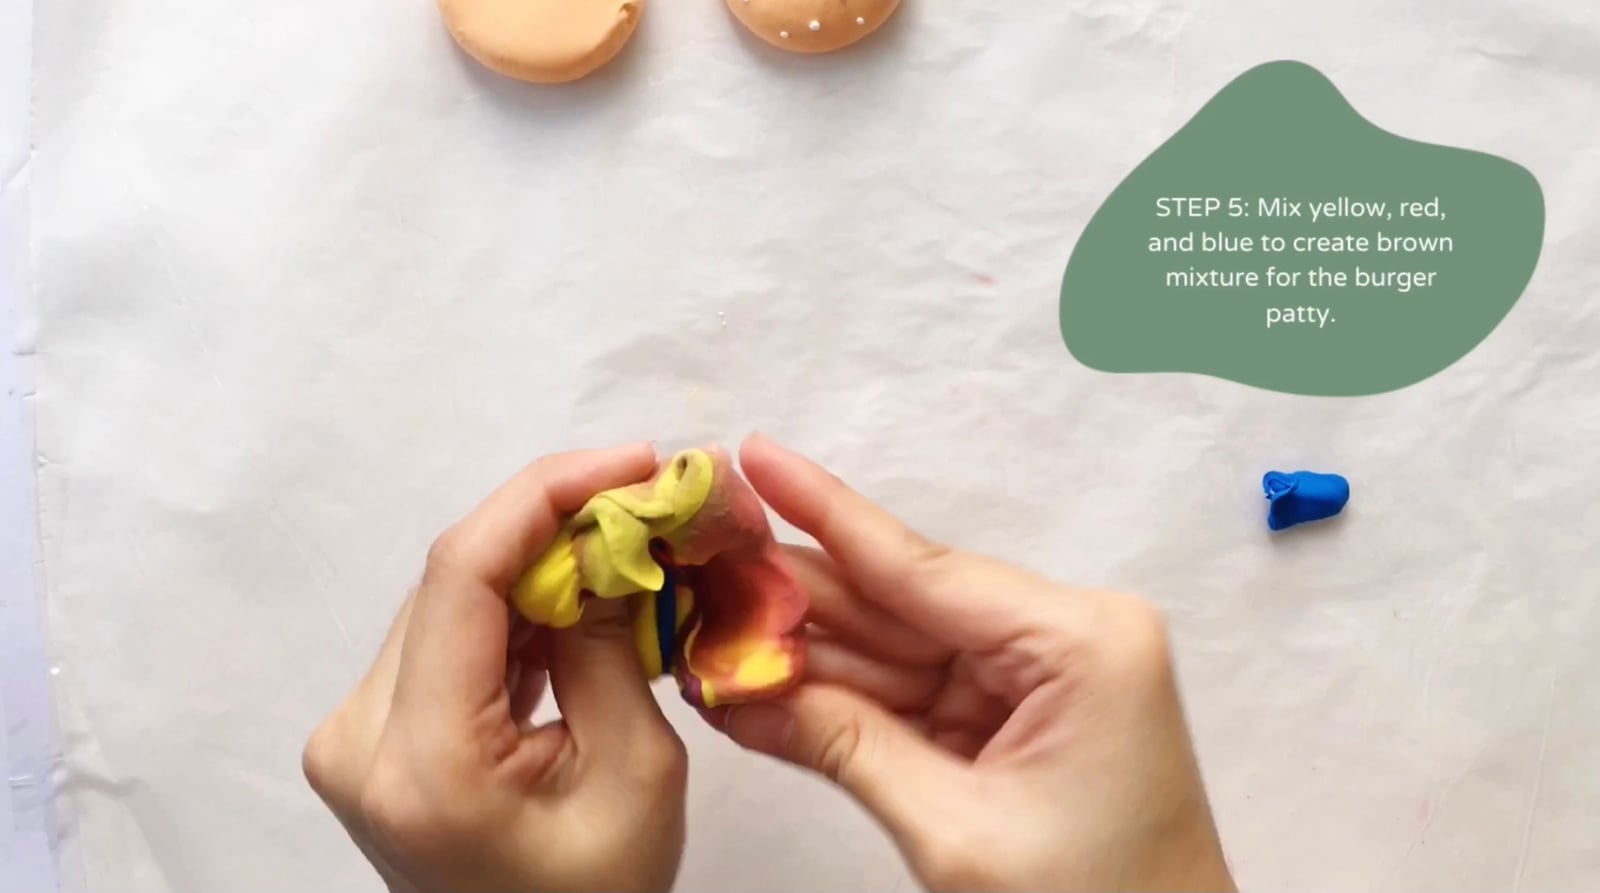
The cheese, the lettuce, the tomato
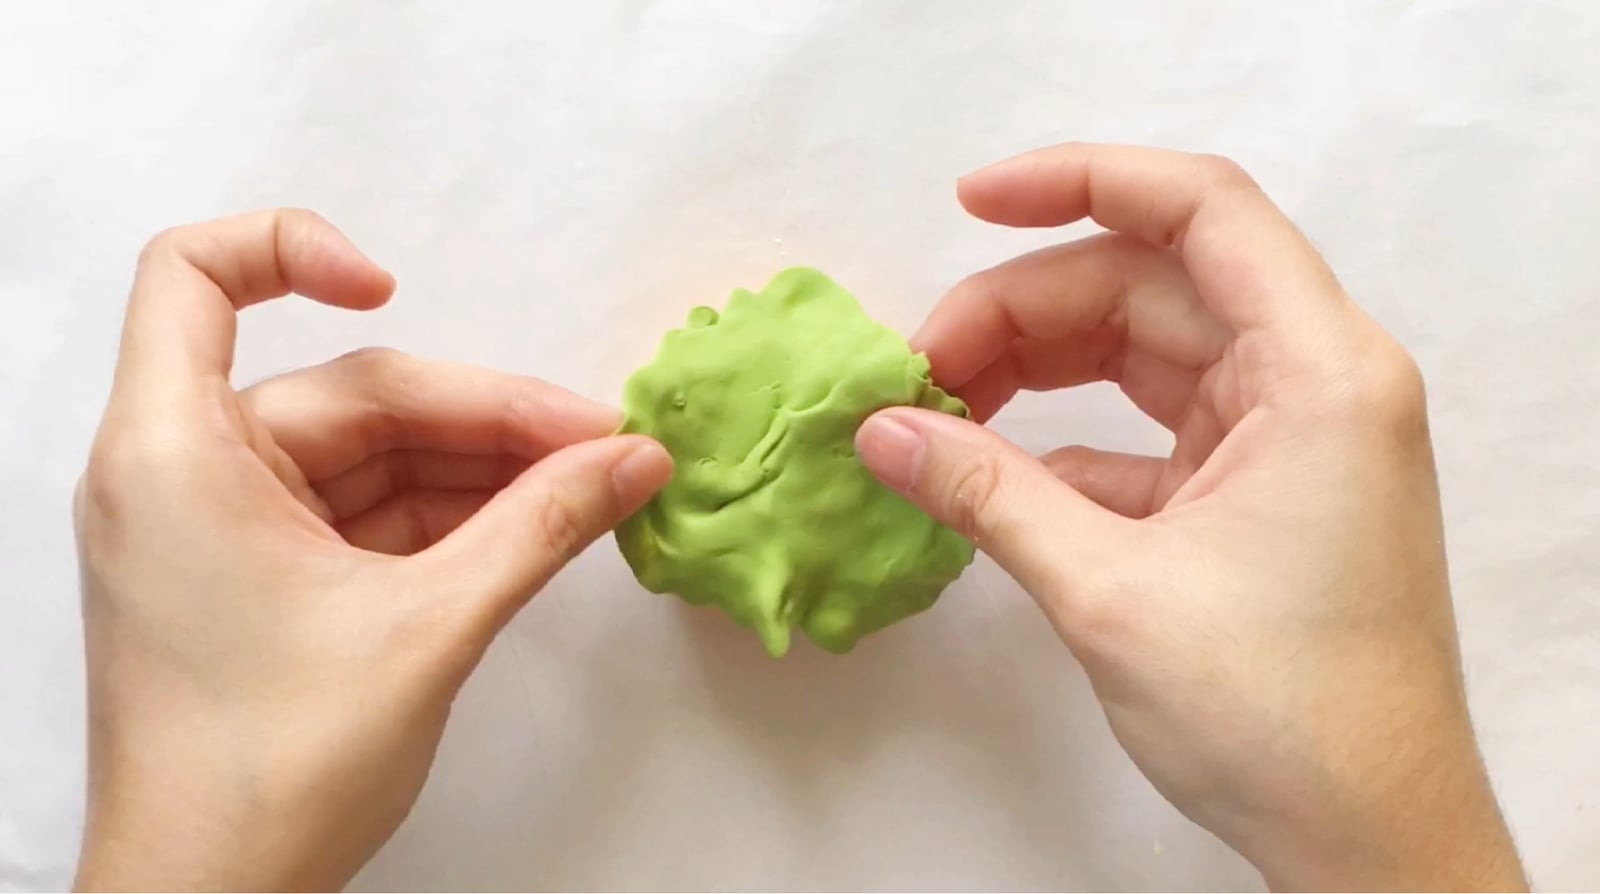
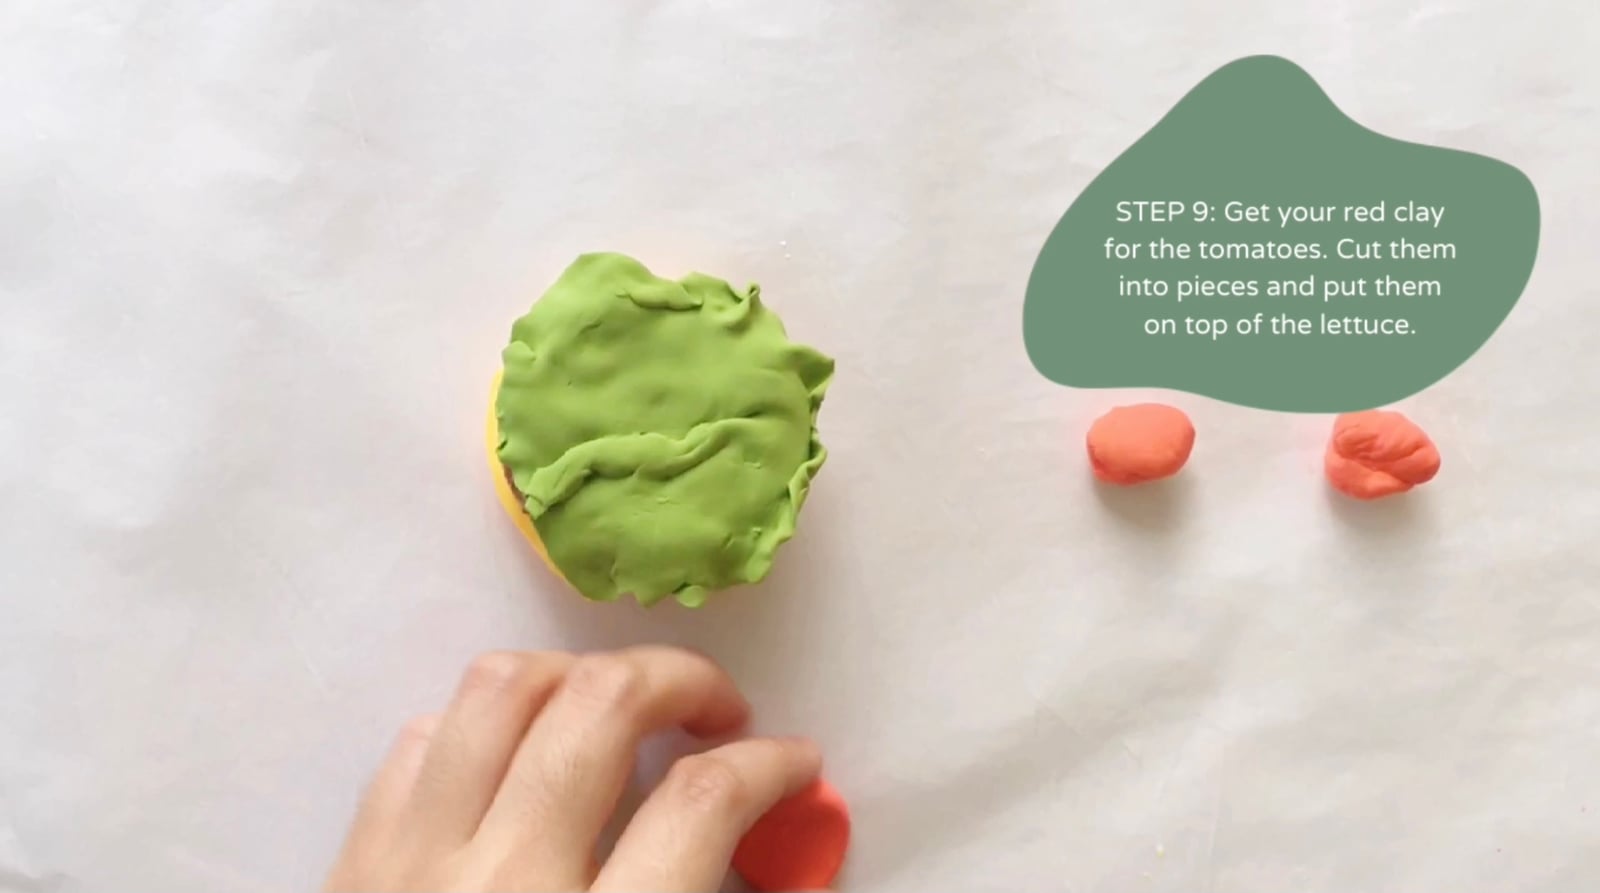
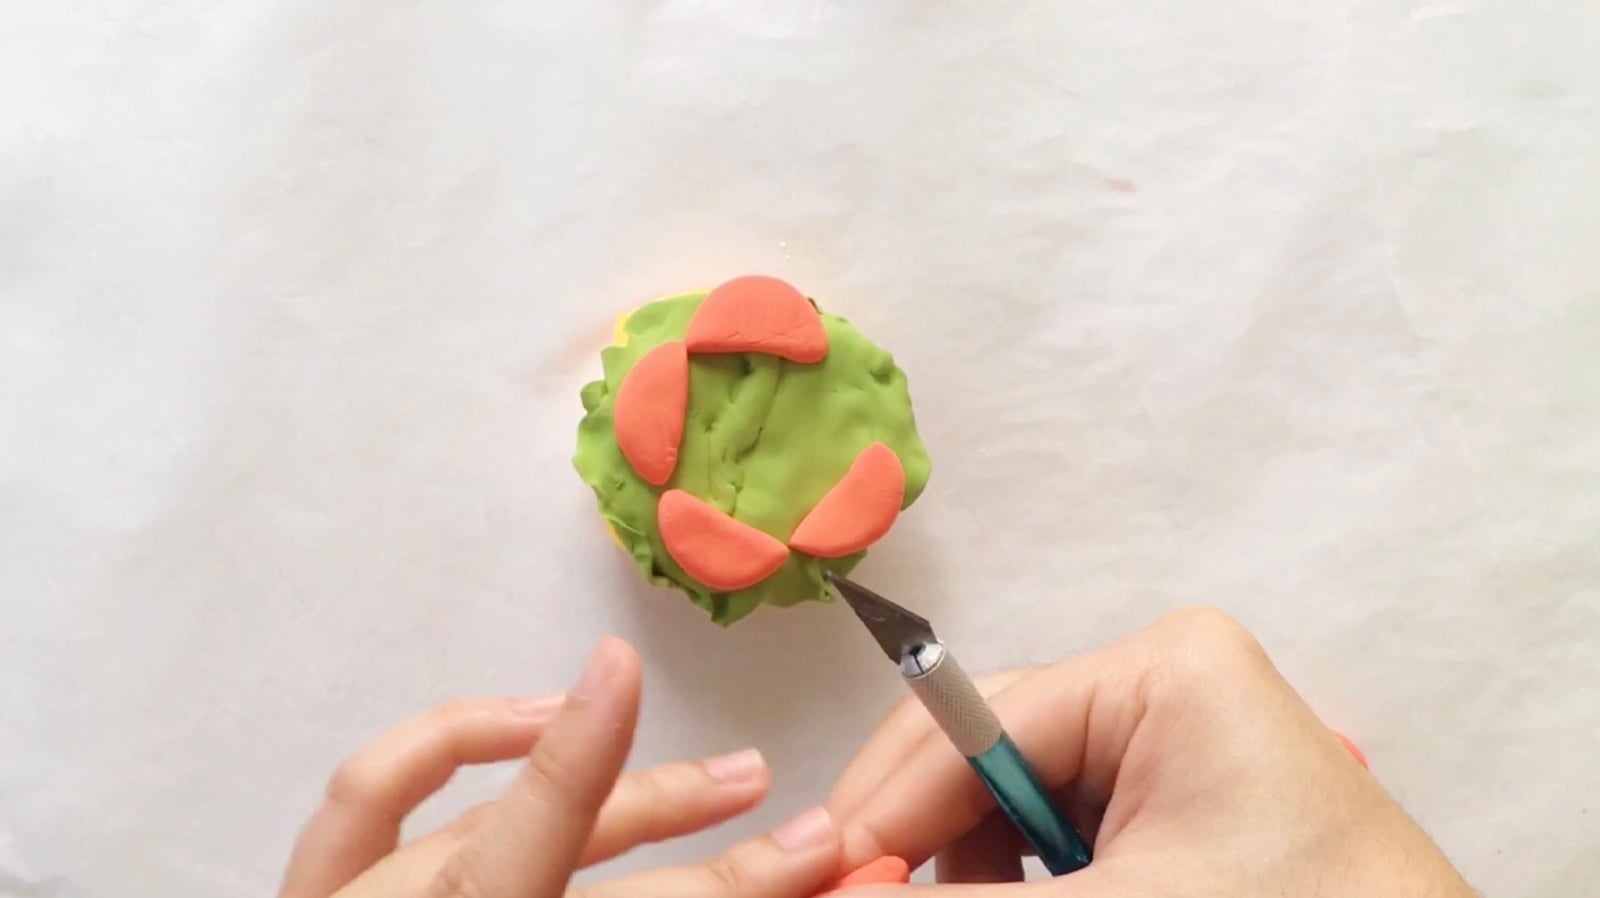
A square of yellow clay, draped so the corners hang over the bottom bun the way a slice actually melts. Then mix yellow and blue into lettuce green, flatten it thin, and ruffle the edges with your fingers so it frills. Then red clay tomatoes, cut into little slices and laid on the lettuce.
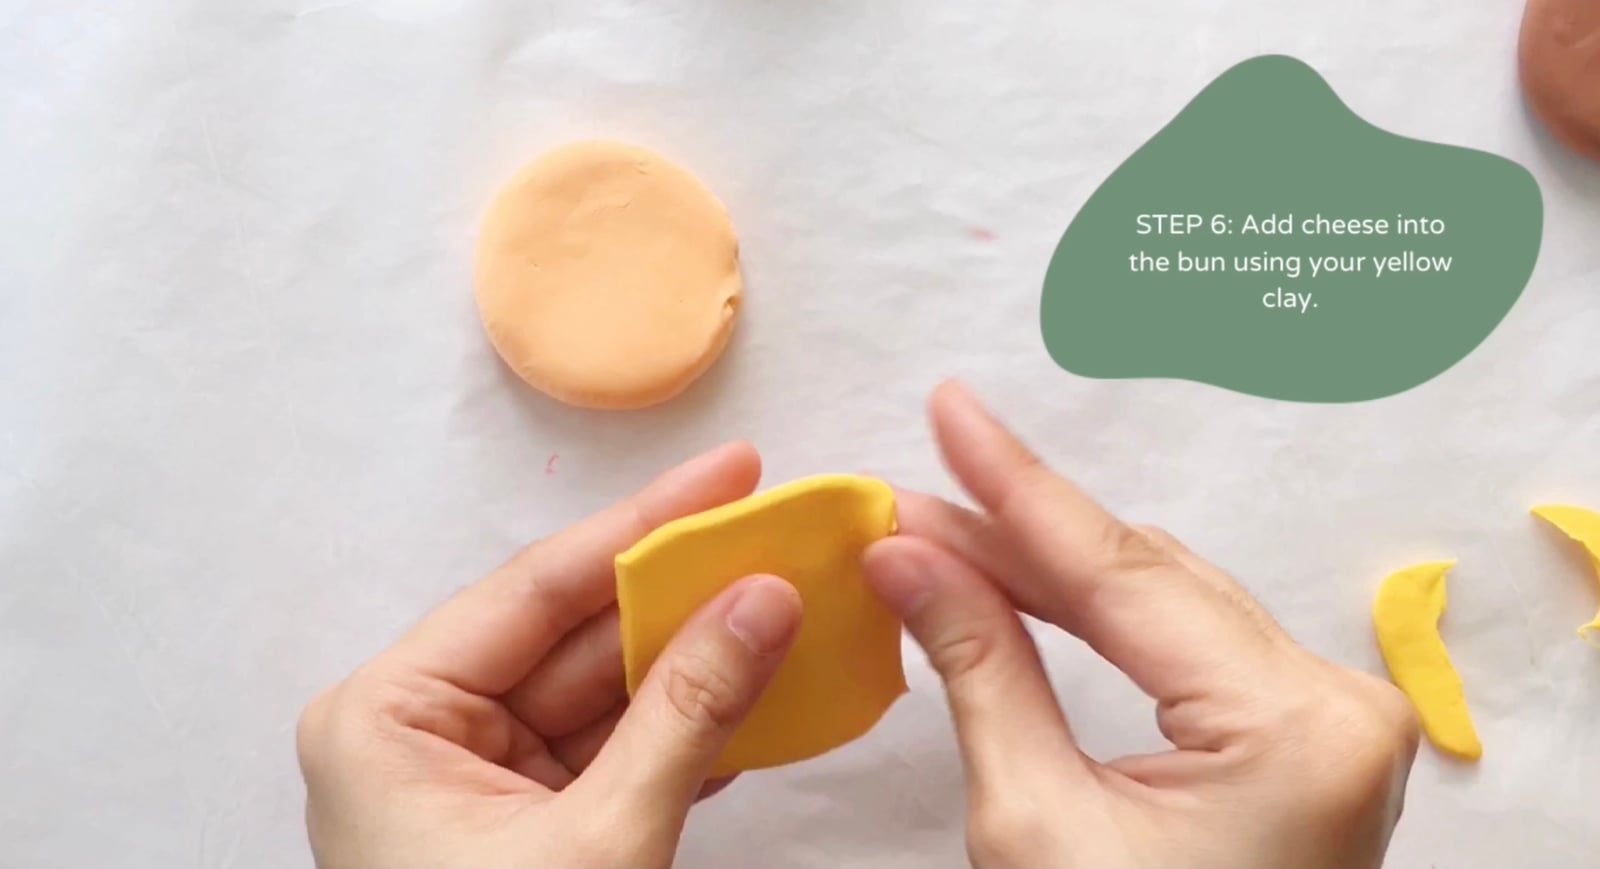
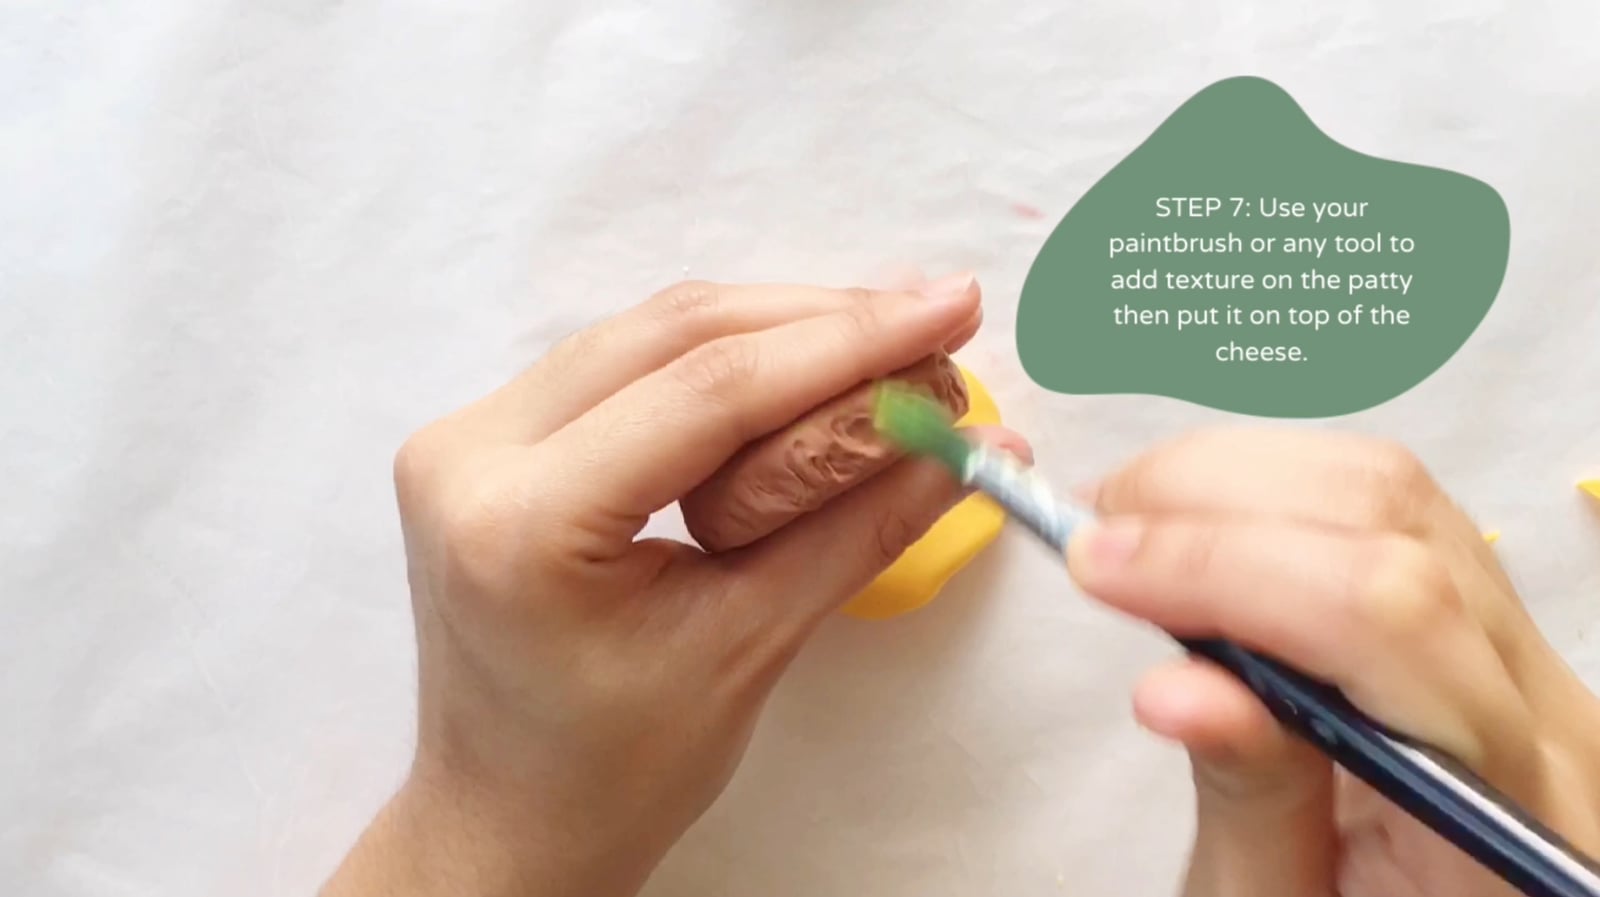
The stack
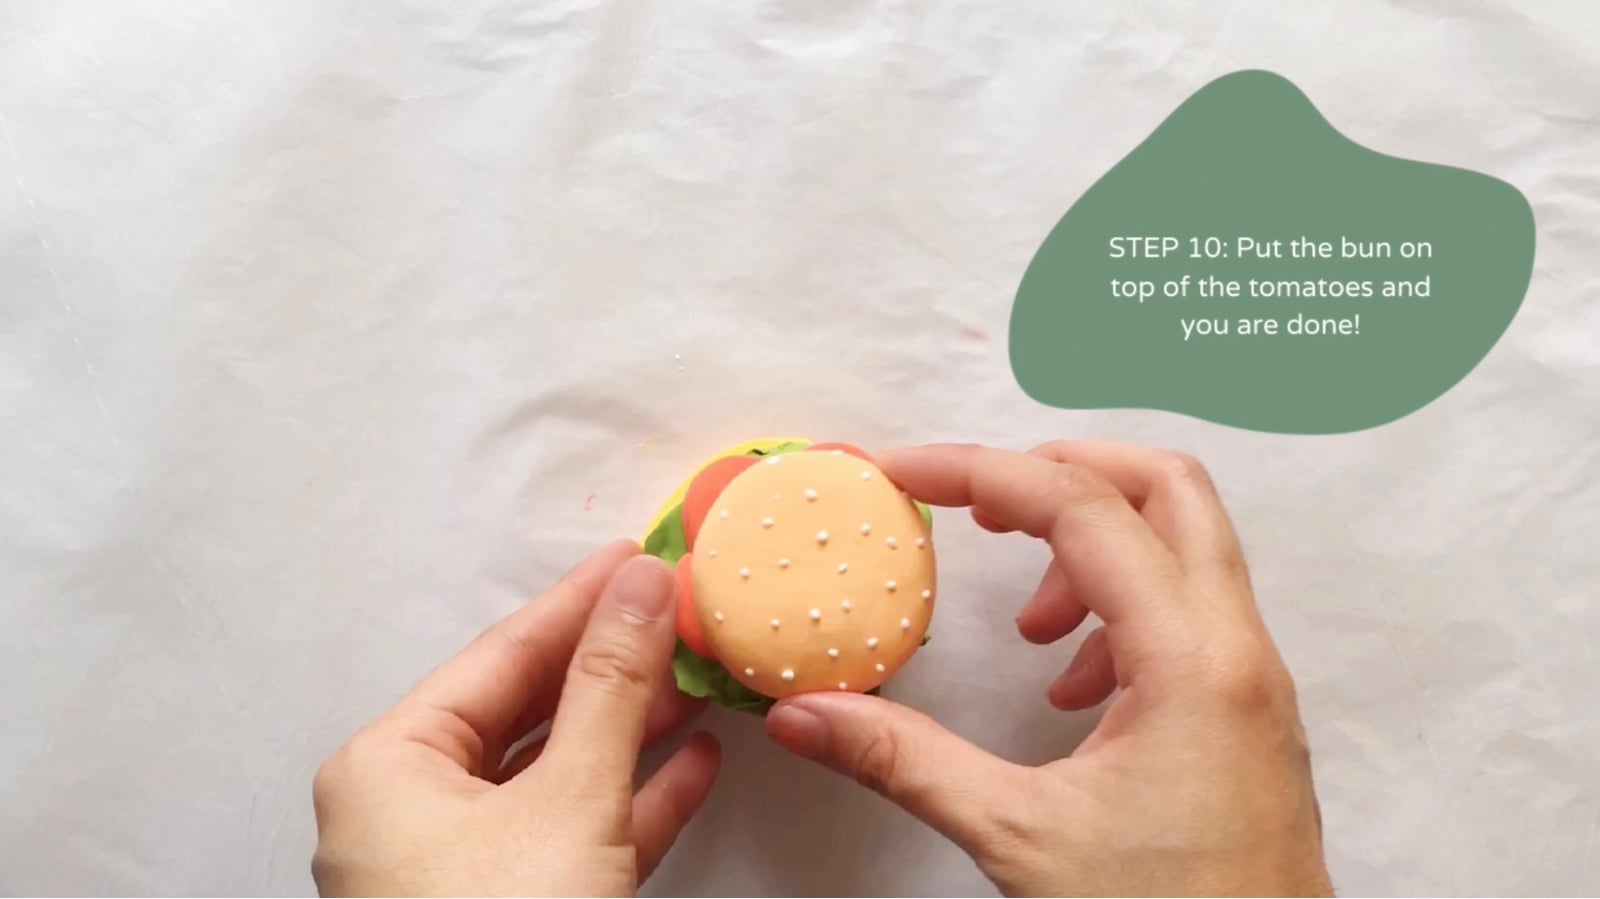
Bun, cheese, patty, lettuce, tomato, bun. Press gently so it holds, and stop there, because over-pressing squashes an hour of work into a sandwich accident. Let it dry for an hour before handling and a day before it joins the pretend kitchen permanently.
This build teaches the same skills as our sushi board with a lot more forgiveness, so if the sushi felt fiddly, start here and circle back.
The step photography for this project was shot for Craft & Bond by Pauline Gamboa, whose very steady hands you will see throughout.
What goes on your real burger that this one is missing? Pickles were discussed at length here and did not make the cut.
Next in the clay kitchen: the mini clay erasers, which actually erase.
If this gave you an idea worth trying, there's more where it came from. Follow along on Pinterest (@CraftandBondCo) and Instagram (@craftandbondco) for new projects, recipes, and the occasional honest mess, and save this post so you can find your way back to it.