Crafts

How to Make Mini Clay Erasers: Animal Set (Duck, Bear, Giraffe)
Kellie Hartwell
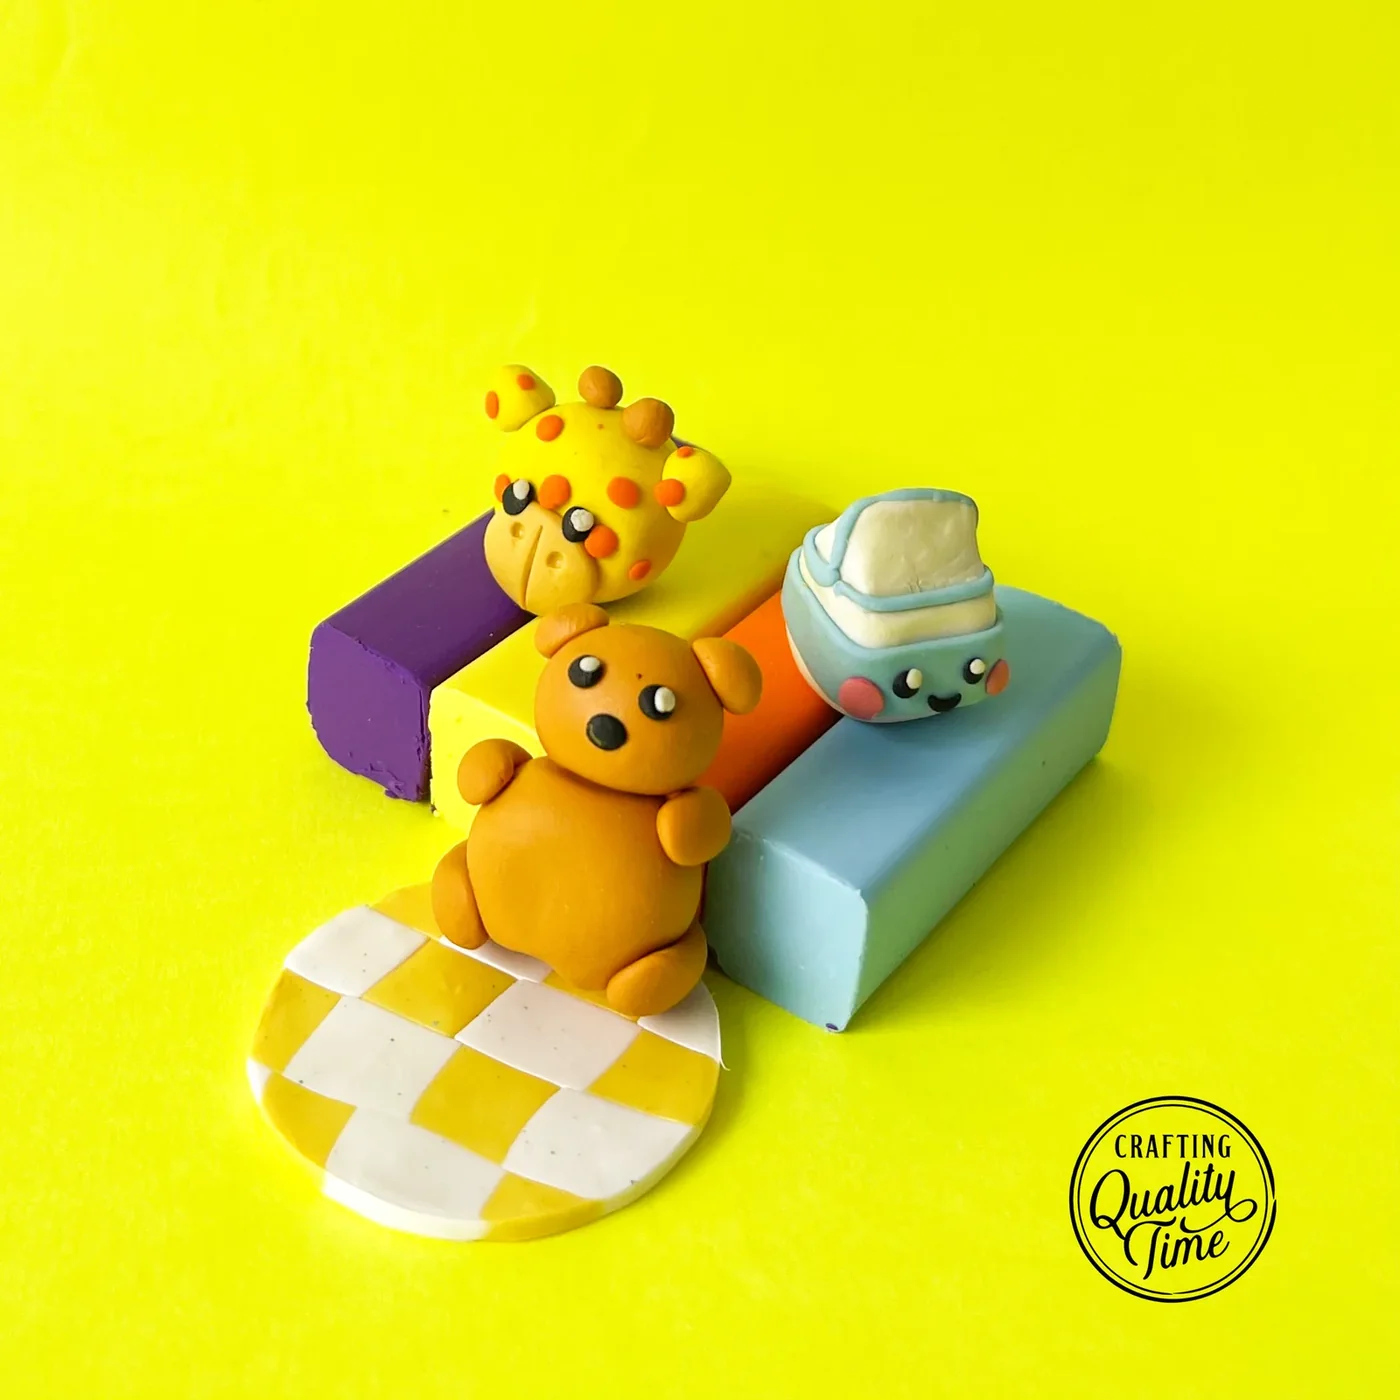
Finished clay animal erasers on eraser blocks: a spotted giraffe, a brown bear, and a smiling milk carton

This post contains affiliate links. If you purchase something through my links I may earn a small commission at no extra cost to you. I only share products I actually used and loved.

If the food erasers were the warm-up, this is the set with a little more personality. Same eraser clay, same bake-and-it-works magic trick, but now the shapes have faces that look back at you, and every kid I have ever crafted with cares deeply about getting the face right.

Difficulty ramps gently across the three: the bear is the simplest, the duck adds wings and a beak, and the giraffe brings spots and ossicones, which is your vocabulary word of the day for the little horns on a giraffe.

You will need: eraser clay, sculpting tools, baking paper.

The bear (4 steps)
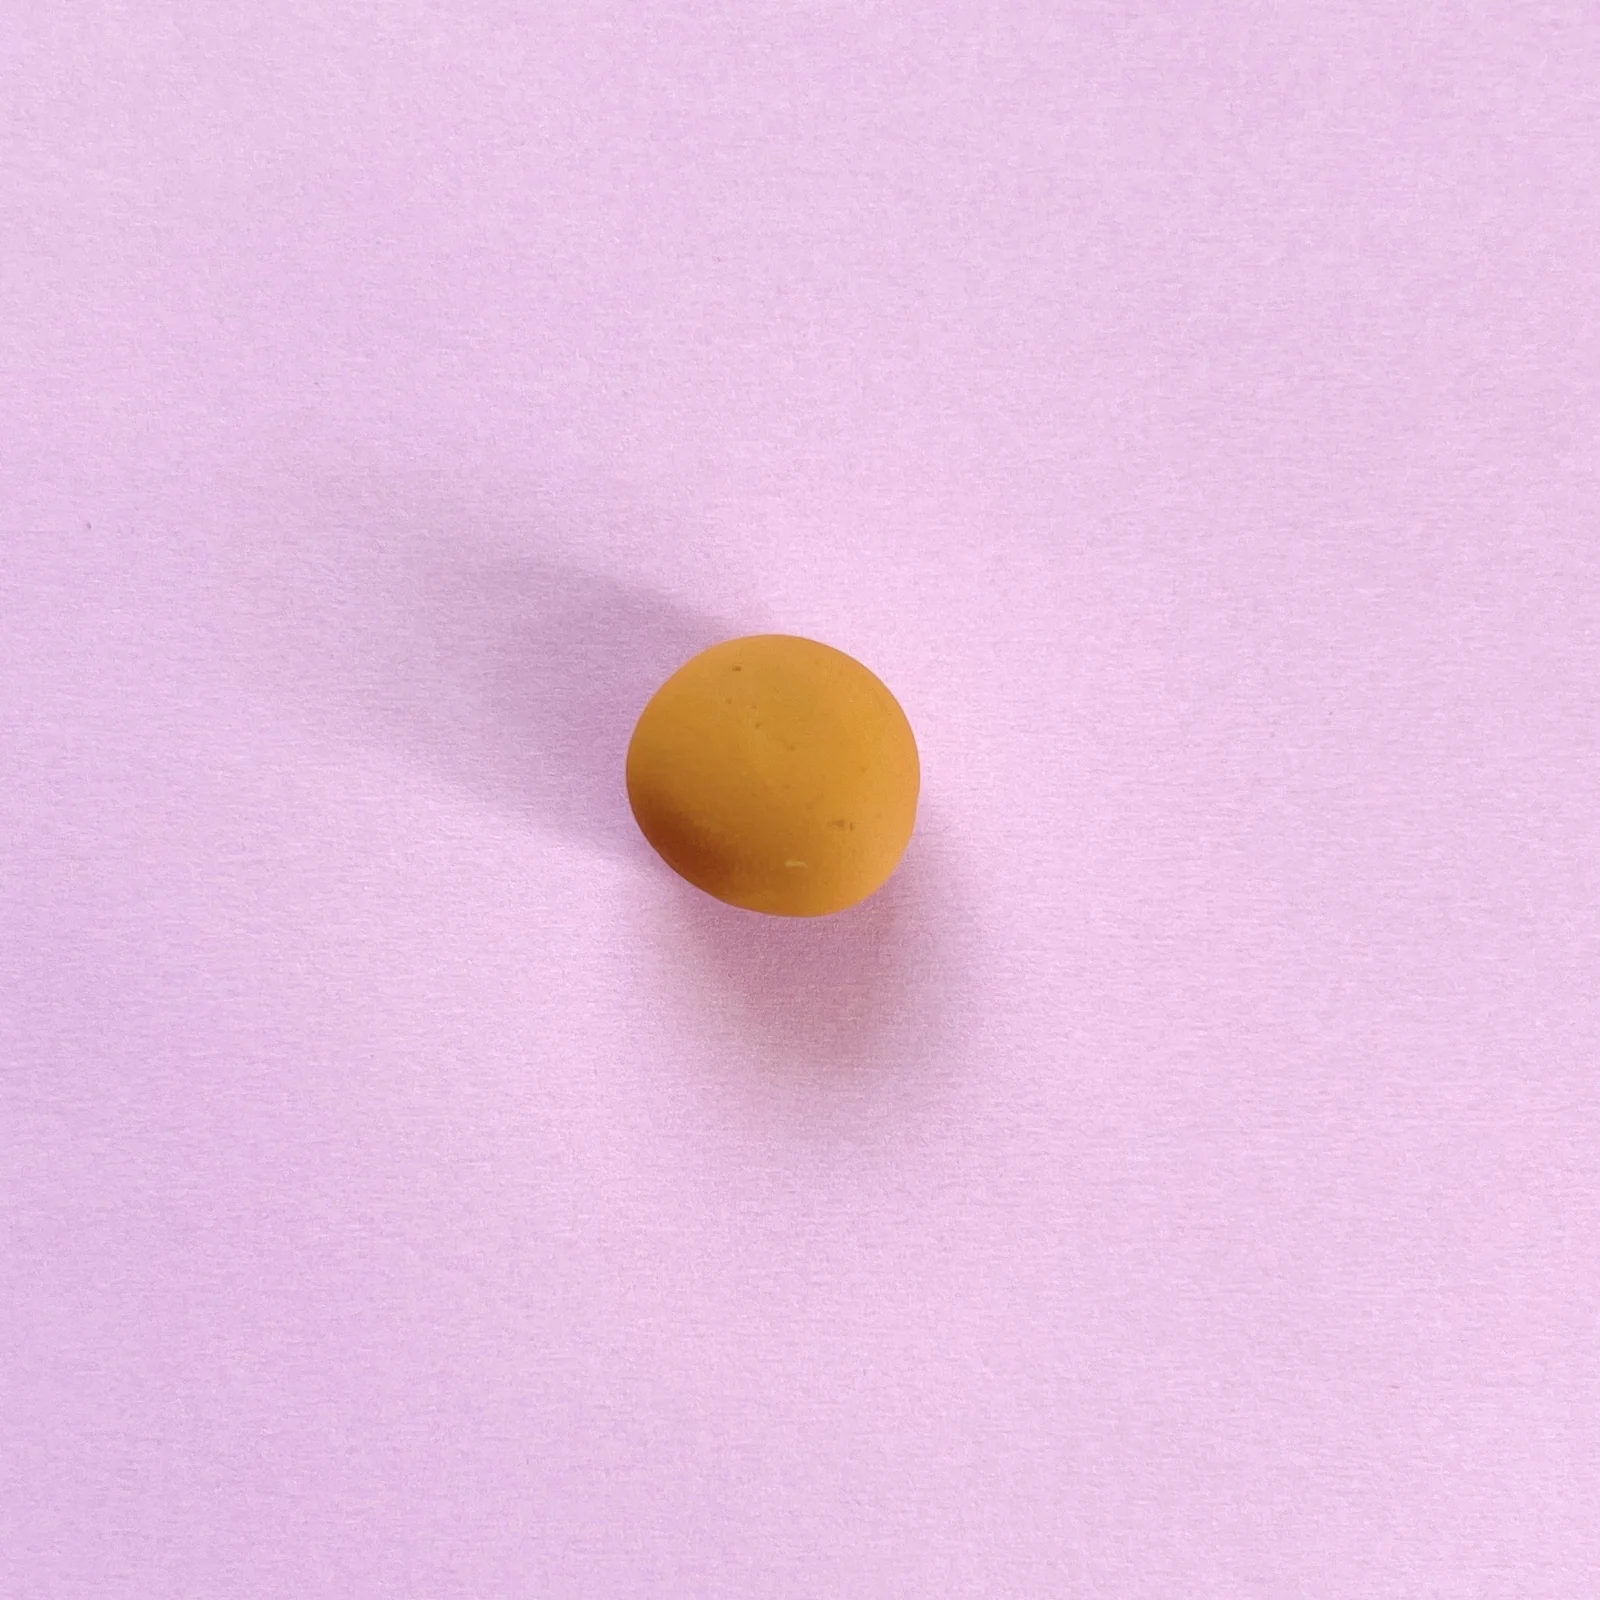
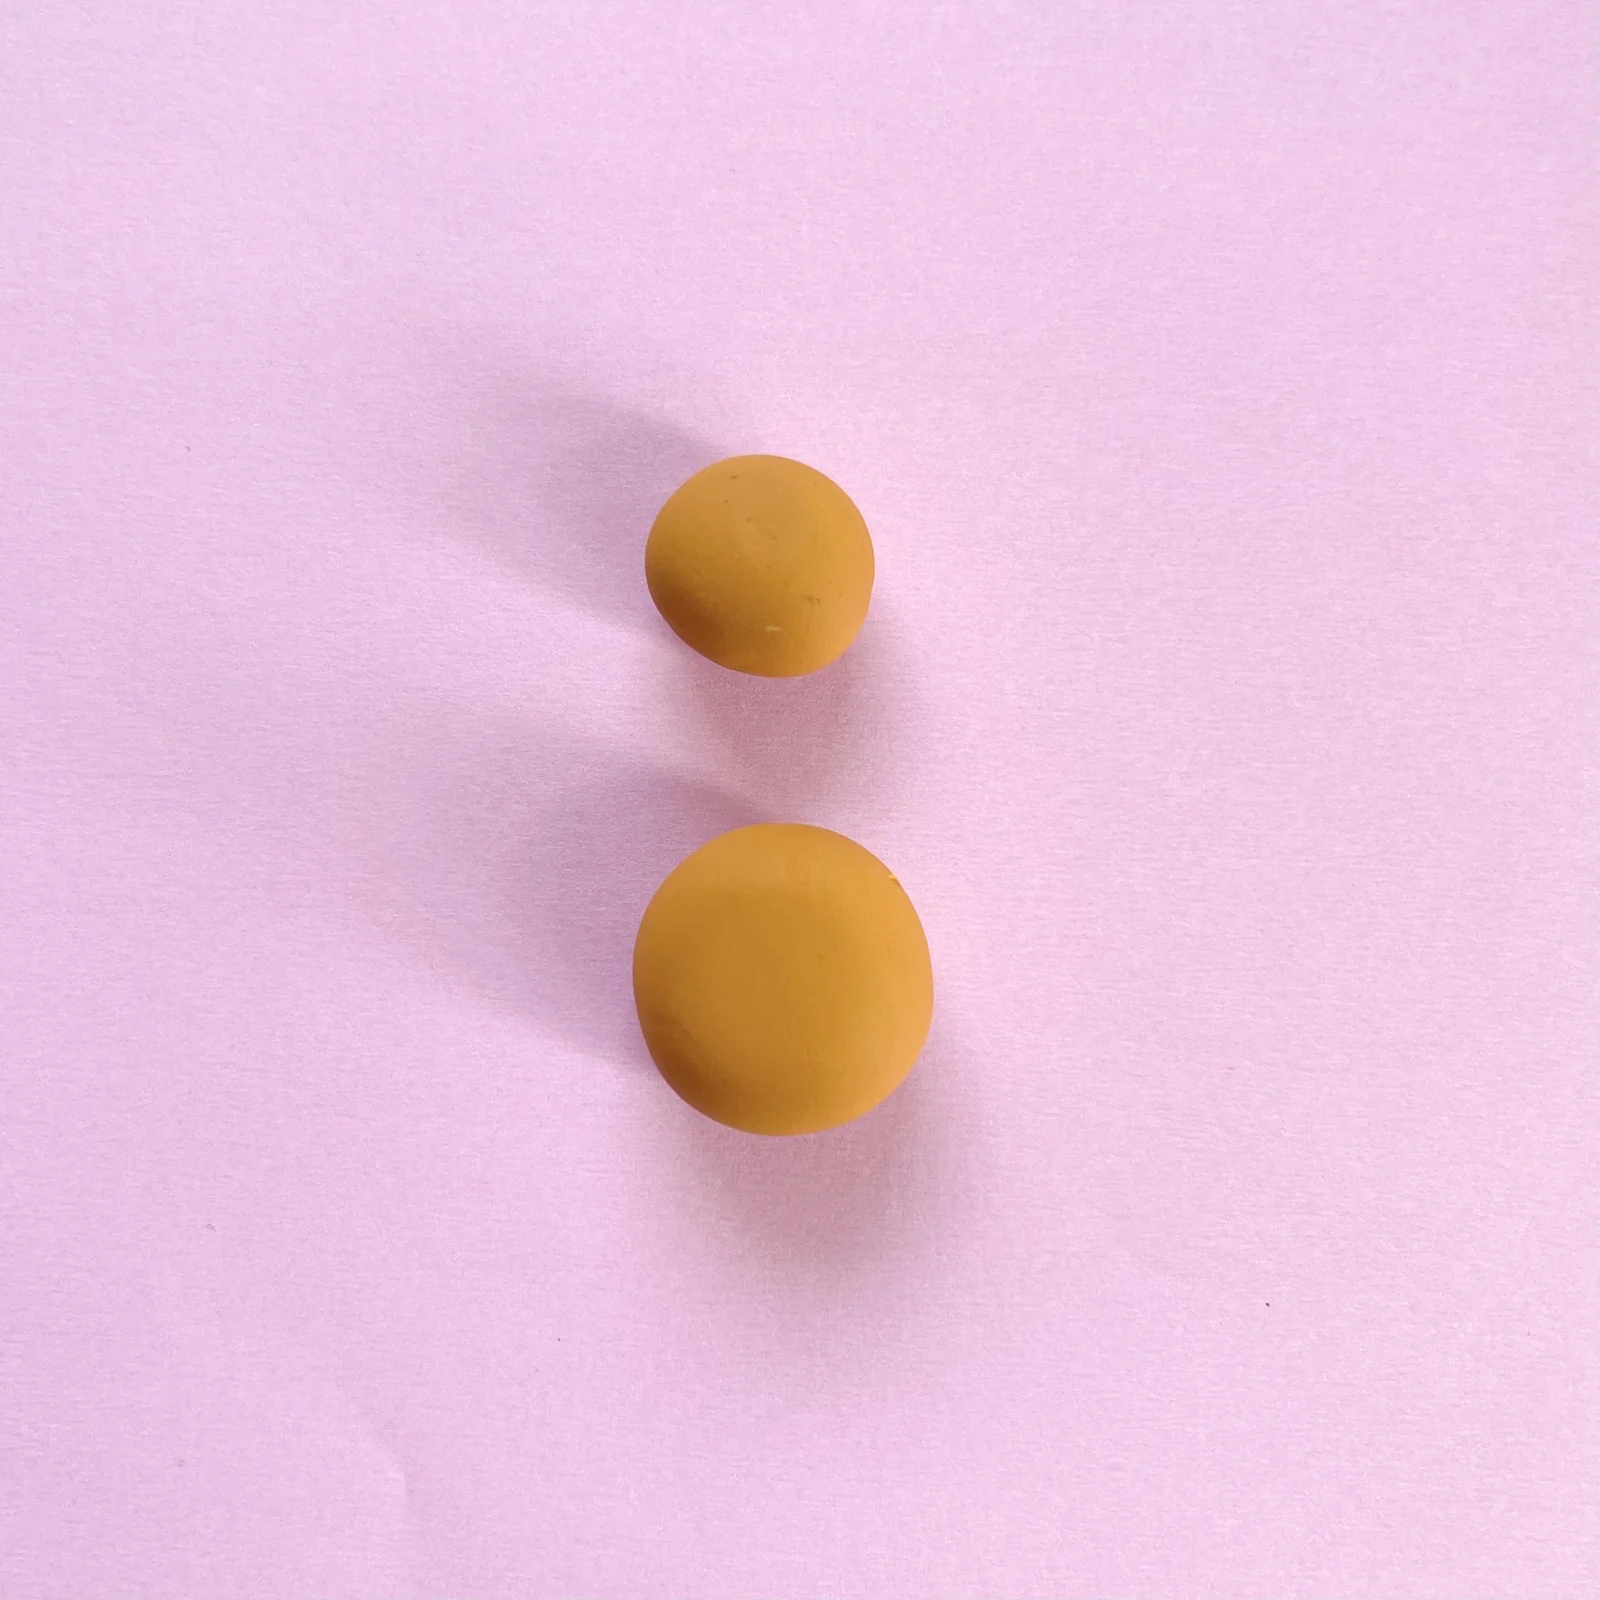
Step 1 of the mini clay animal erasers tutorial: make a small ball for the bear's head
Make a small ball for the head.
Step 2 of the mini clay animal erasers tutorial: make a bigger ball for the body and attach it
Make a bigger ball for the body and attach it.
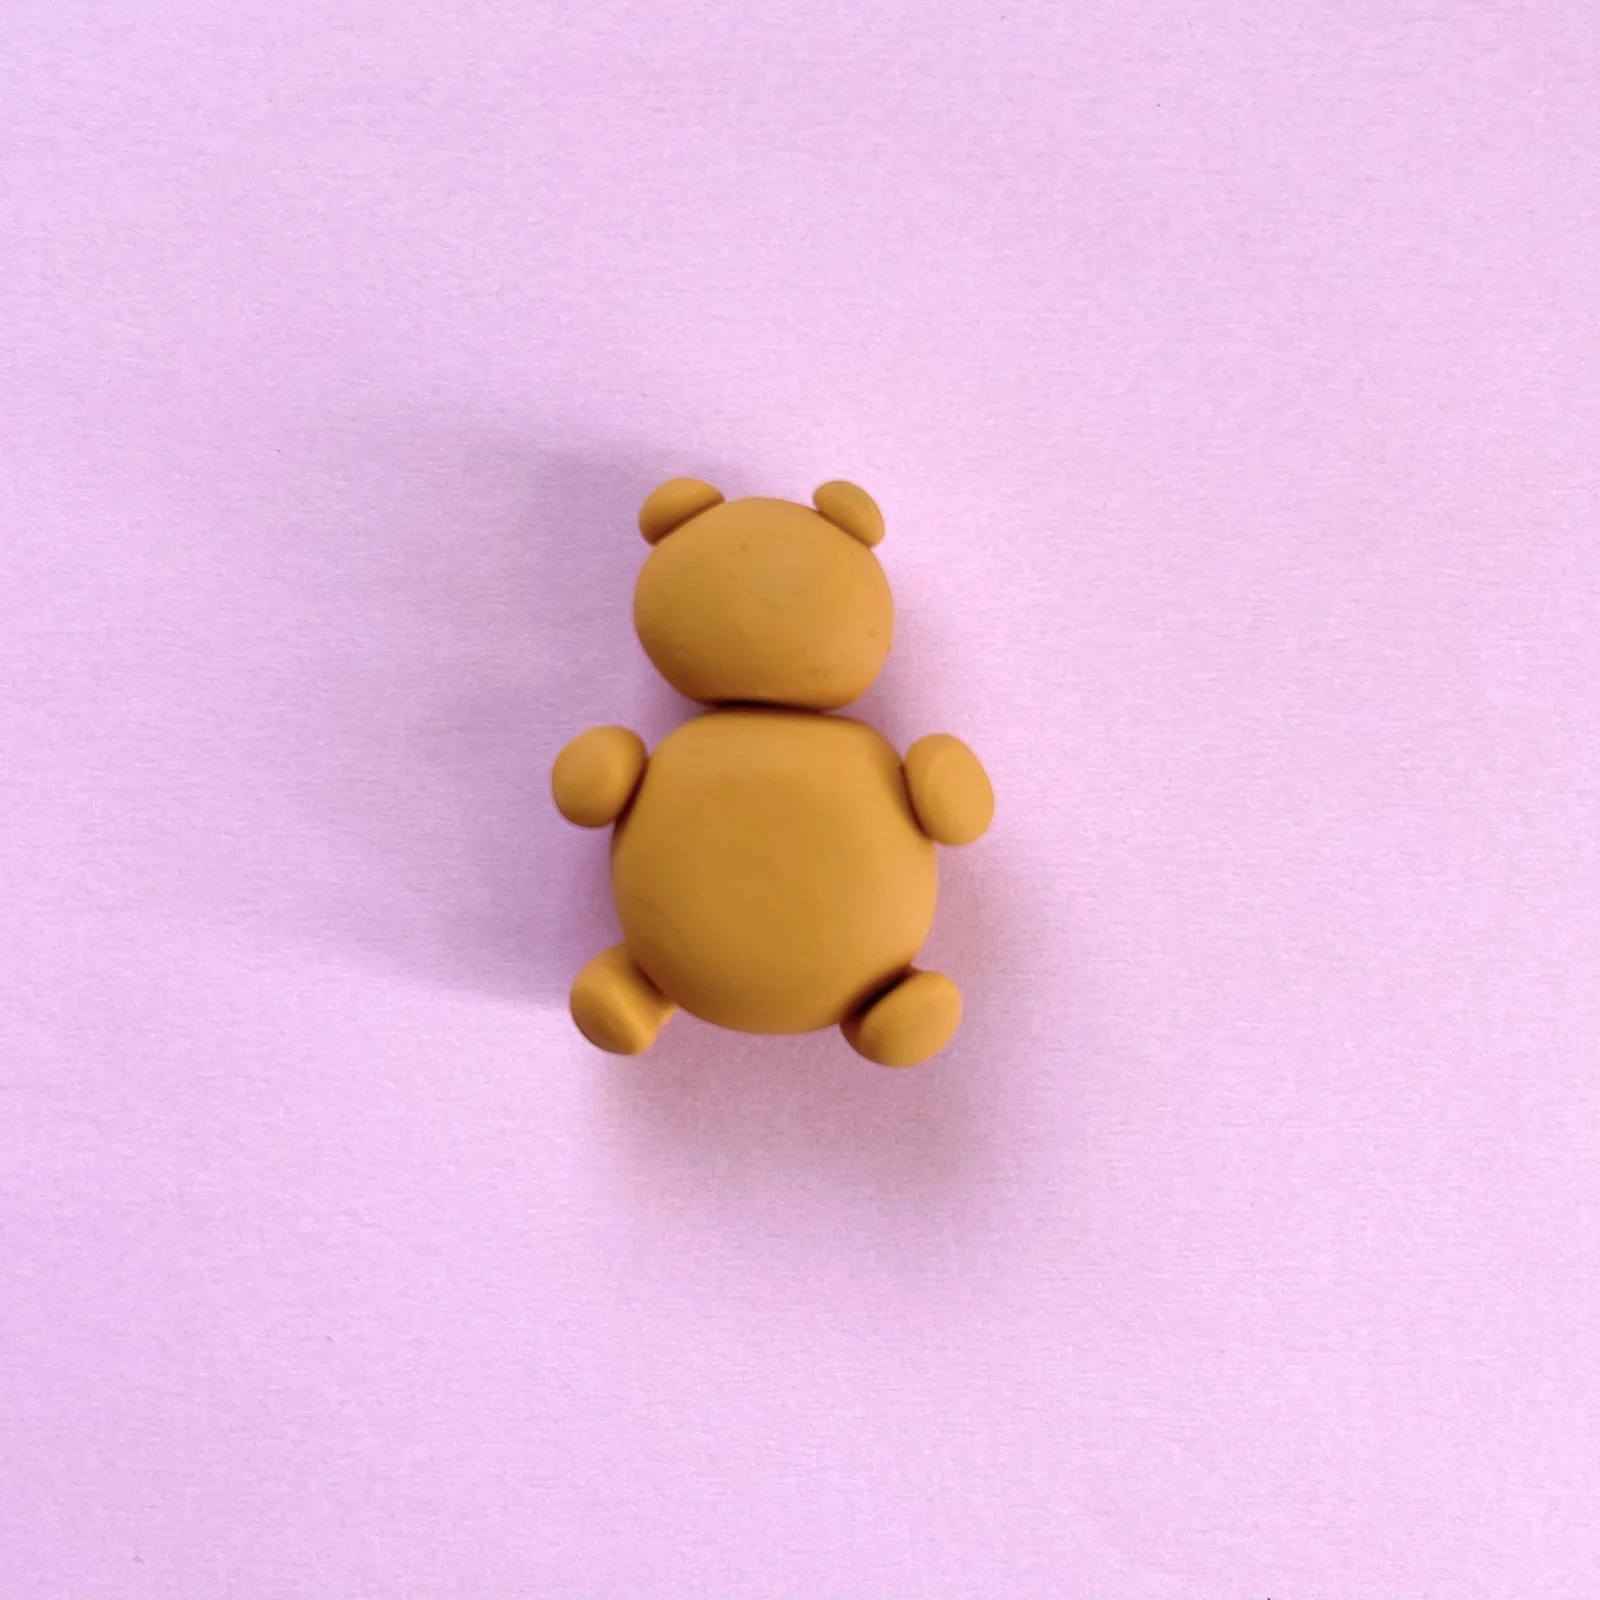
Step 3 of the mini clay animal erasers tutorial: make small balls for the ears, arms, and feet
Make small balls for the ears, arms, and feet.
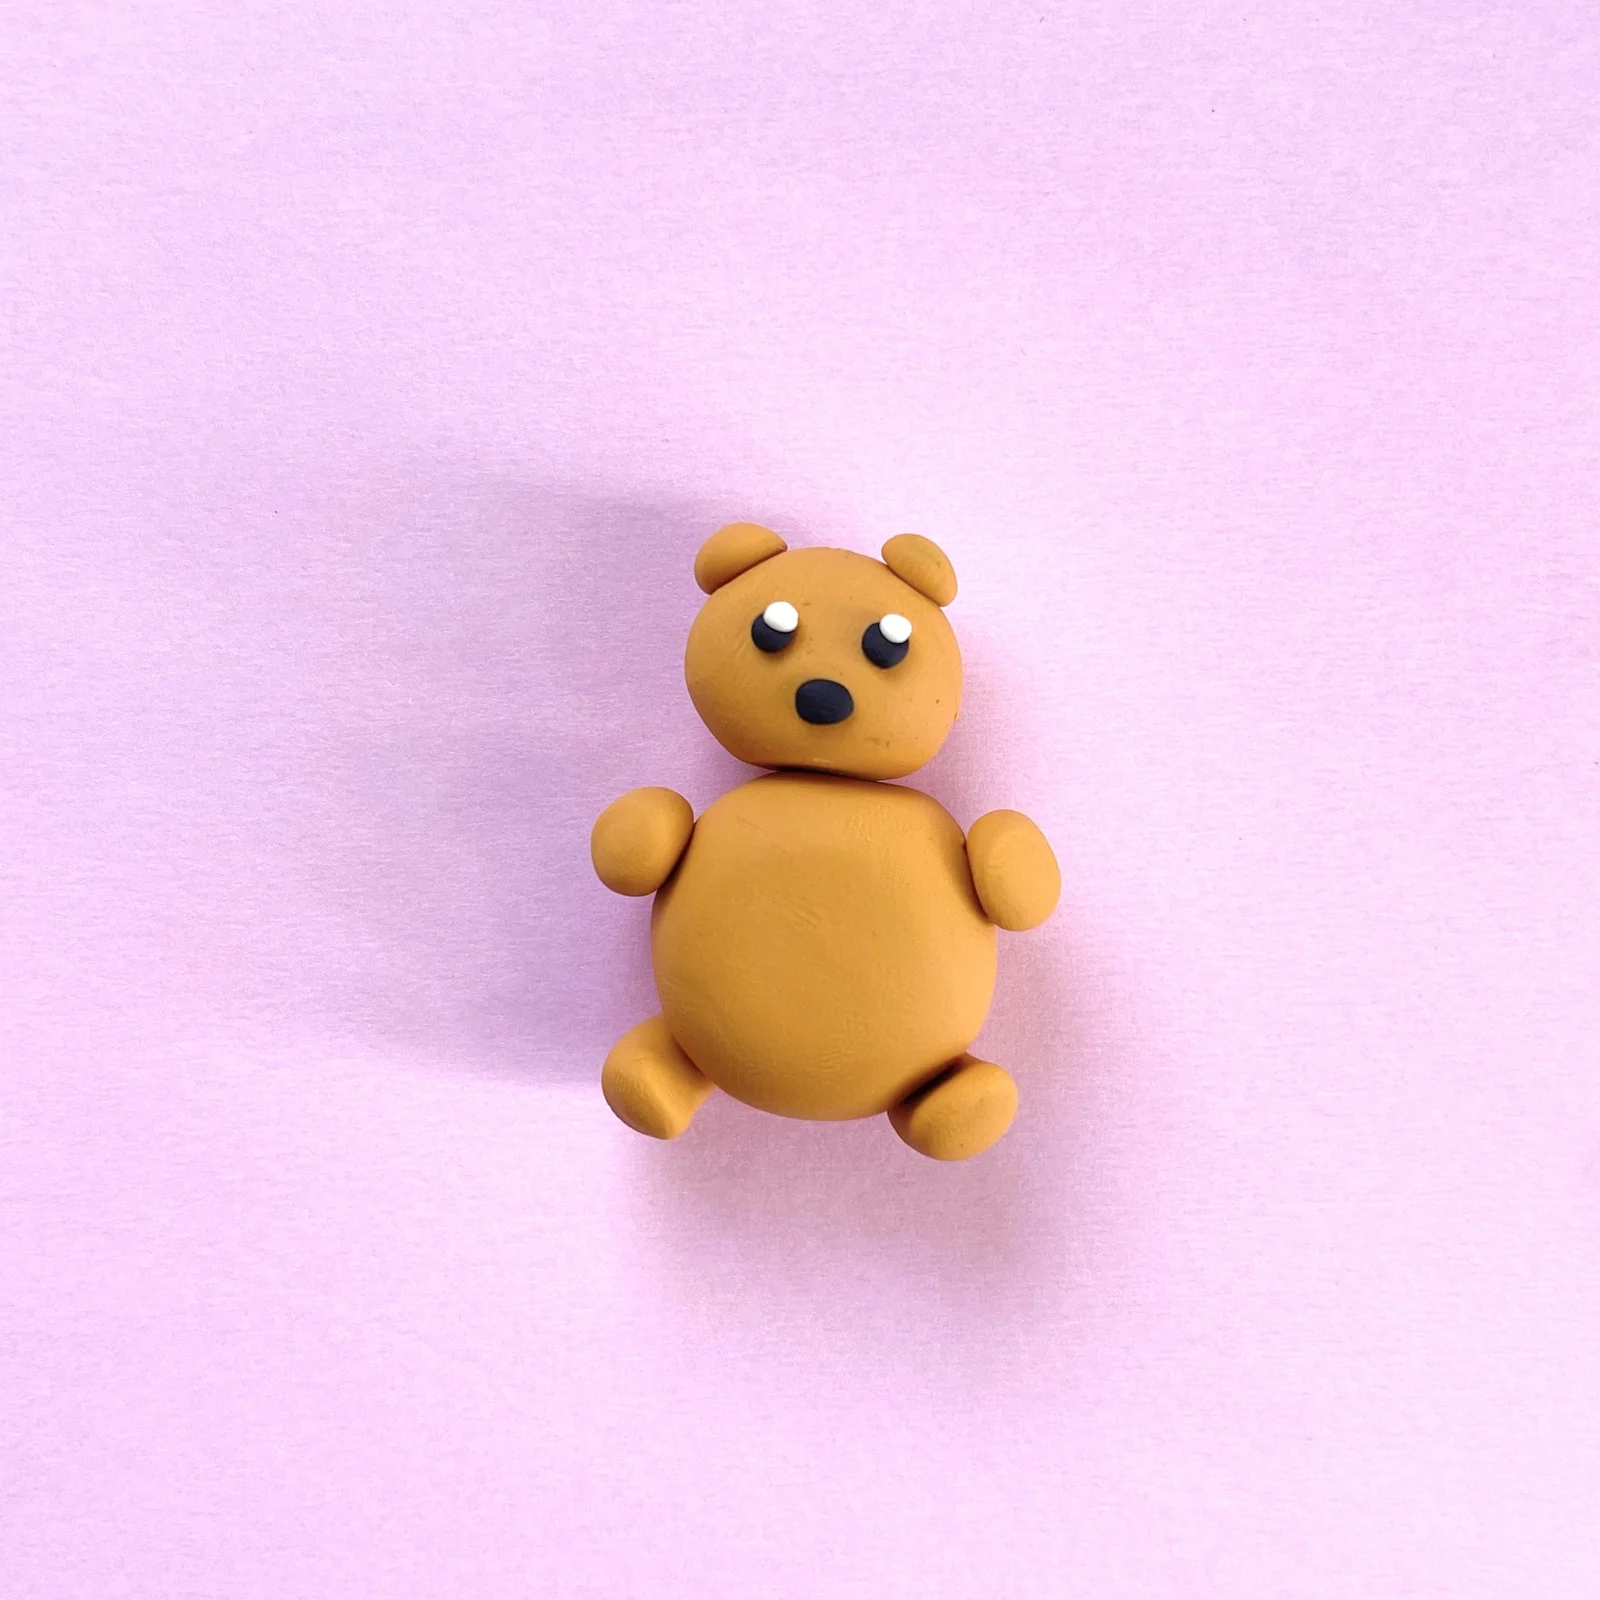
Step 4 of the mini clay animal erasers tutorial: add the bear's eyes and nose
Add the eyes and nose.

The duck (6 steps)

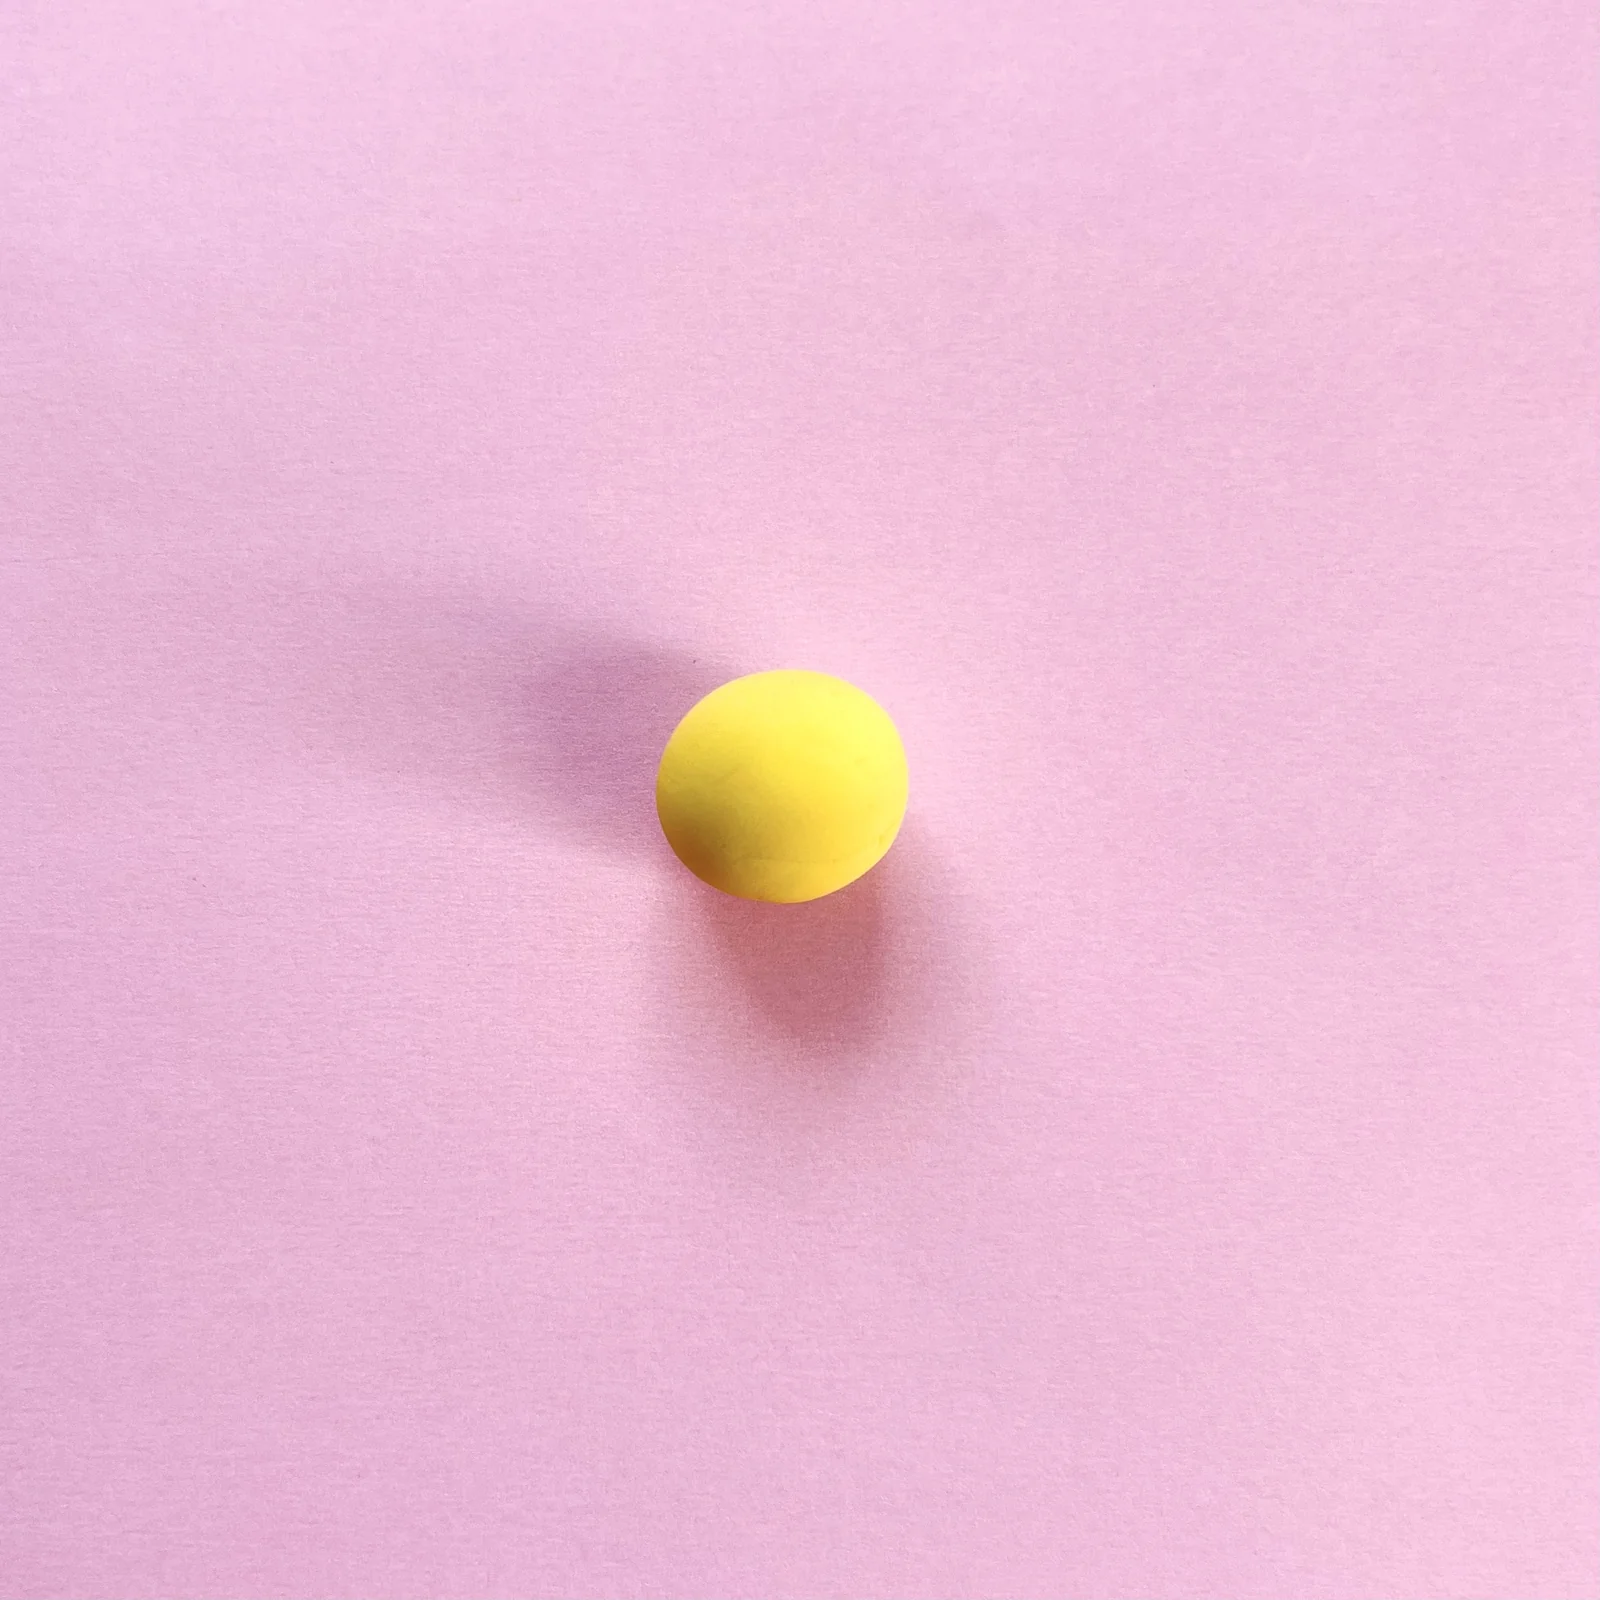
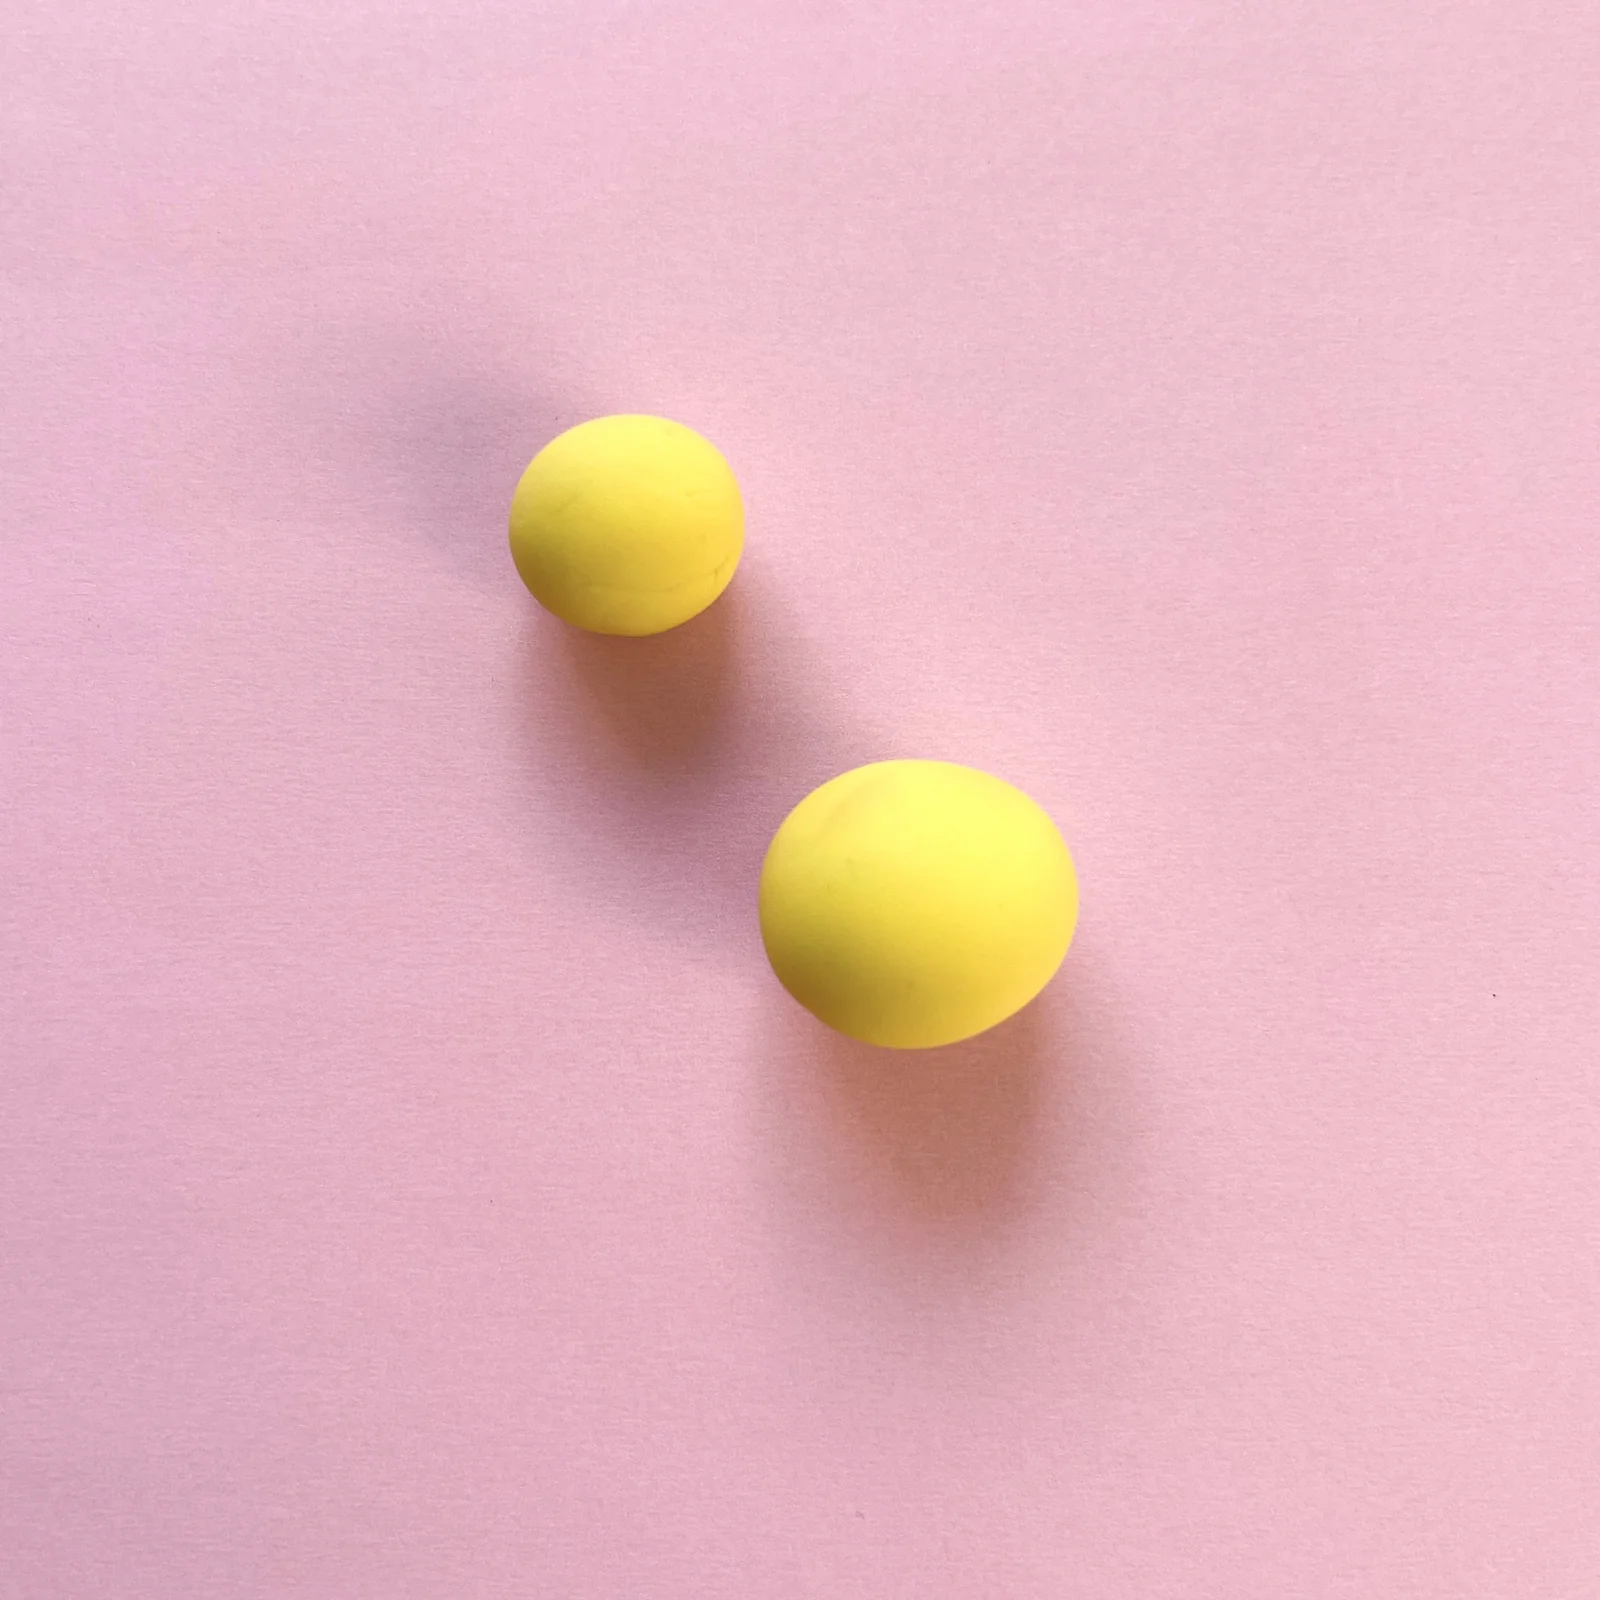
Step 1 of the mini clay animal erasers tutorial: make a small ball for the duck's head
Make a small ball for the head.
Step 2 of the mini clay animal erasers tutorial: make a bigger ball for the duck's body
Make a bigger ball for the body.
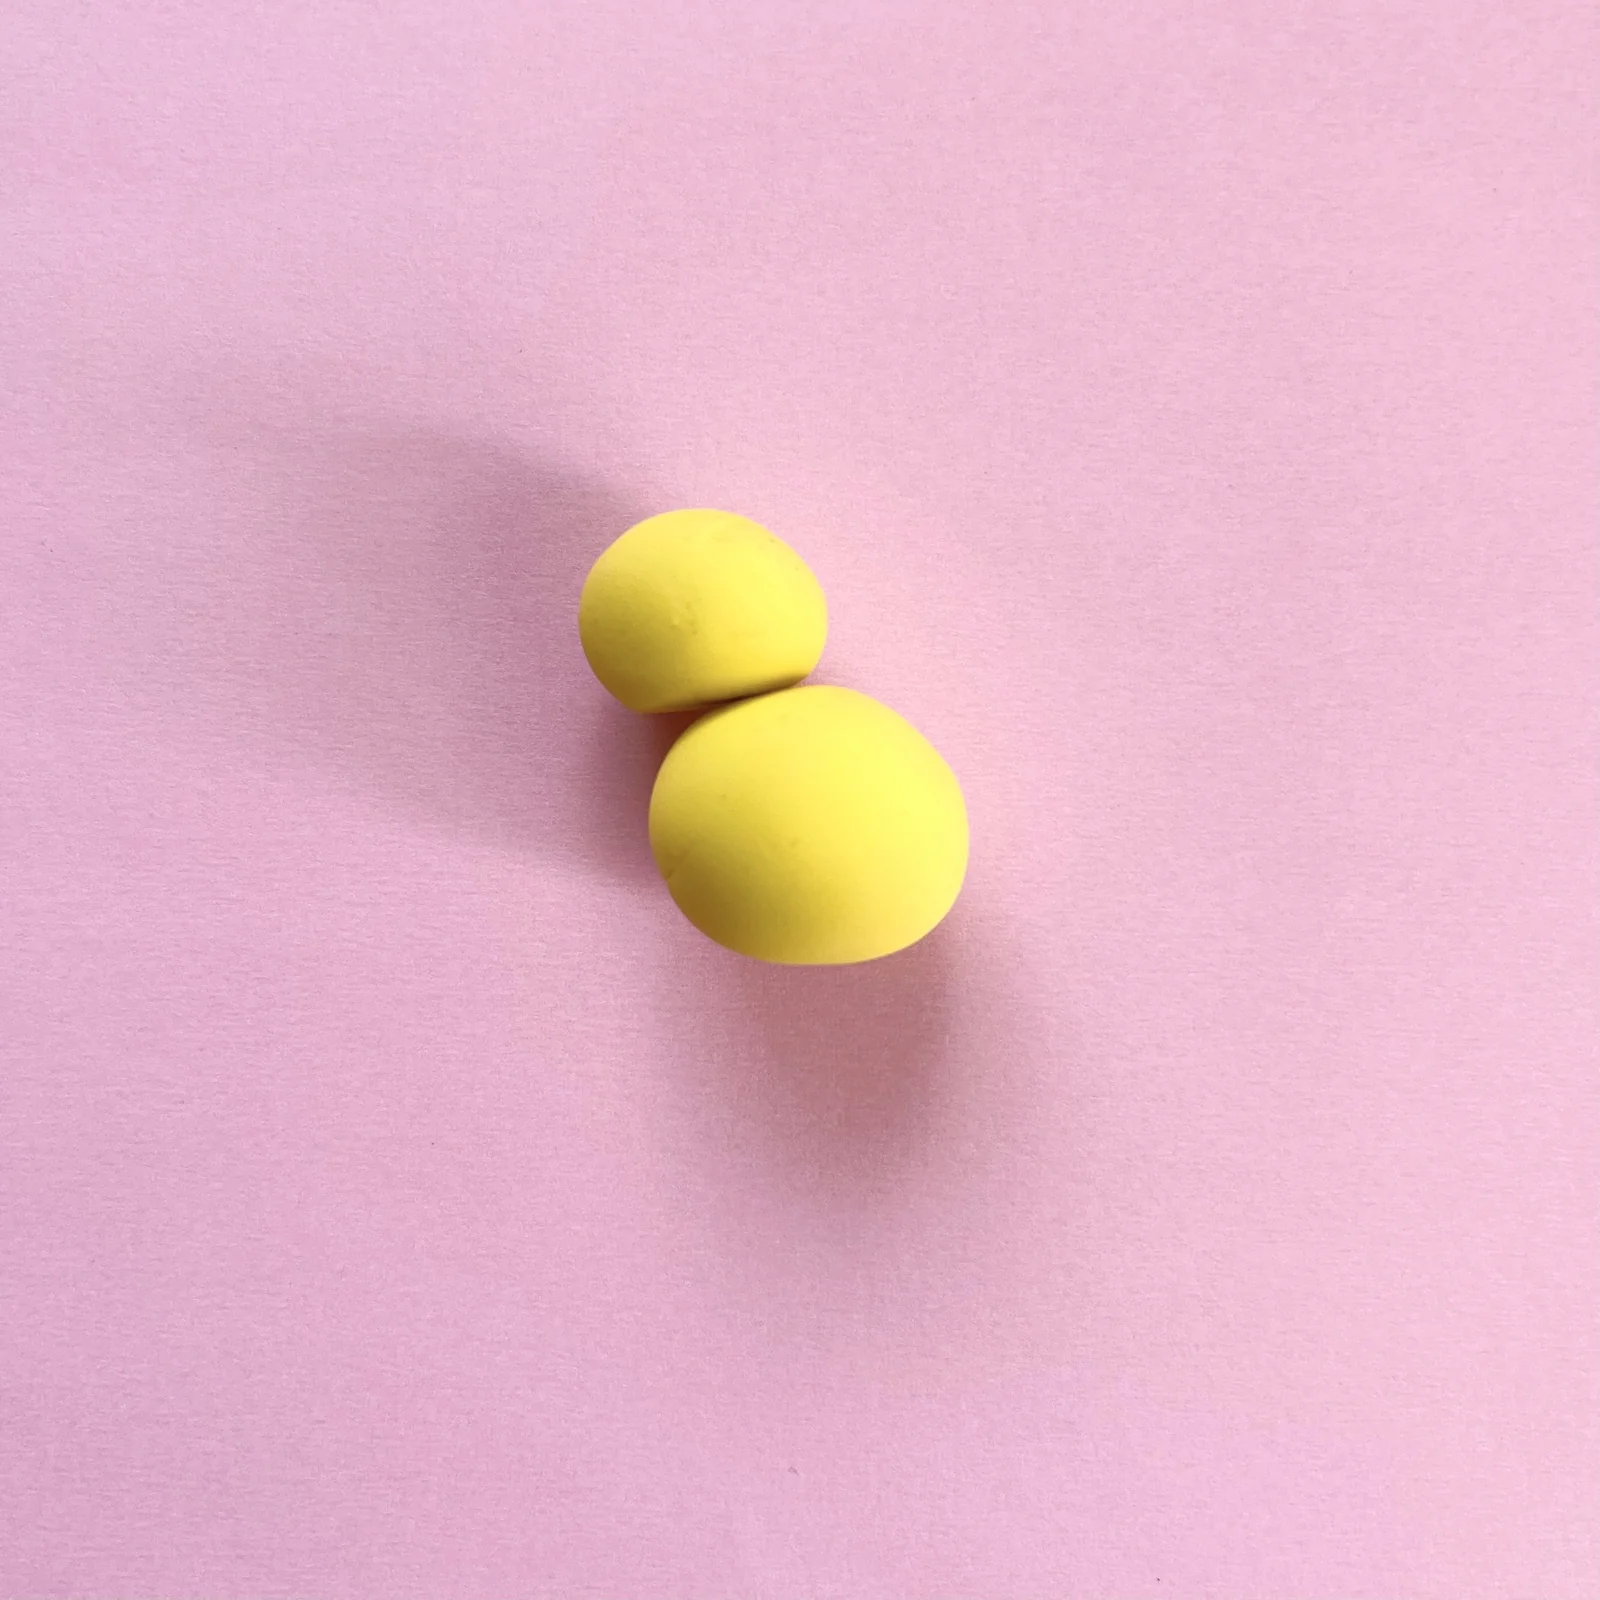
Step 3 of the mini clay animal erasers tutorial: attach the duck's body to the head
Attach the body to the head.
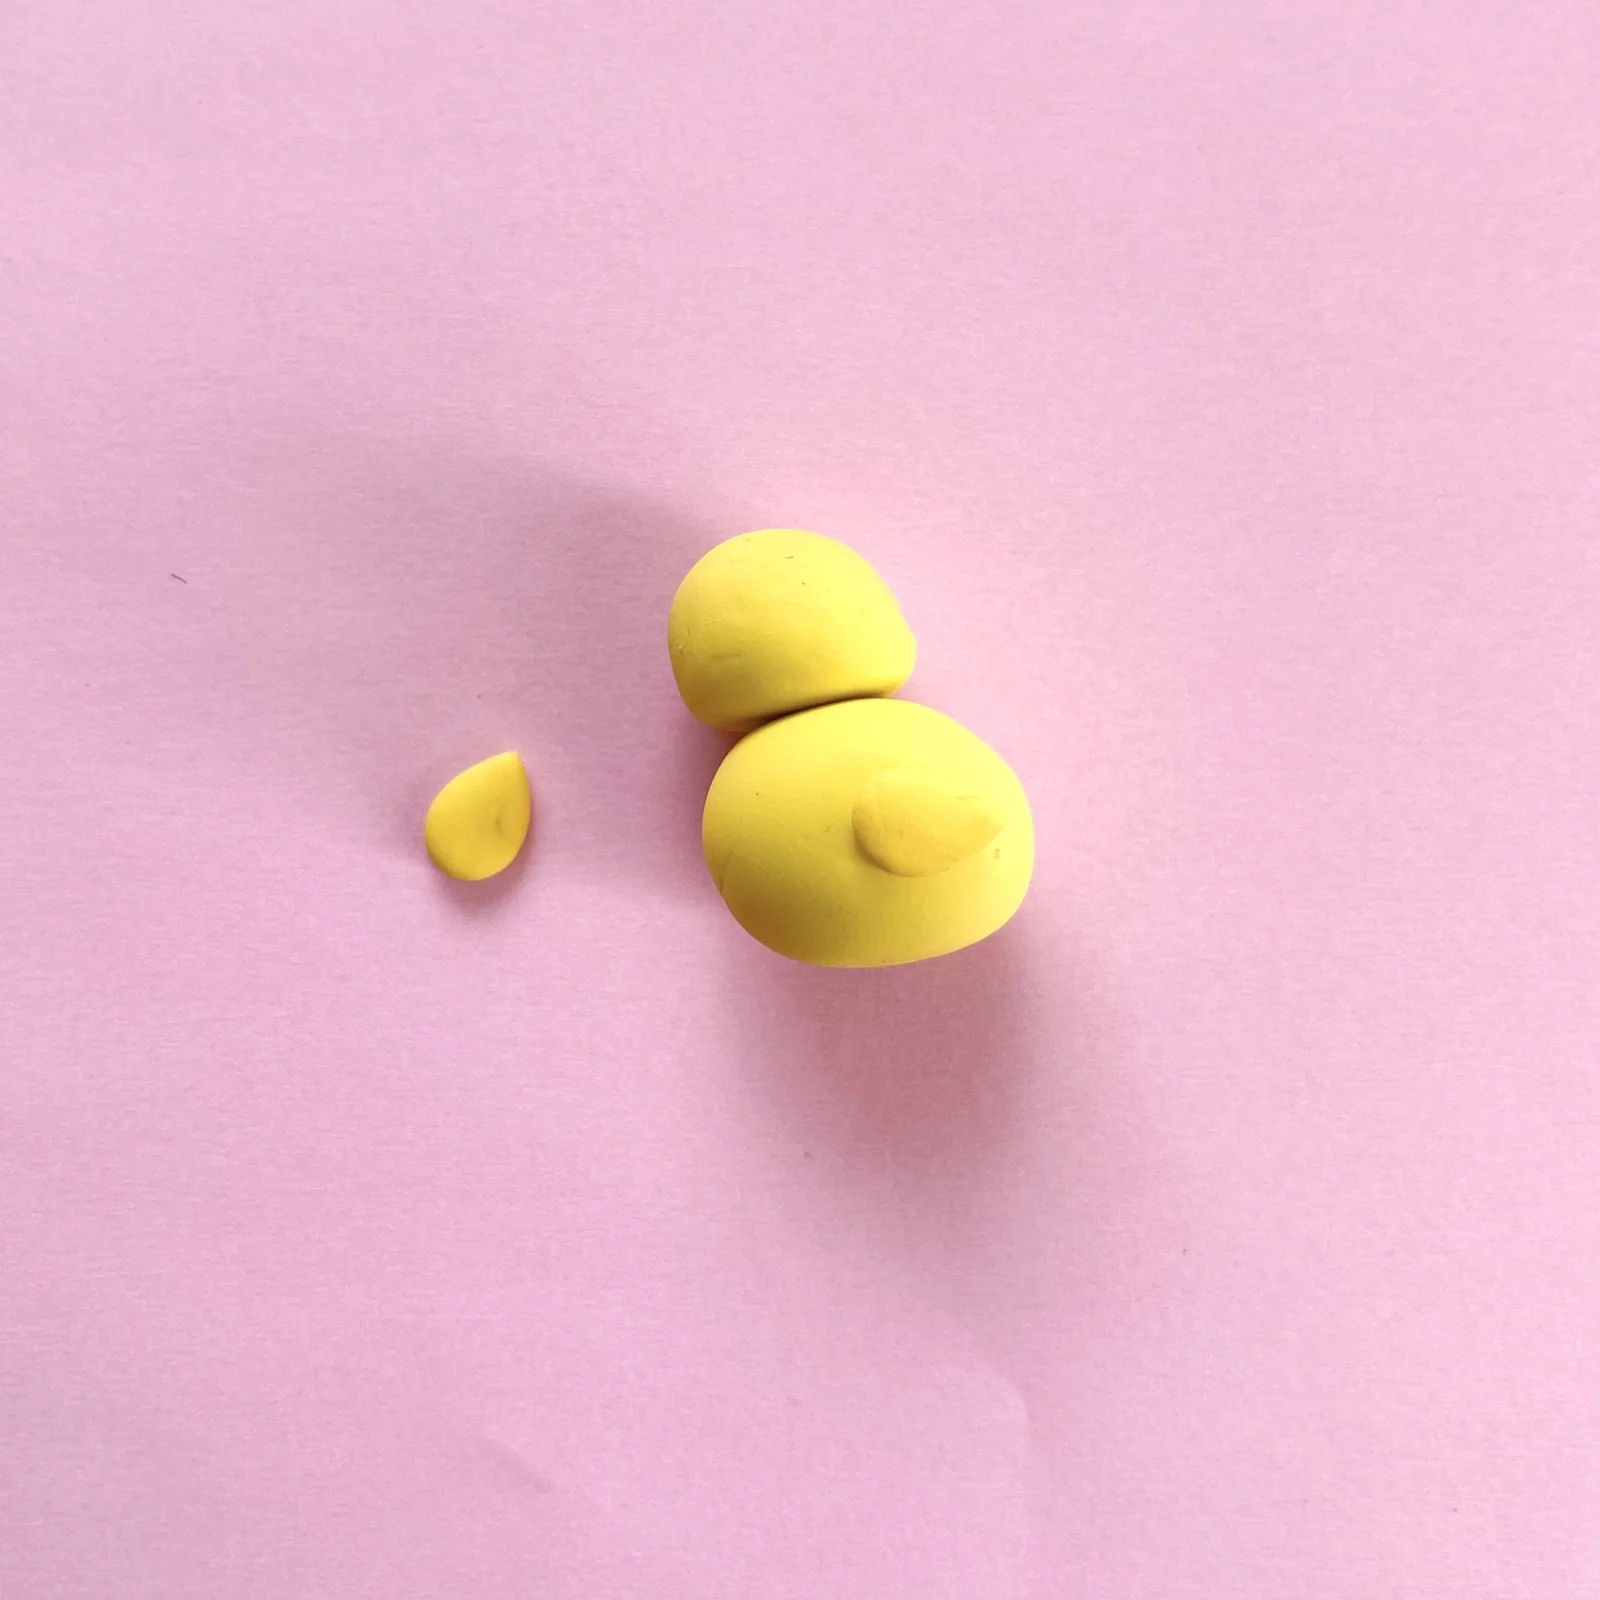
Step 4 of the mini clay animal erasers tutorial: shape the wings and attach them
Shape the wings and attach them.
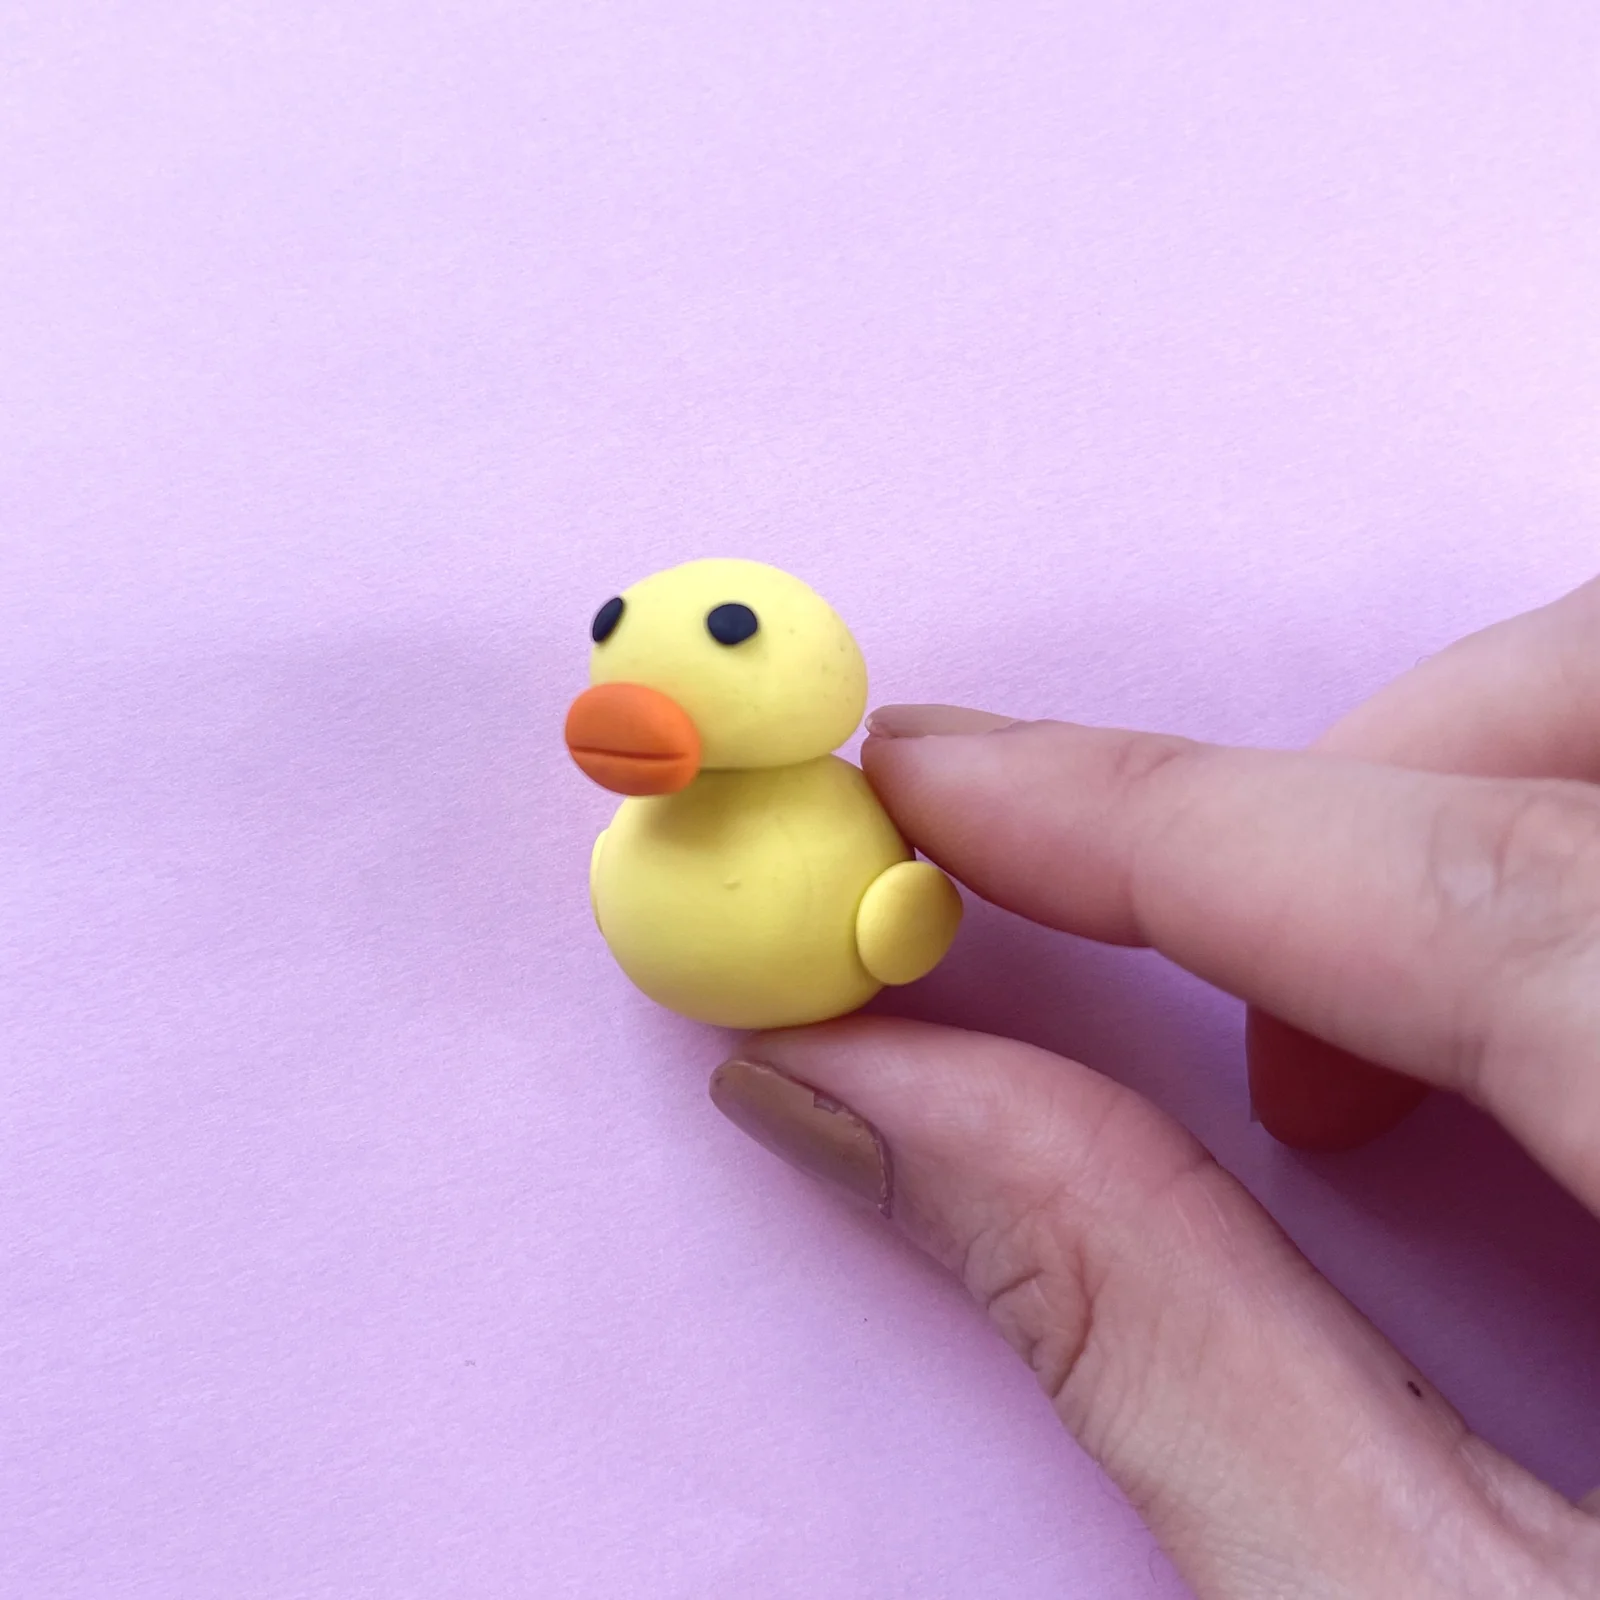
Step 5 of the mini clay animal erasers tutorial: knead the beak and attach it
Knead the beak and attach it.
Step 6 of the mini clay animal erasers tutorial: roll and flatten the eyes and attach them
Roll and flatten the eyes and attach them.

The giraffe (7 steps)

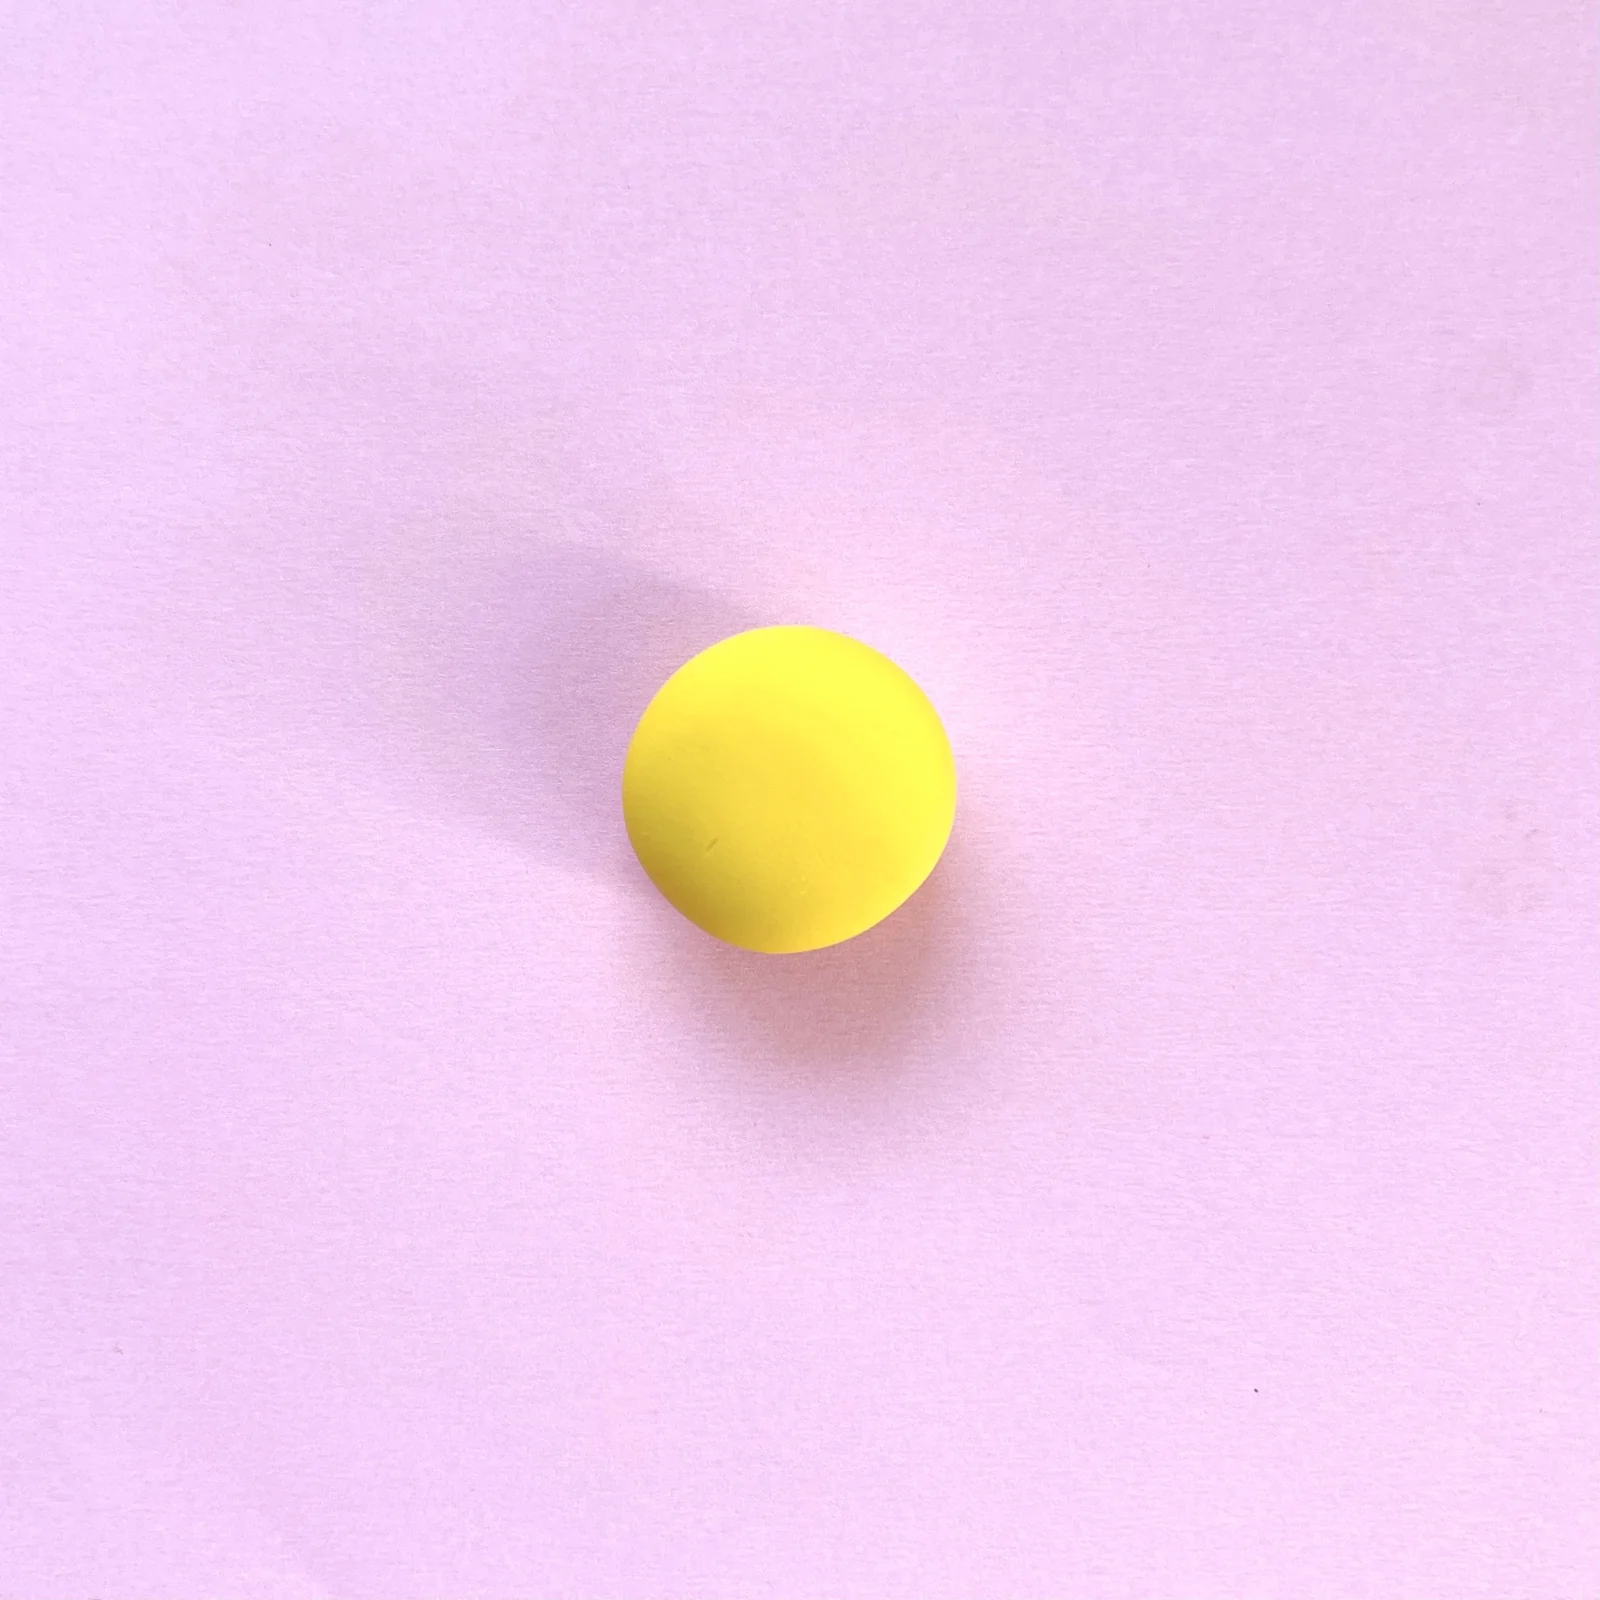
Step 1 of the mini clay animal erasers tutorial: shape the giraffe's head
Shape the head.
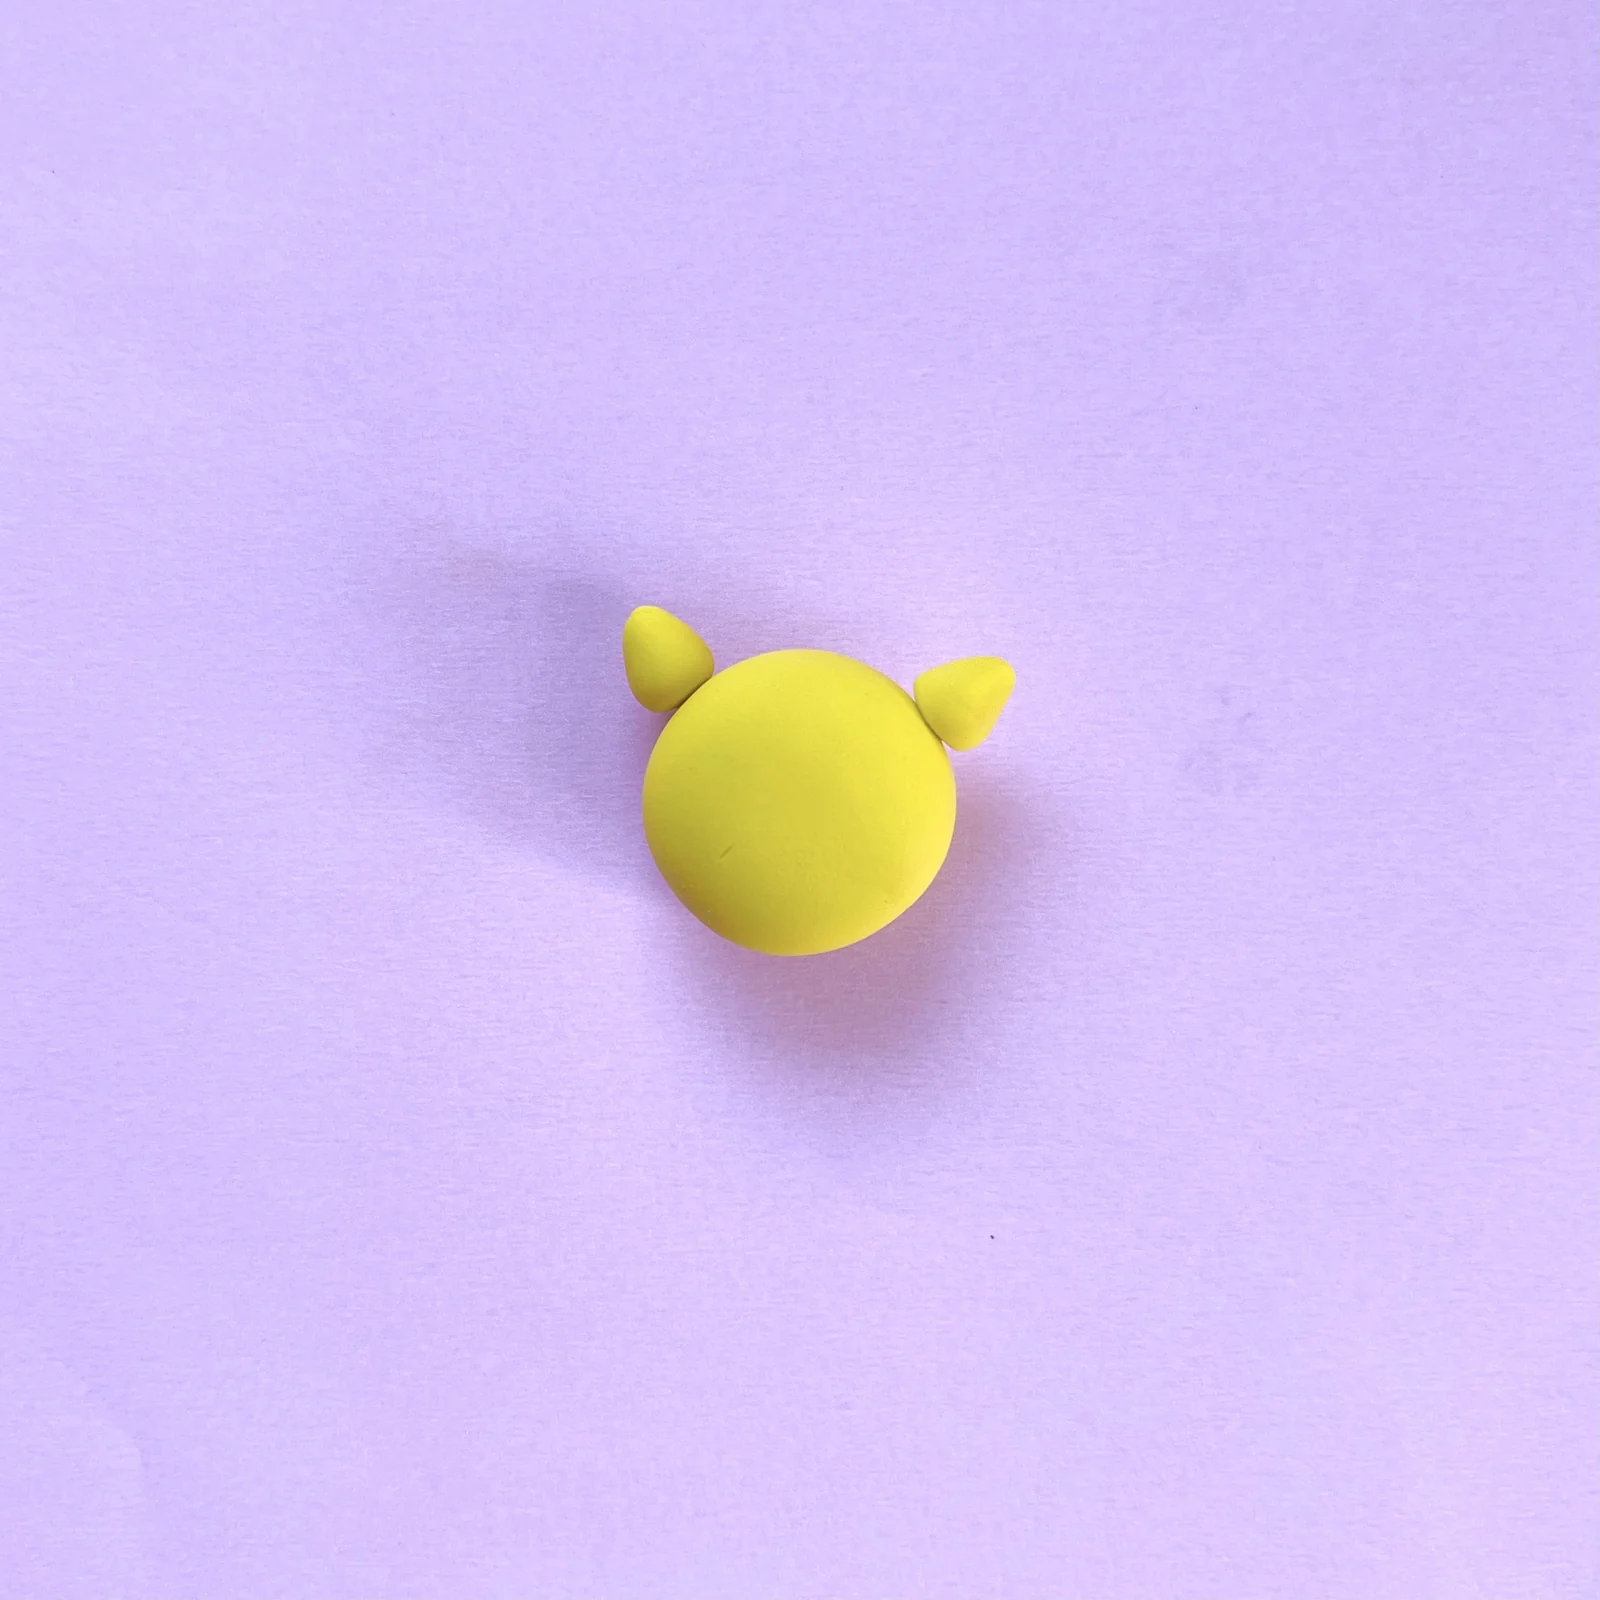
Step 2 of the mini clay animal erasers tutorial: make cone ears and attach them
Make cone ears and attach them.
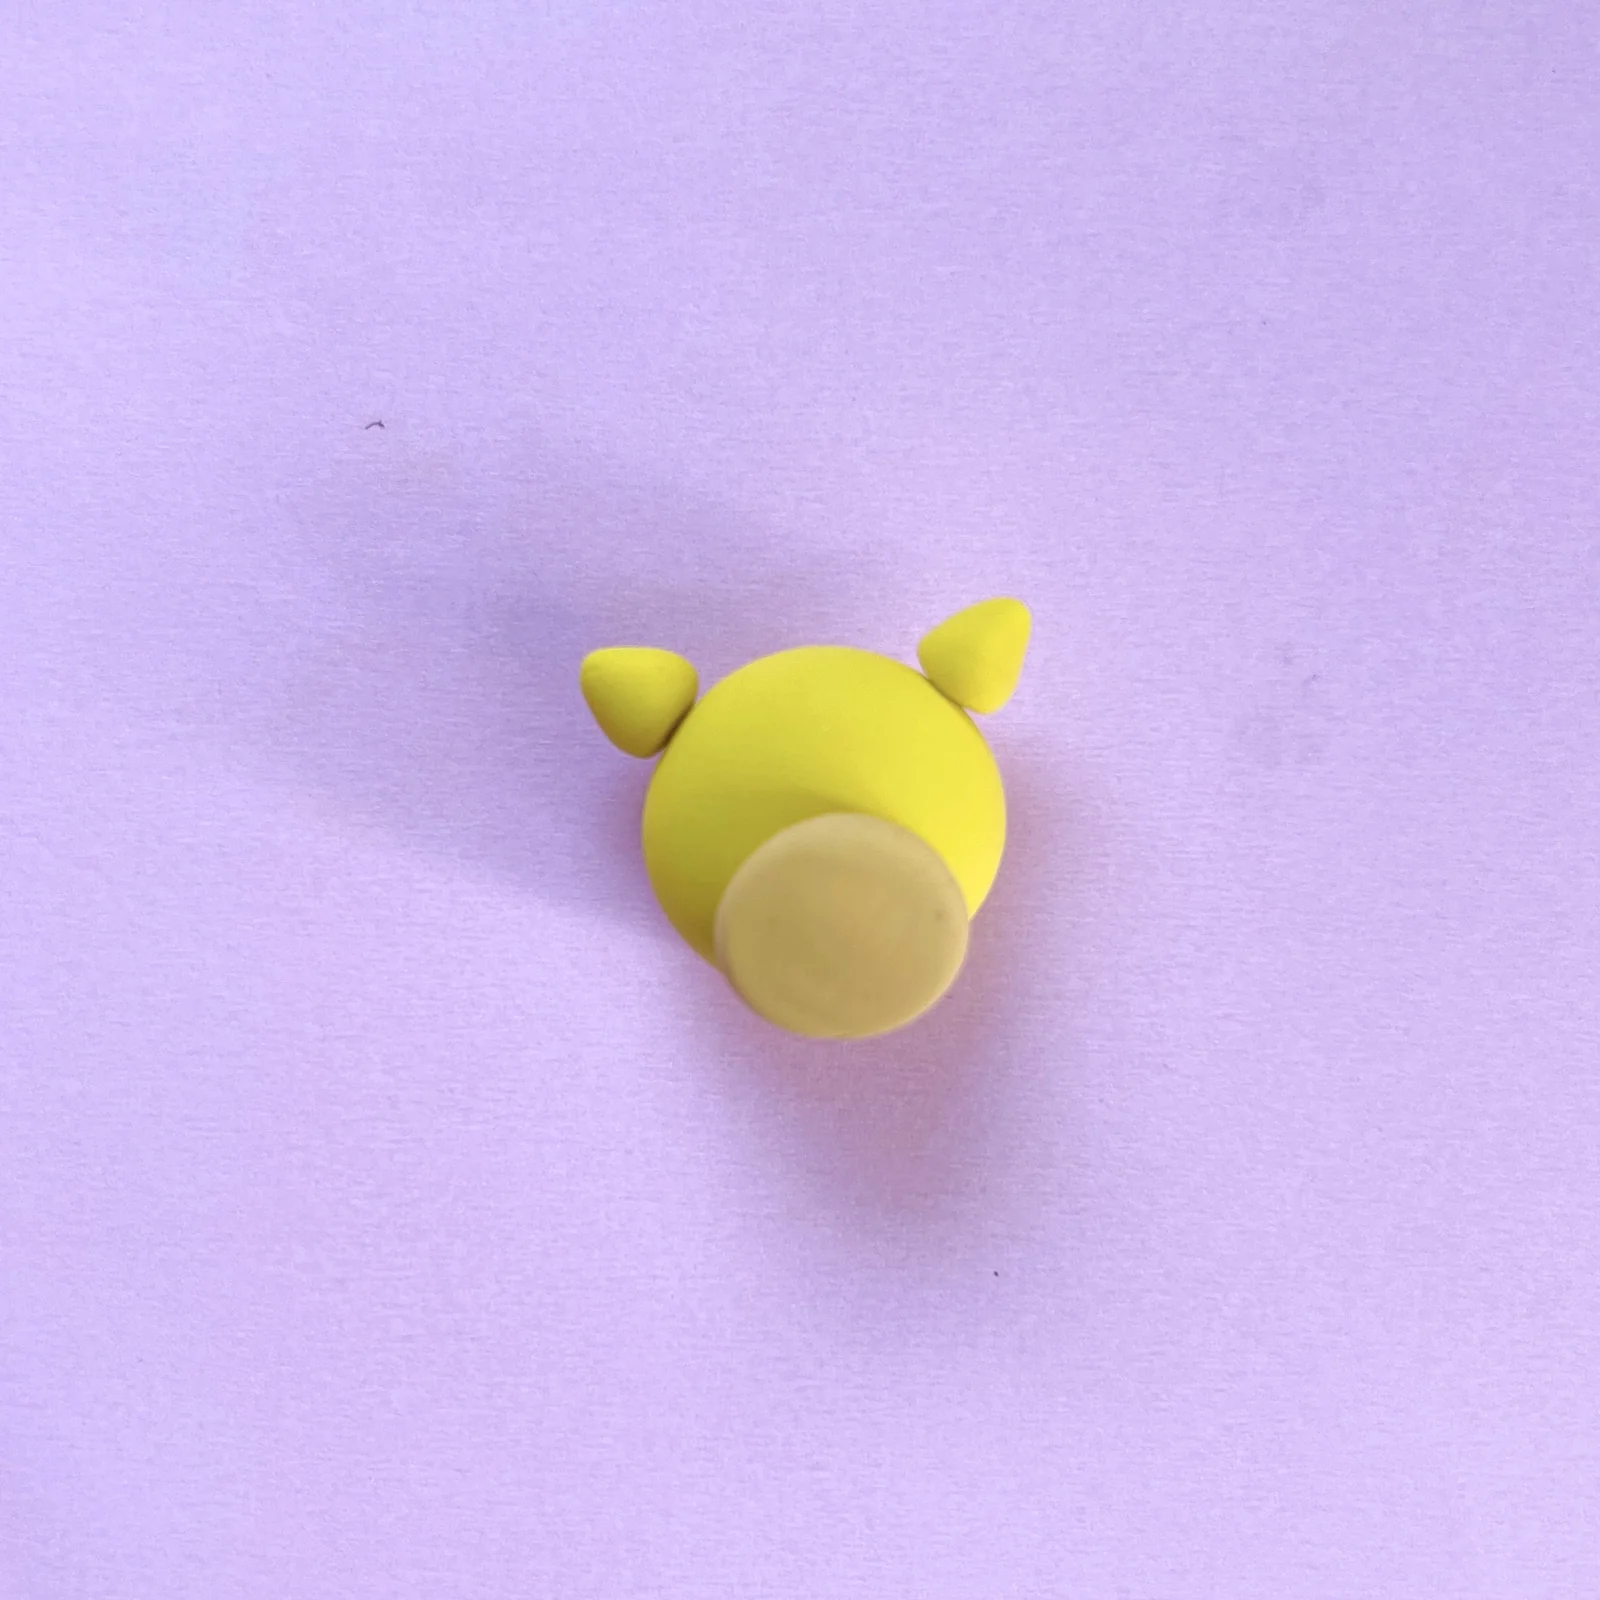
Step 3 of the mini clay animal erasers tutorial: roll and flatten the giraffe's mouth
Roll and flatten the mouth.
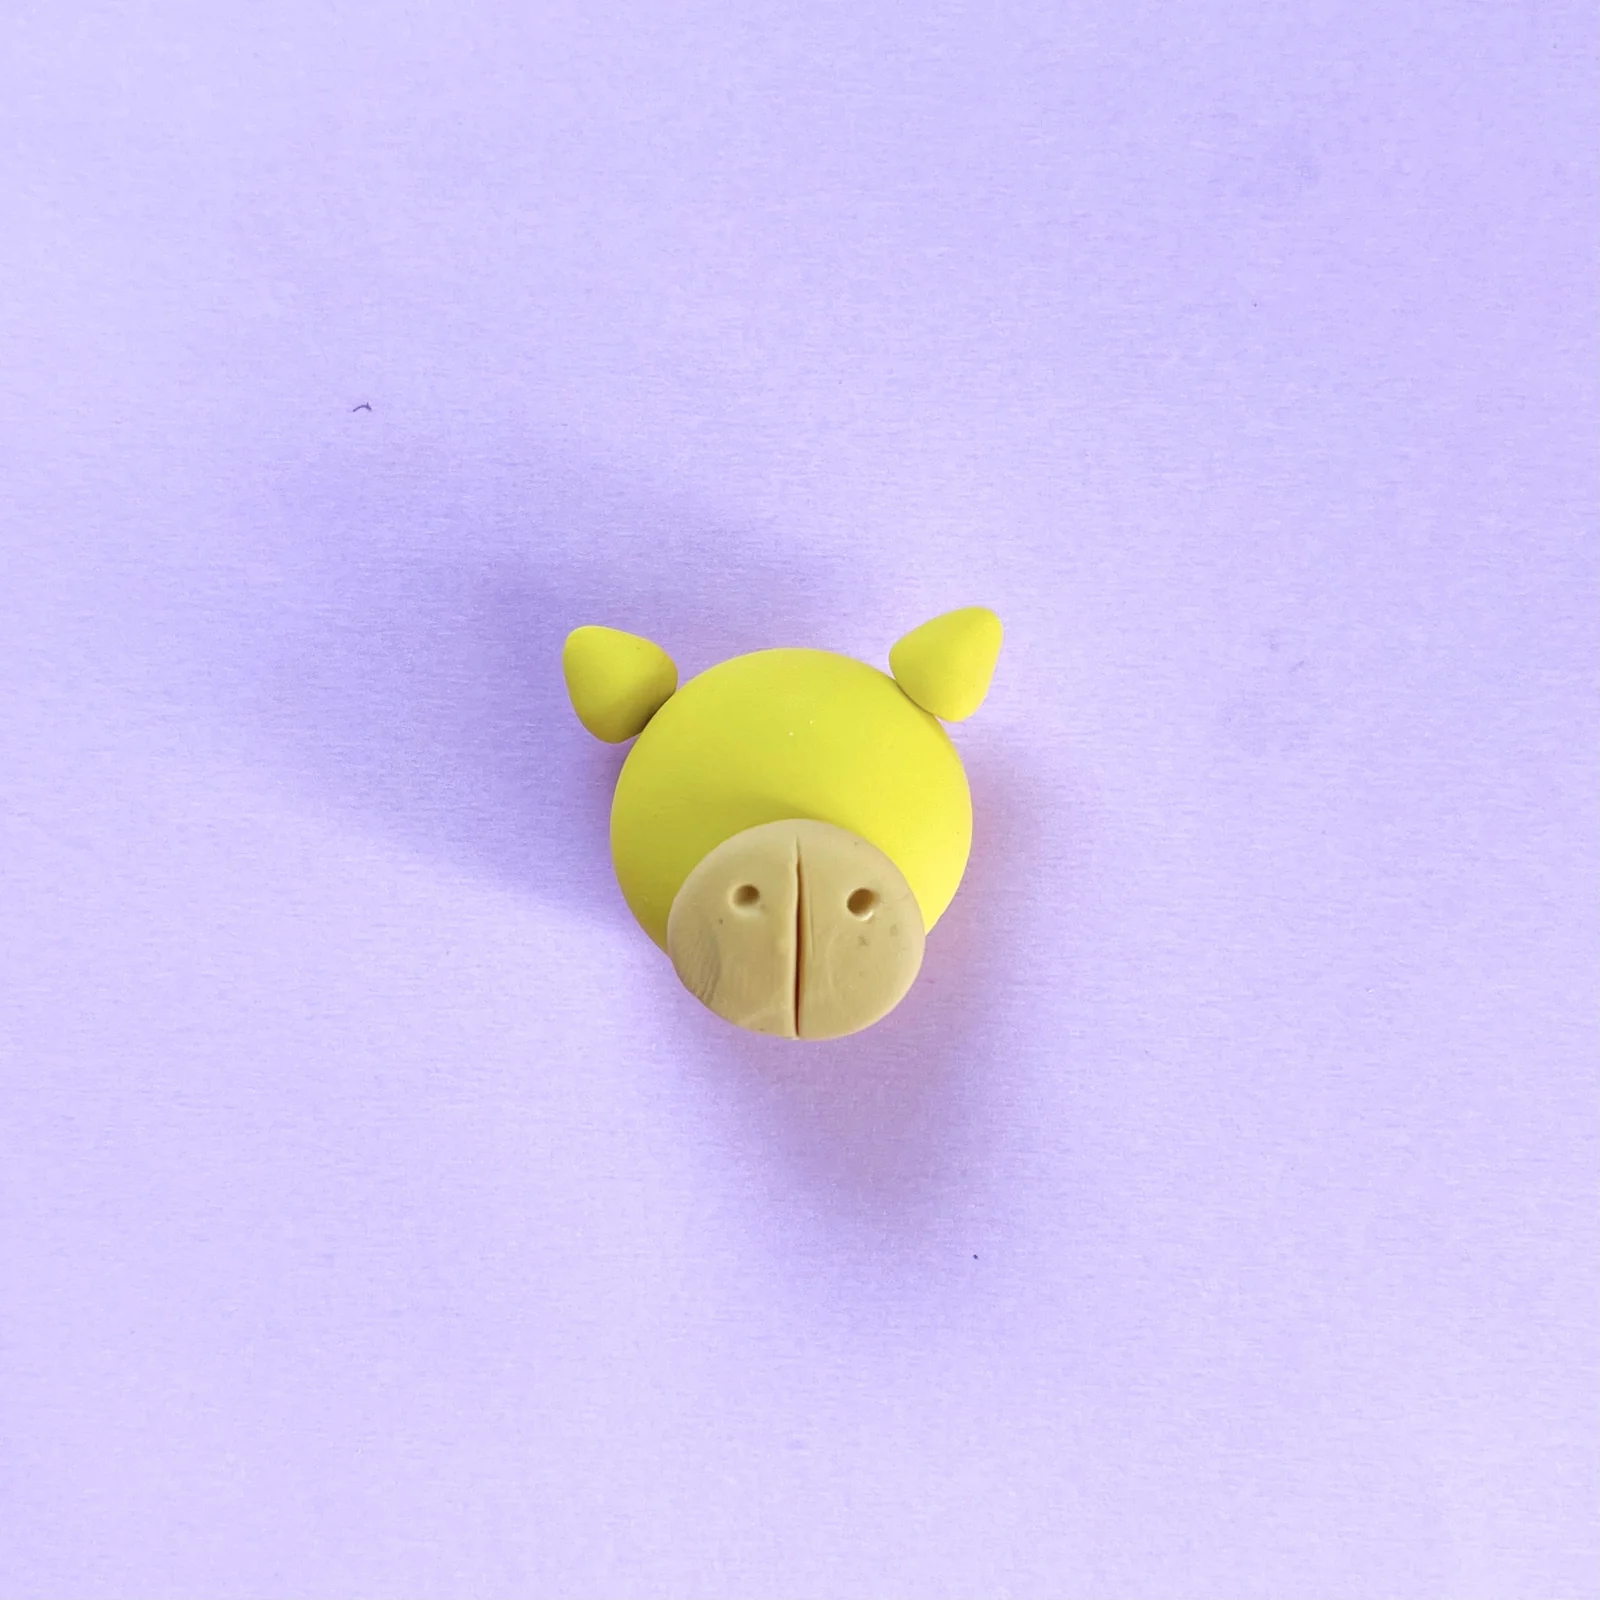
Step 4 of the mini clay animal erasers tutorial: add a line in the mouth and two nose holes
Add a line in the mouth and two nose holes.
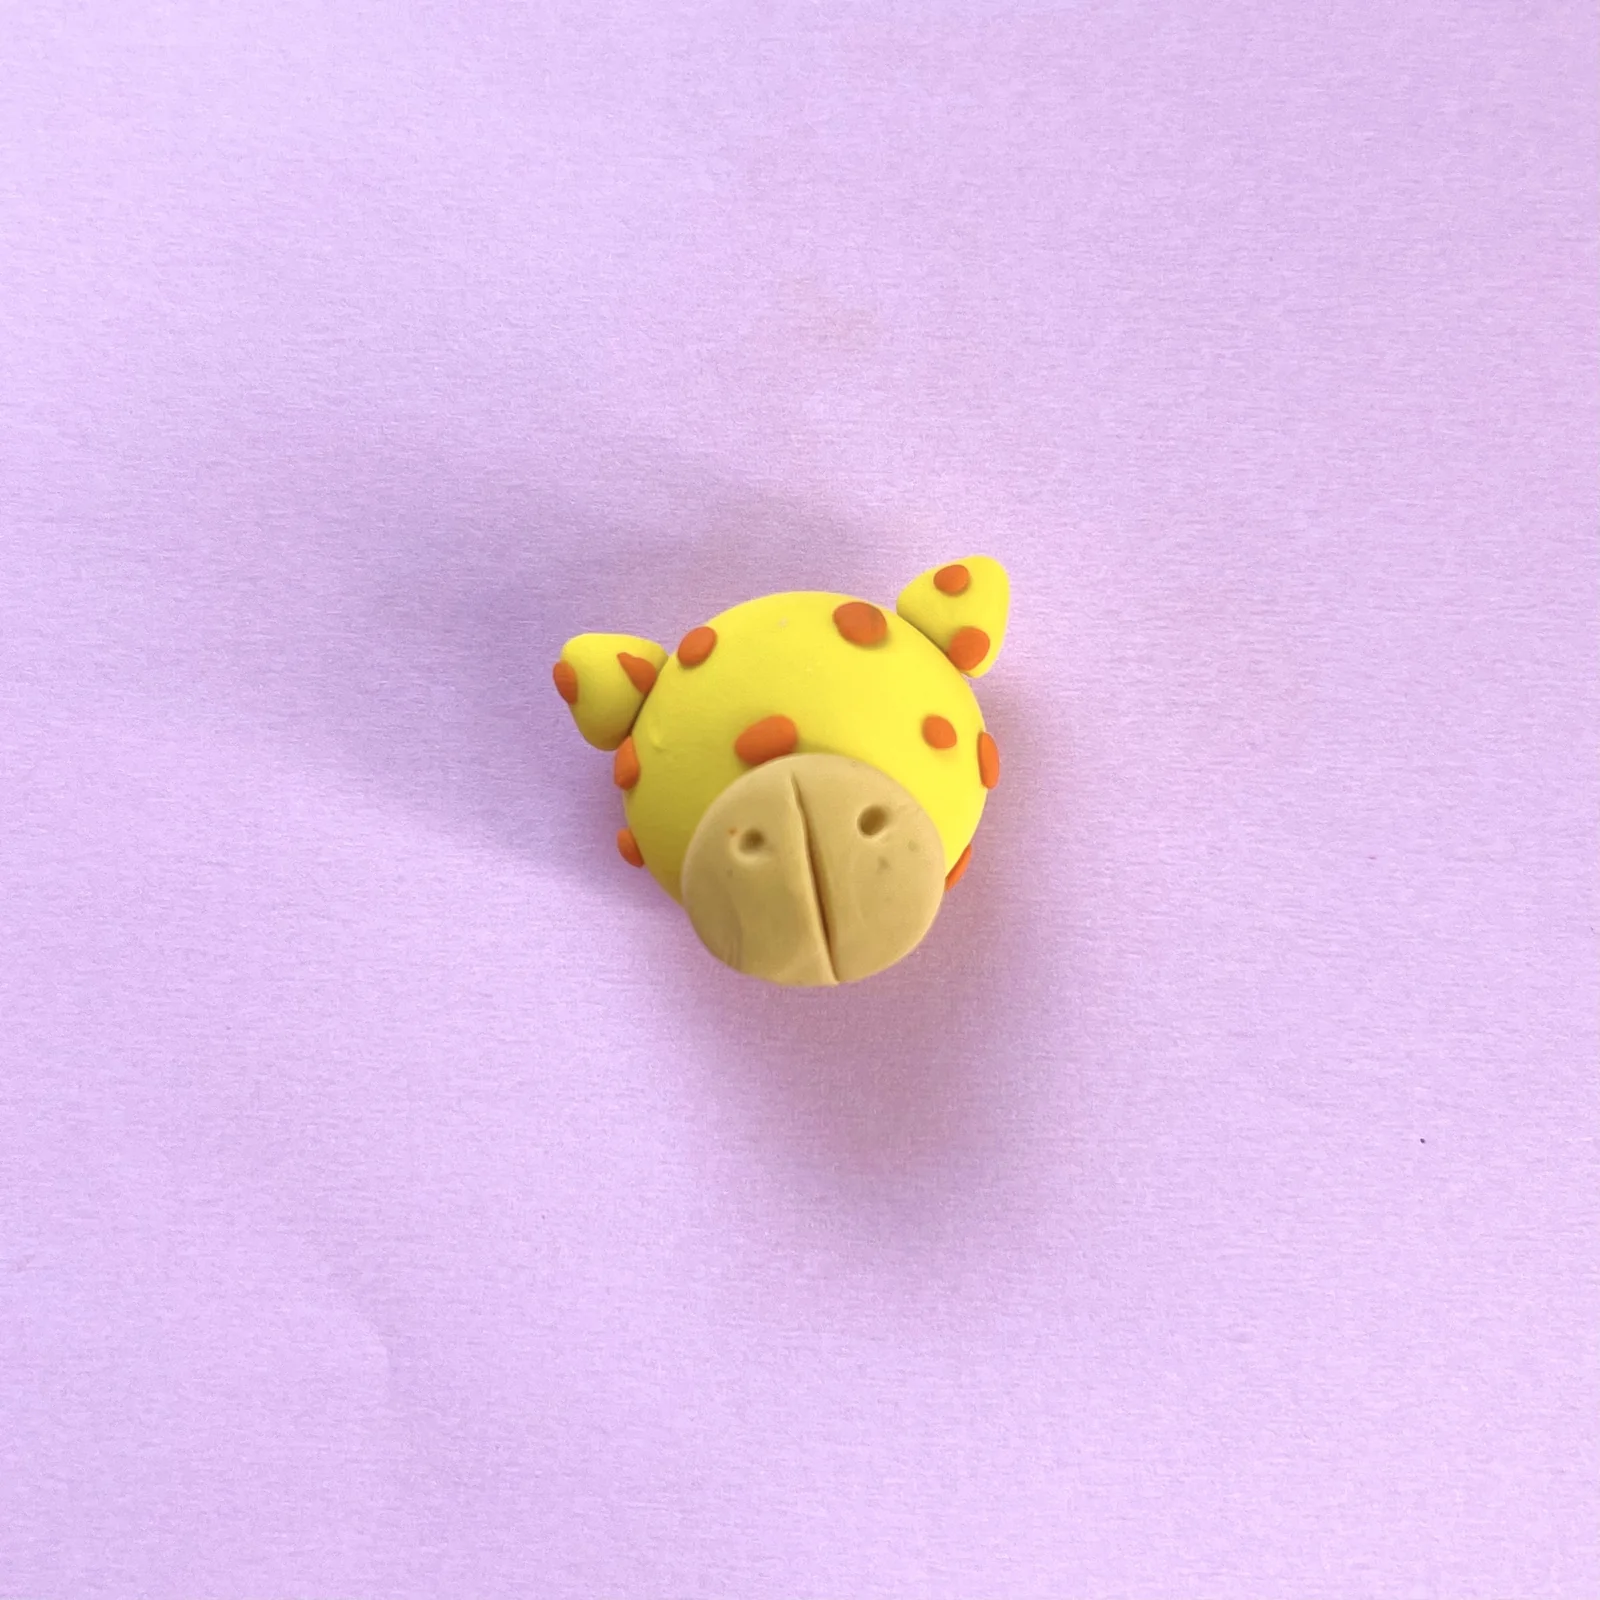
Step 5 of the mini clay animal erasers tutorial: add small circles for the spots
Add small circles for the spots.
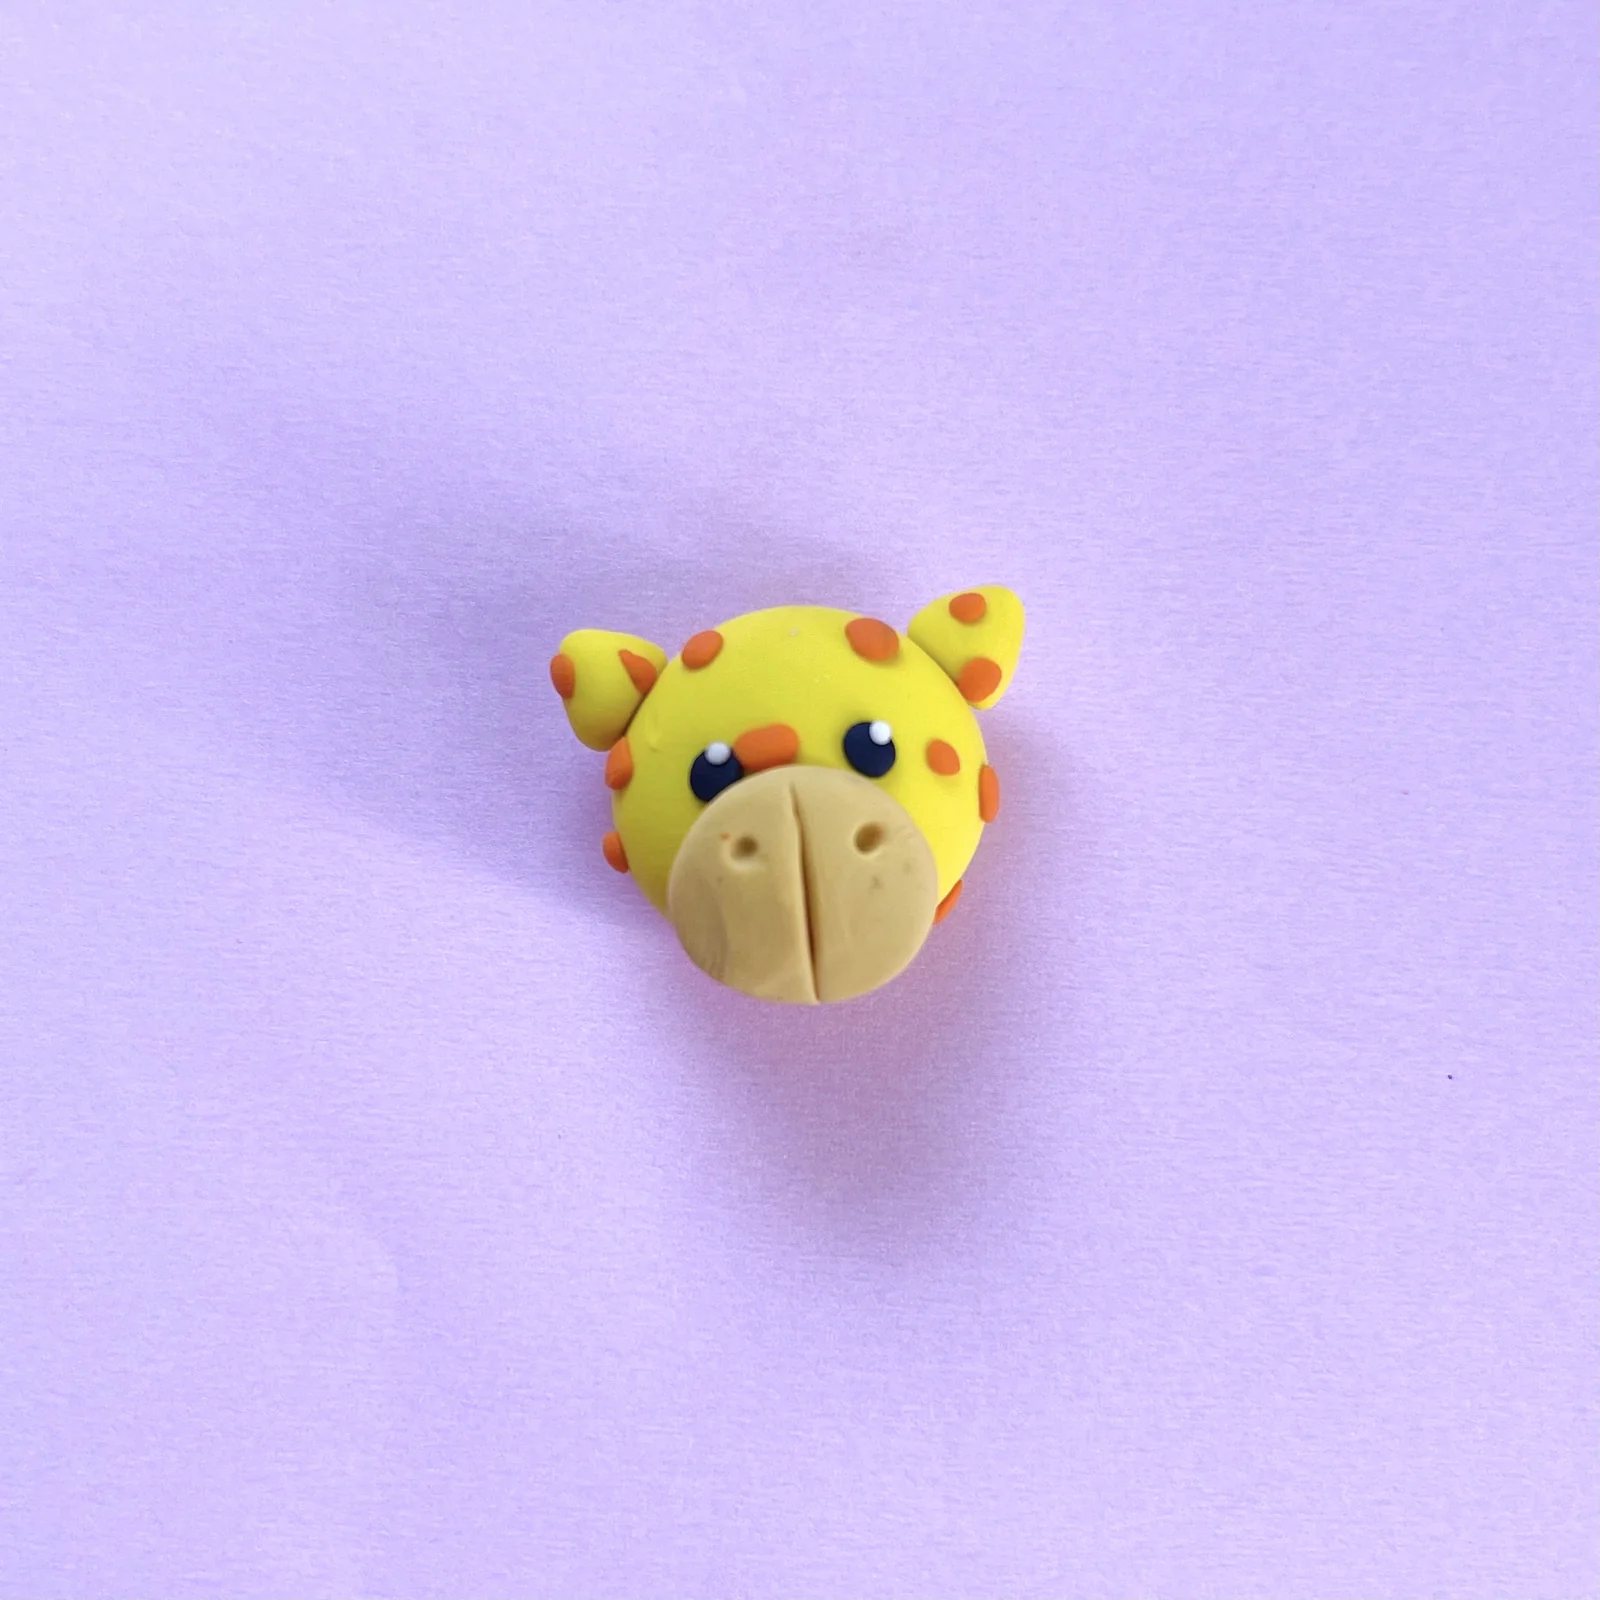
Step 6 of the mini clay animal erasers tutorial: roll and flatten the eyes
Roll and flatten the eyes.

Lastly, shape the ossicones, the two little horns, and stand them up on top of the head.

Bake per the clay packet, cool, and hand them over. In my experience the giraffe is the one that gets traded away last.

If small precise shaping turns out to be your kid's thing, the clay sushi is the next challenge up, and the clay cookies are the gentlest landing.

Production photography and videography by Pauline T. Gamboa for Craft & Bond Supply Co.

If this gave you an idea worth trying, there's more where it came from. Follow along on Pinterest (@CraftandBondCo) and Instagram (@craftandbondco) for new projects, recipes, and the occasional honest mess, and save this post so you can find your way back to it.